Author: Mickey
24 Sep 2017 Glareshield protection
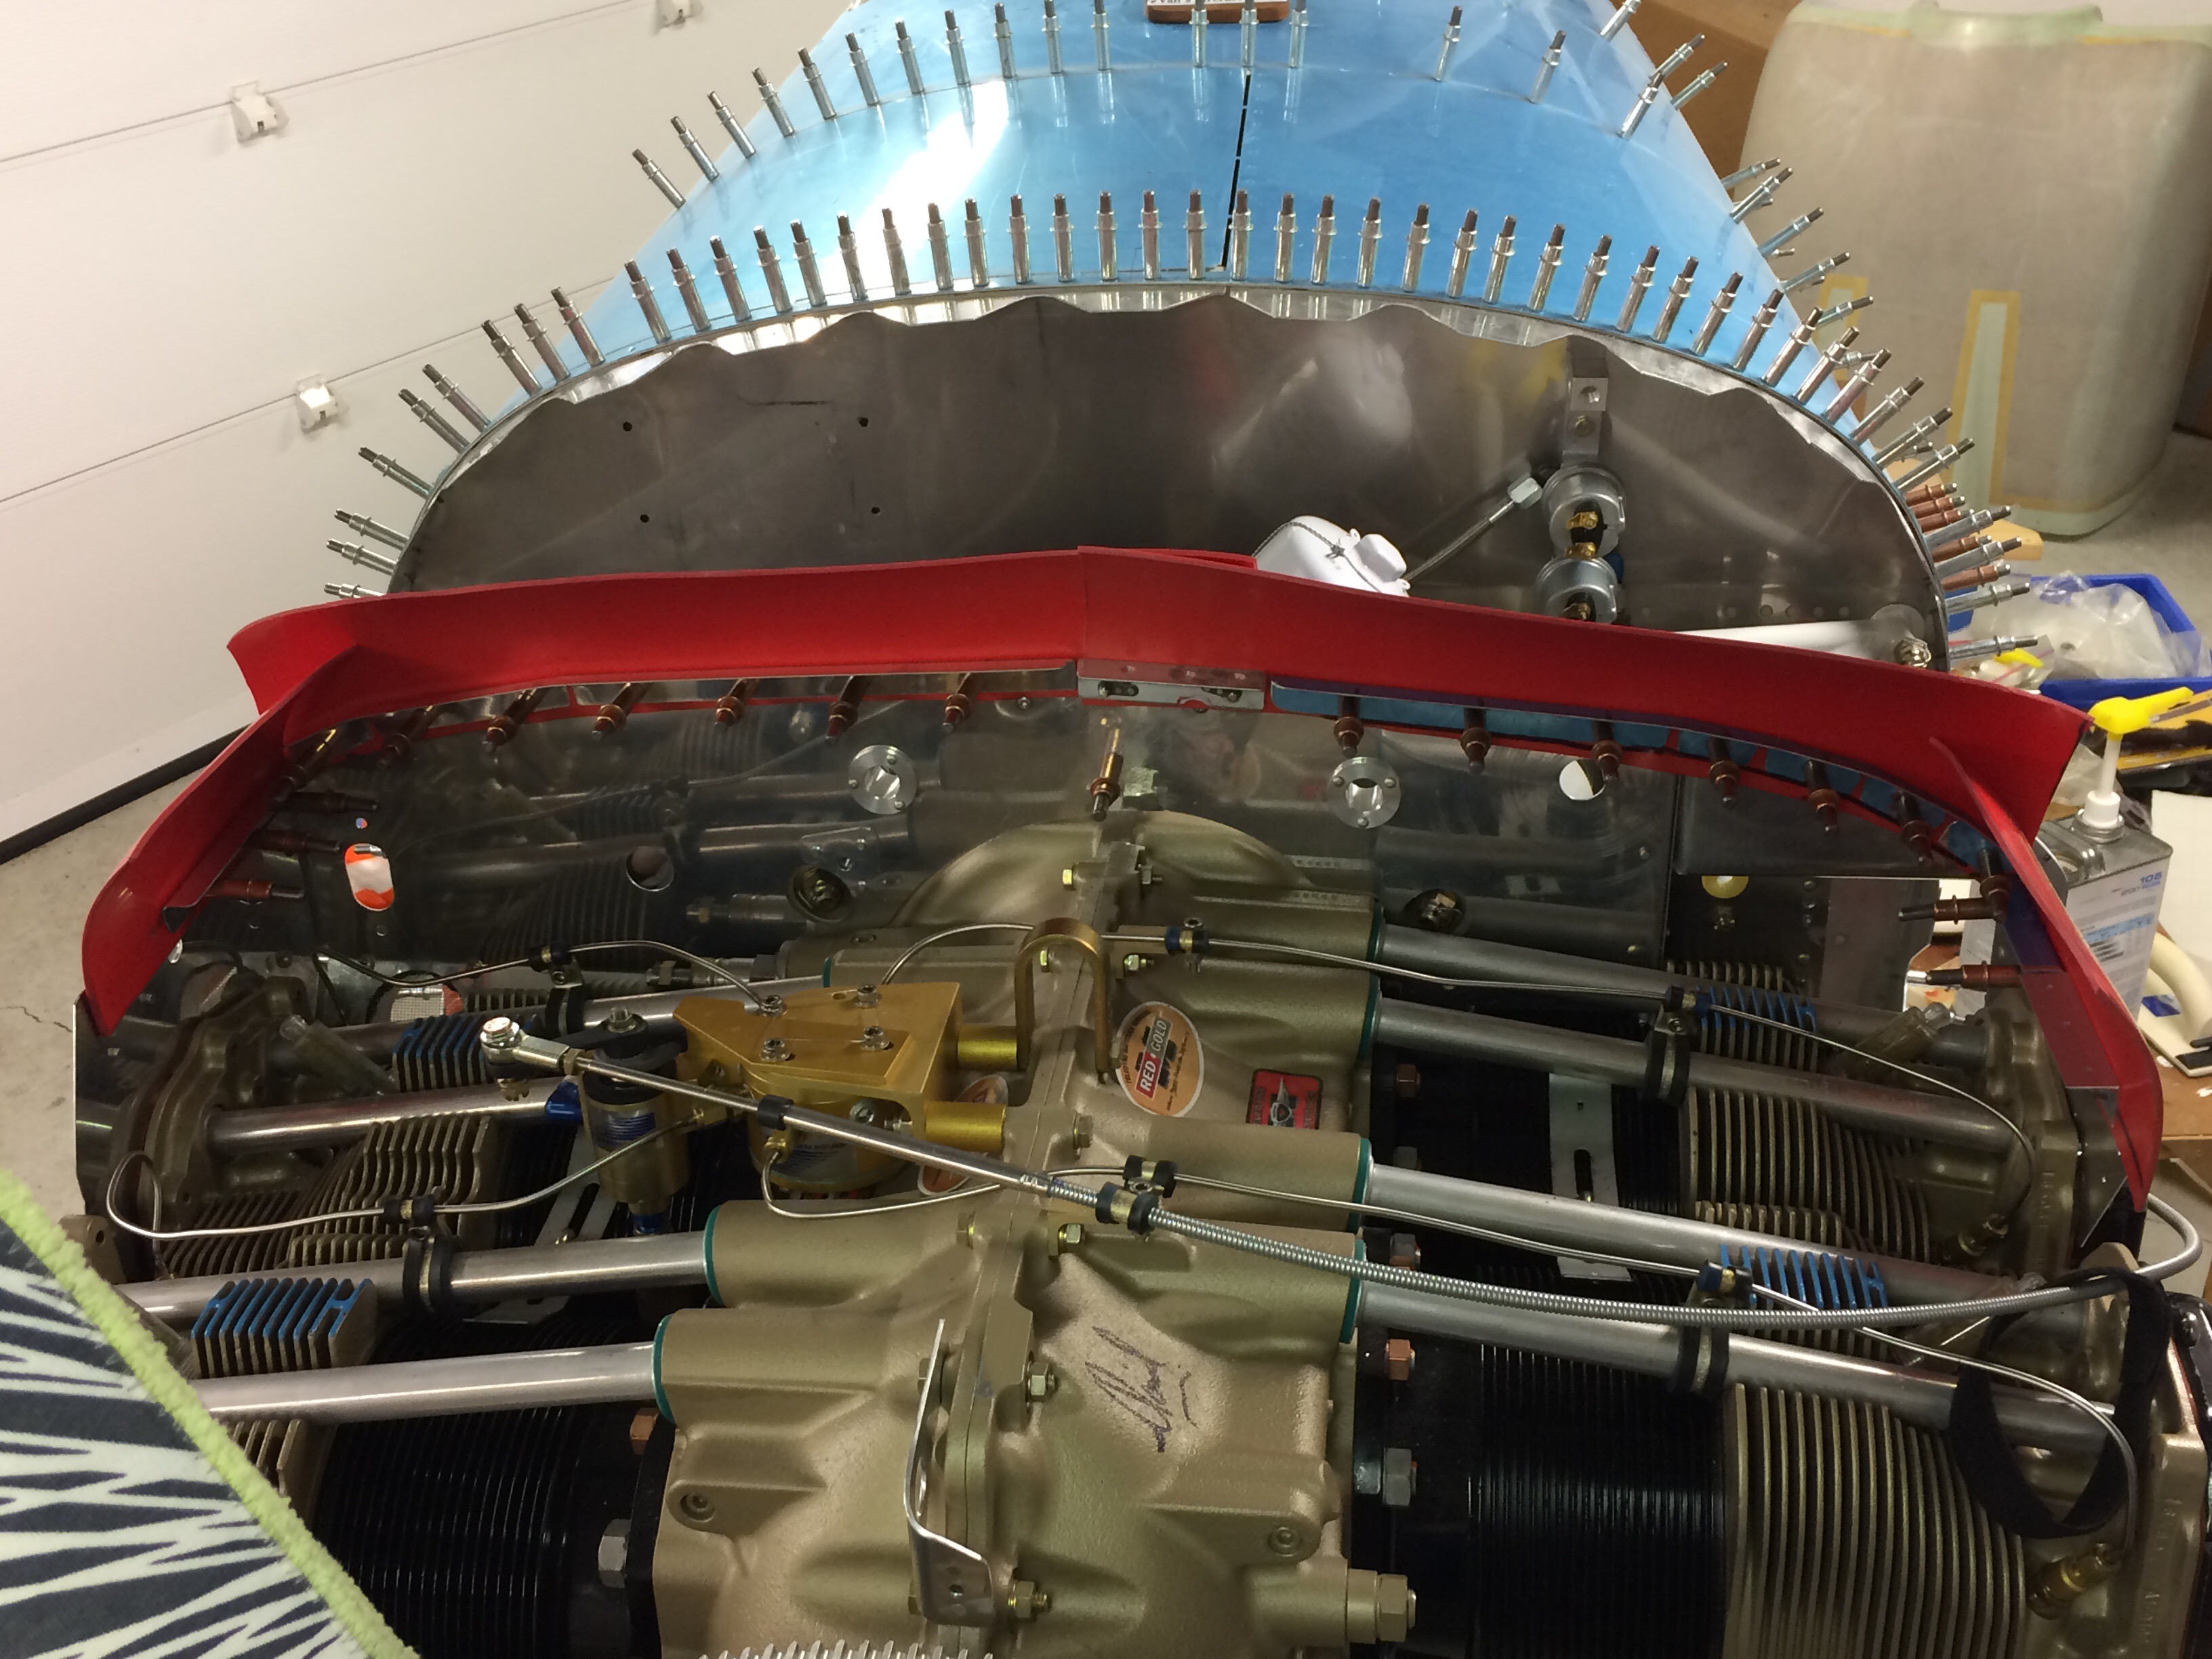
The edge of the glareshield is rather sharp so most put something there in case you bang your head on it during an accident. Not sure there will be a huge difference but it seems like...
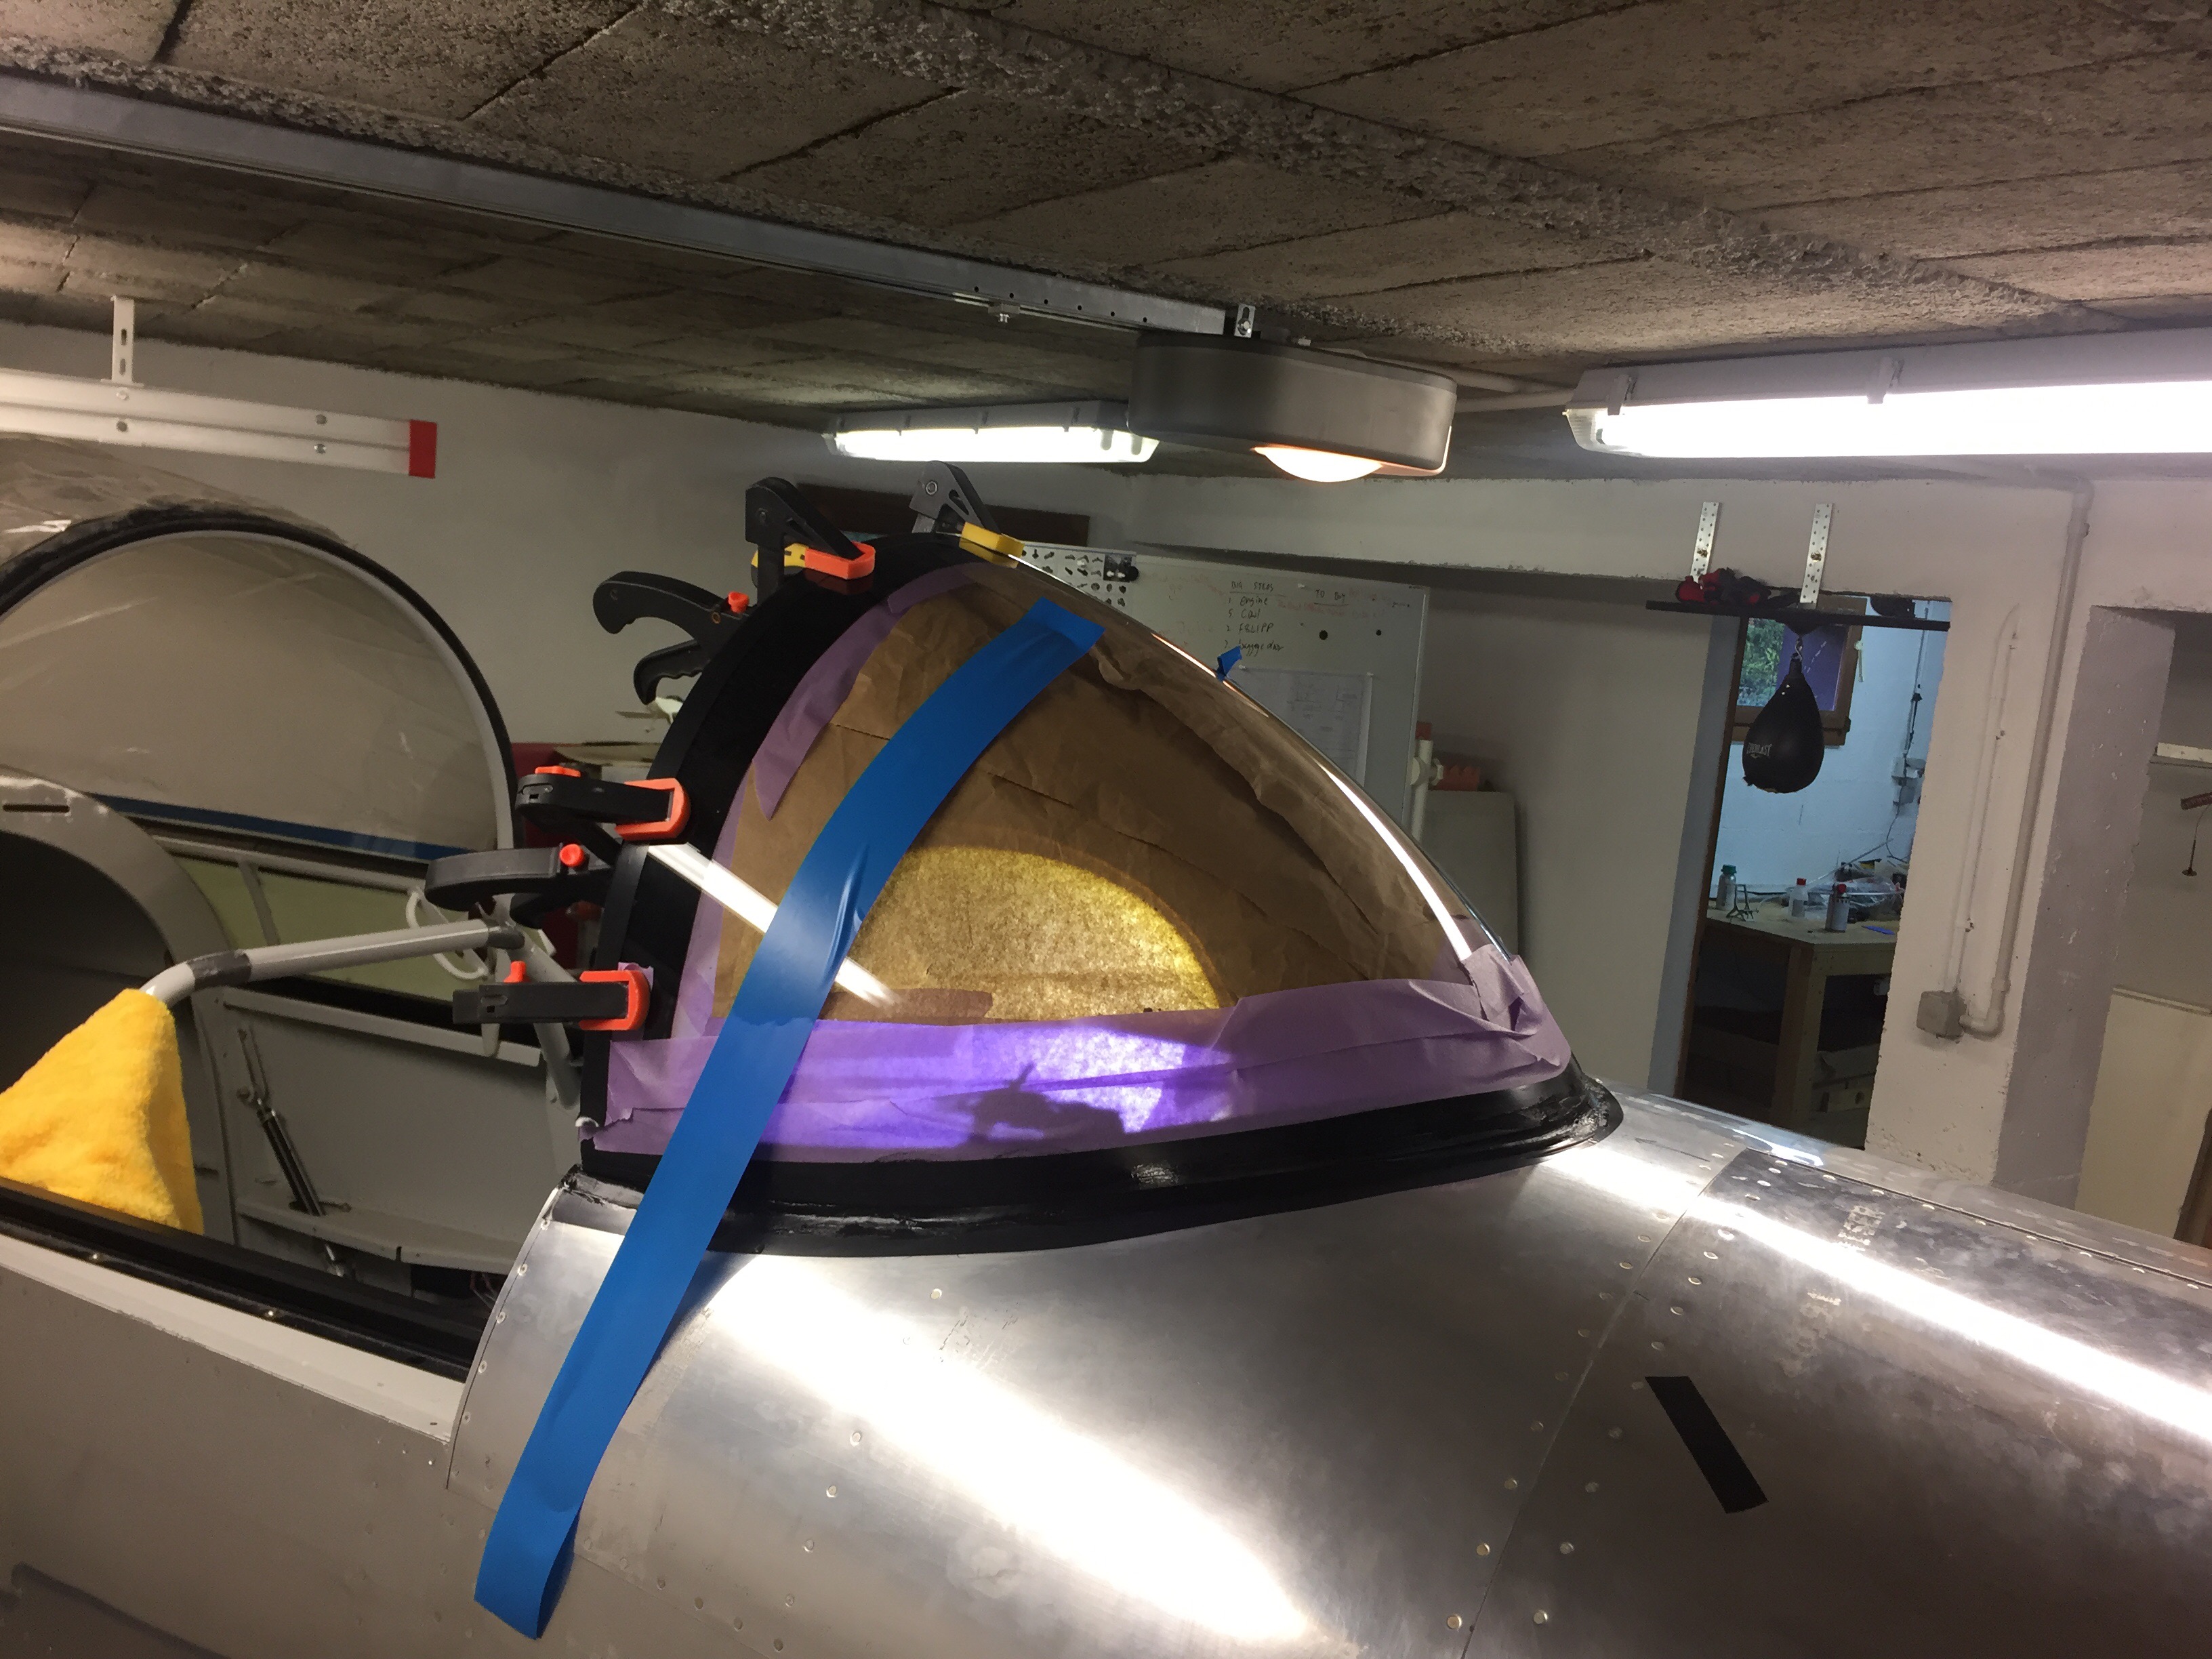
16 Sep 2017 Gluing on the windscreen with Sikaflex
Taped, cleaned, and primed, ready for the windscreen. Windscreen taped and primed. Installed with the Sikaflex UV 295 glue that I also used many years ago on the canopy. I really recommend more light - I thought it...
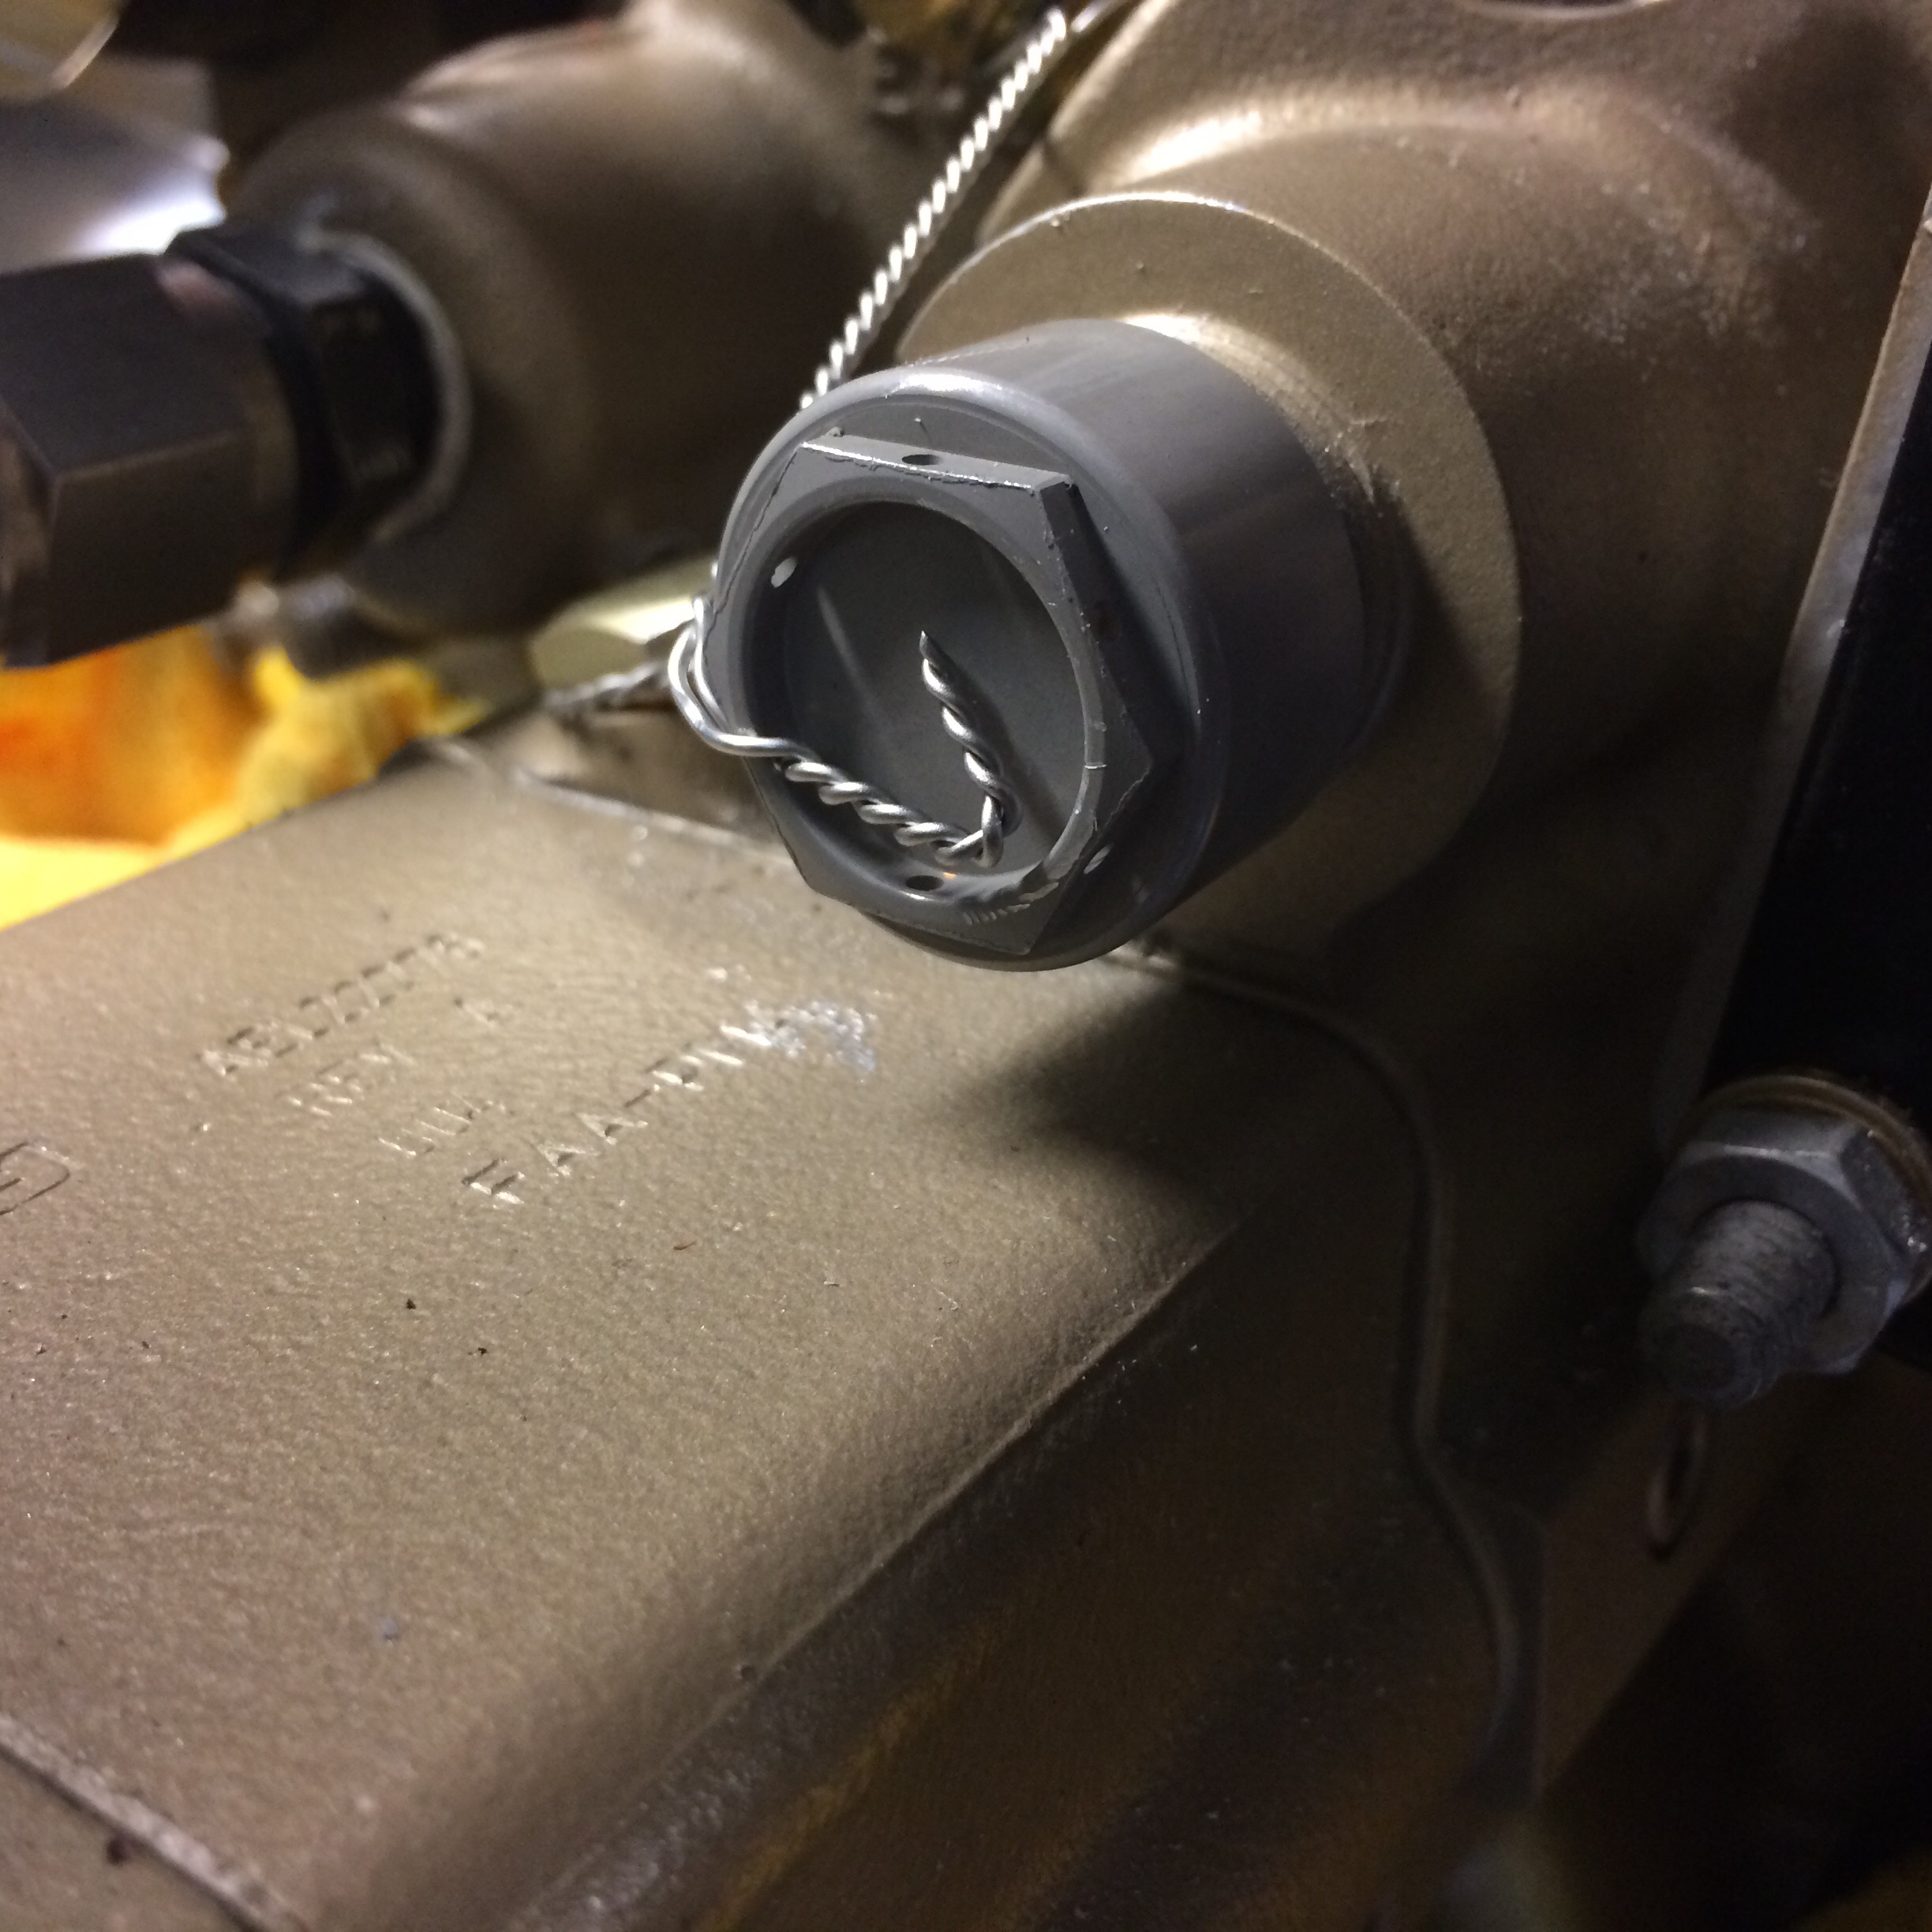
26 Jun 2017 Safety wire on the tachometer cover
This baby cost me about 20 USD so I don't want it to fall off! ...
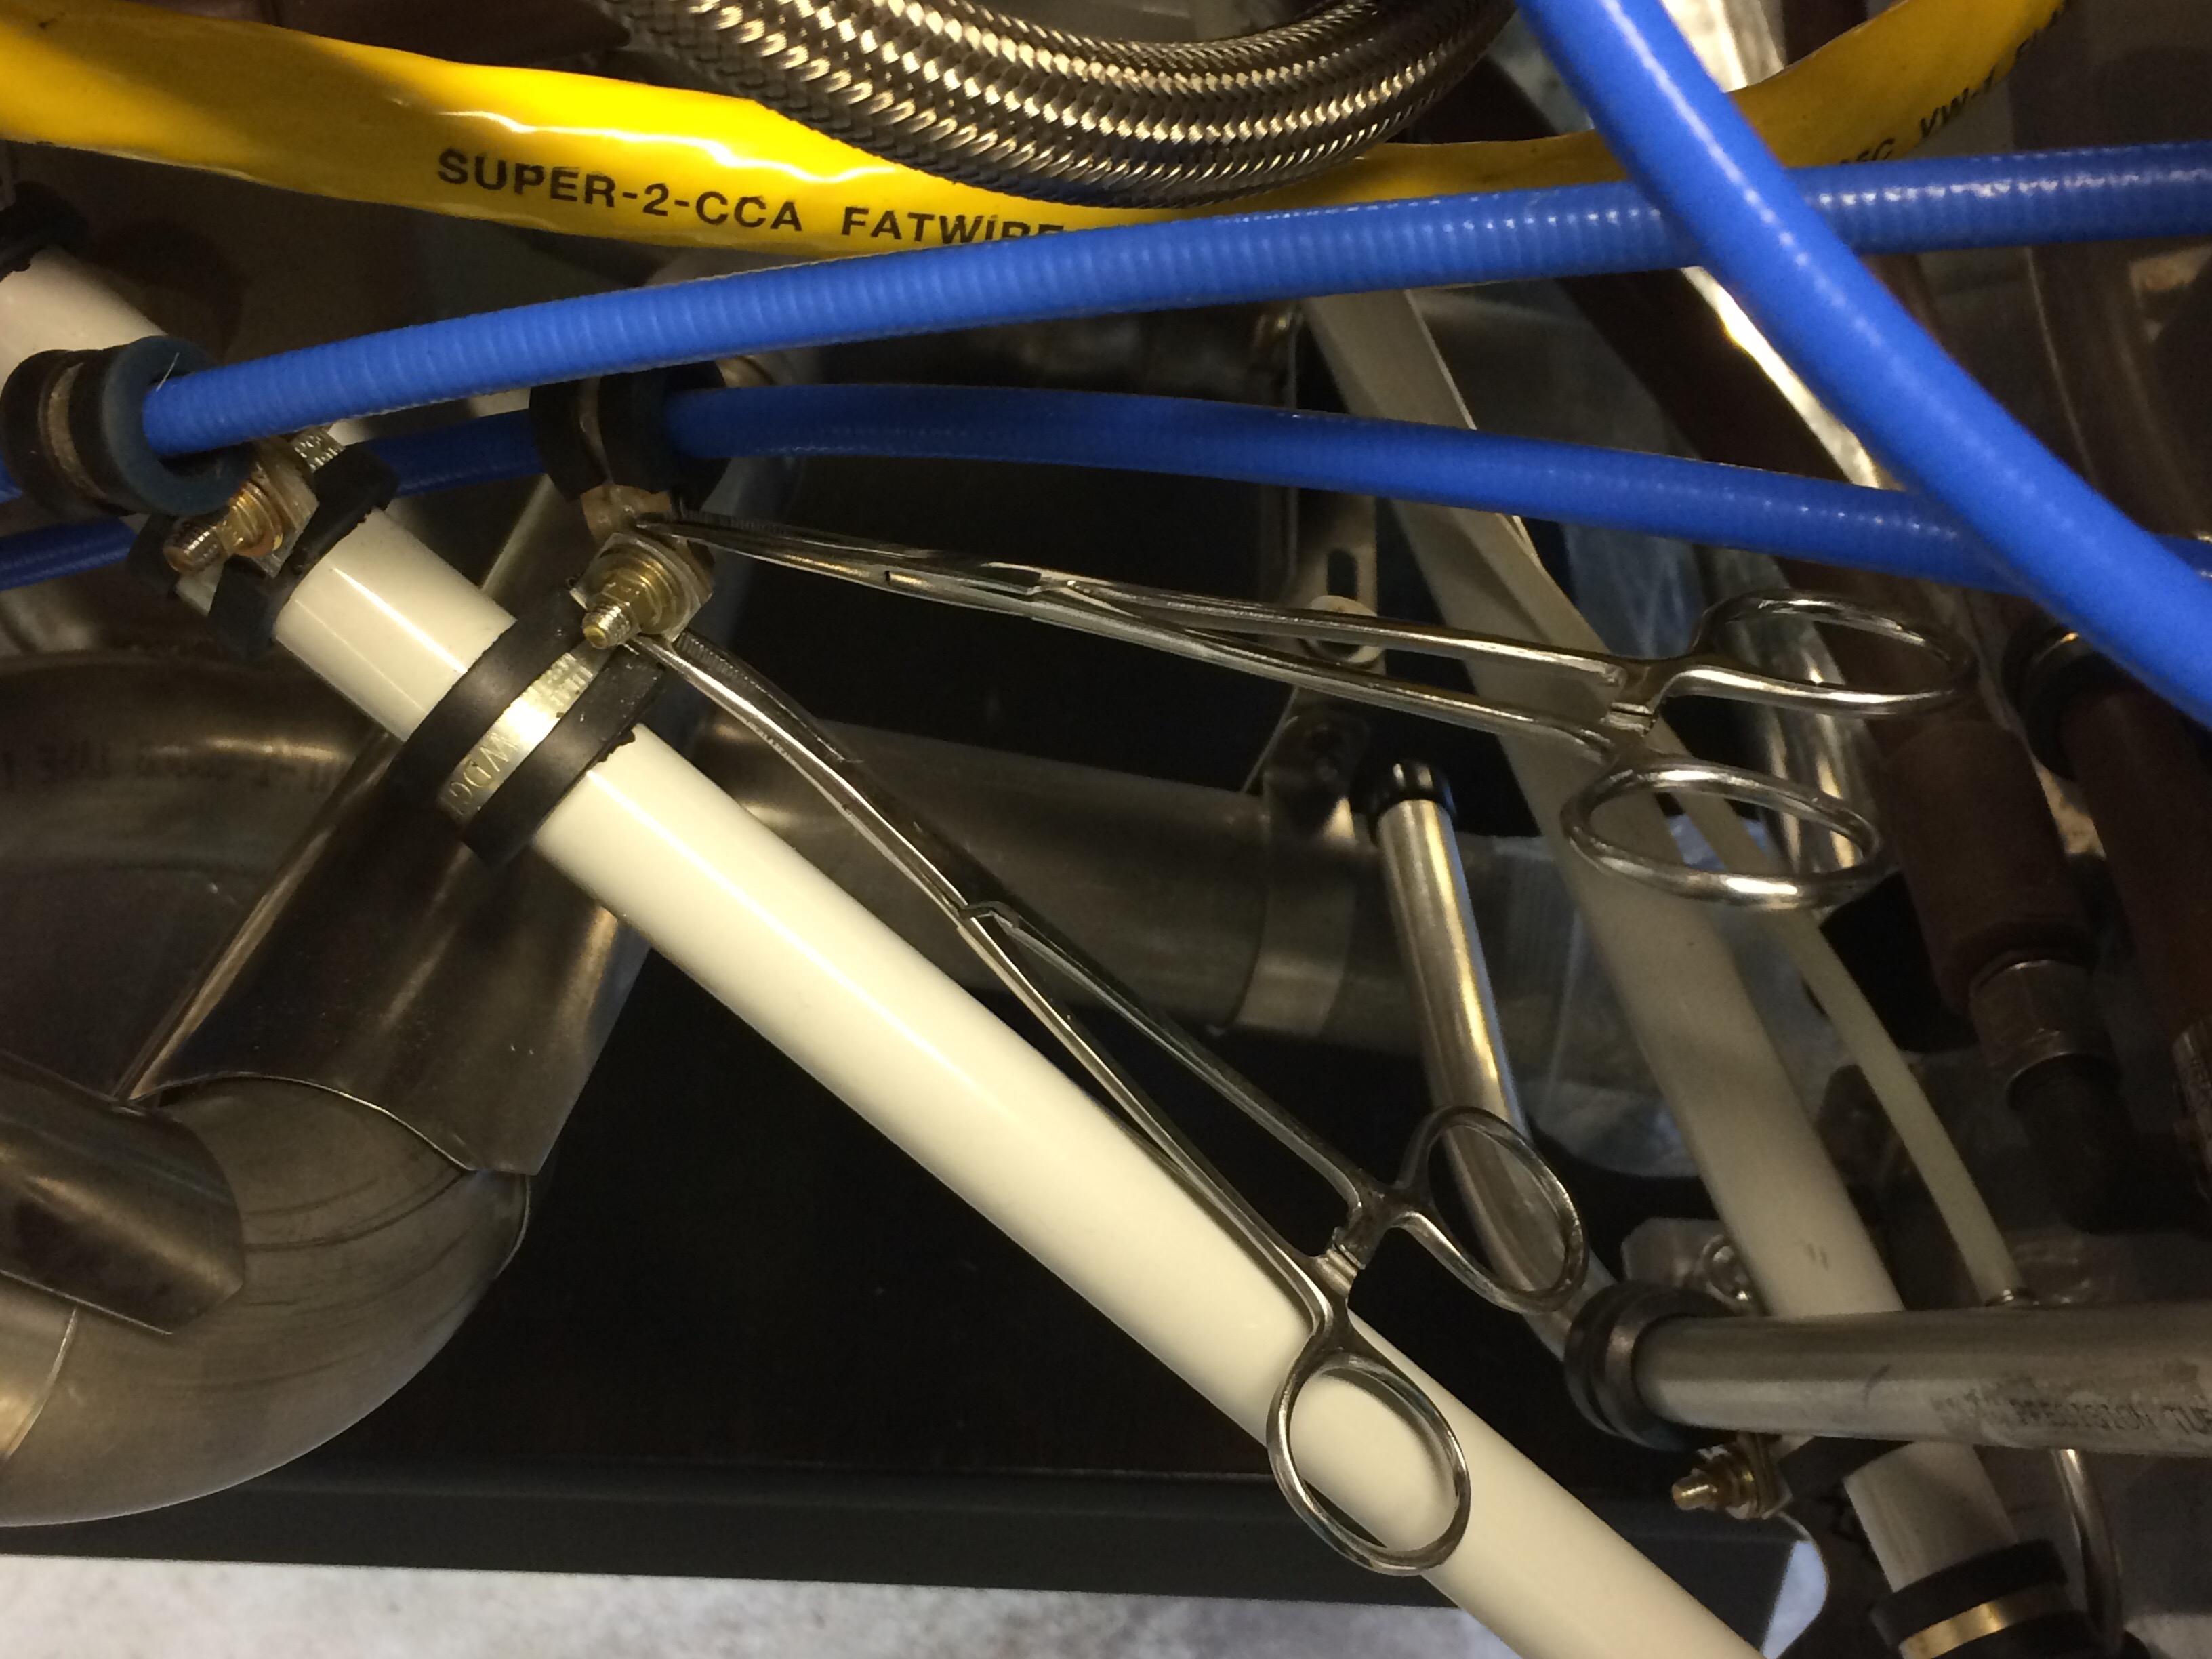
26 Jun 2017 Using hemostats to ease installation of adel clamps
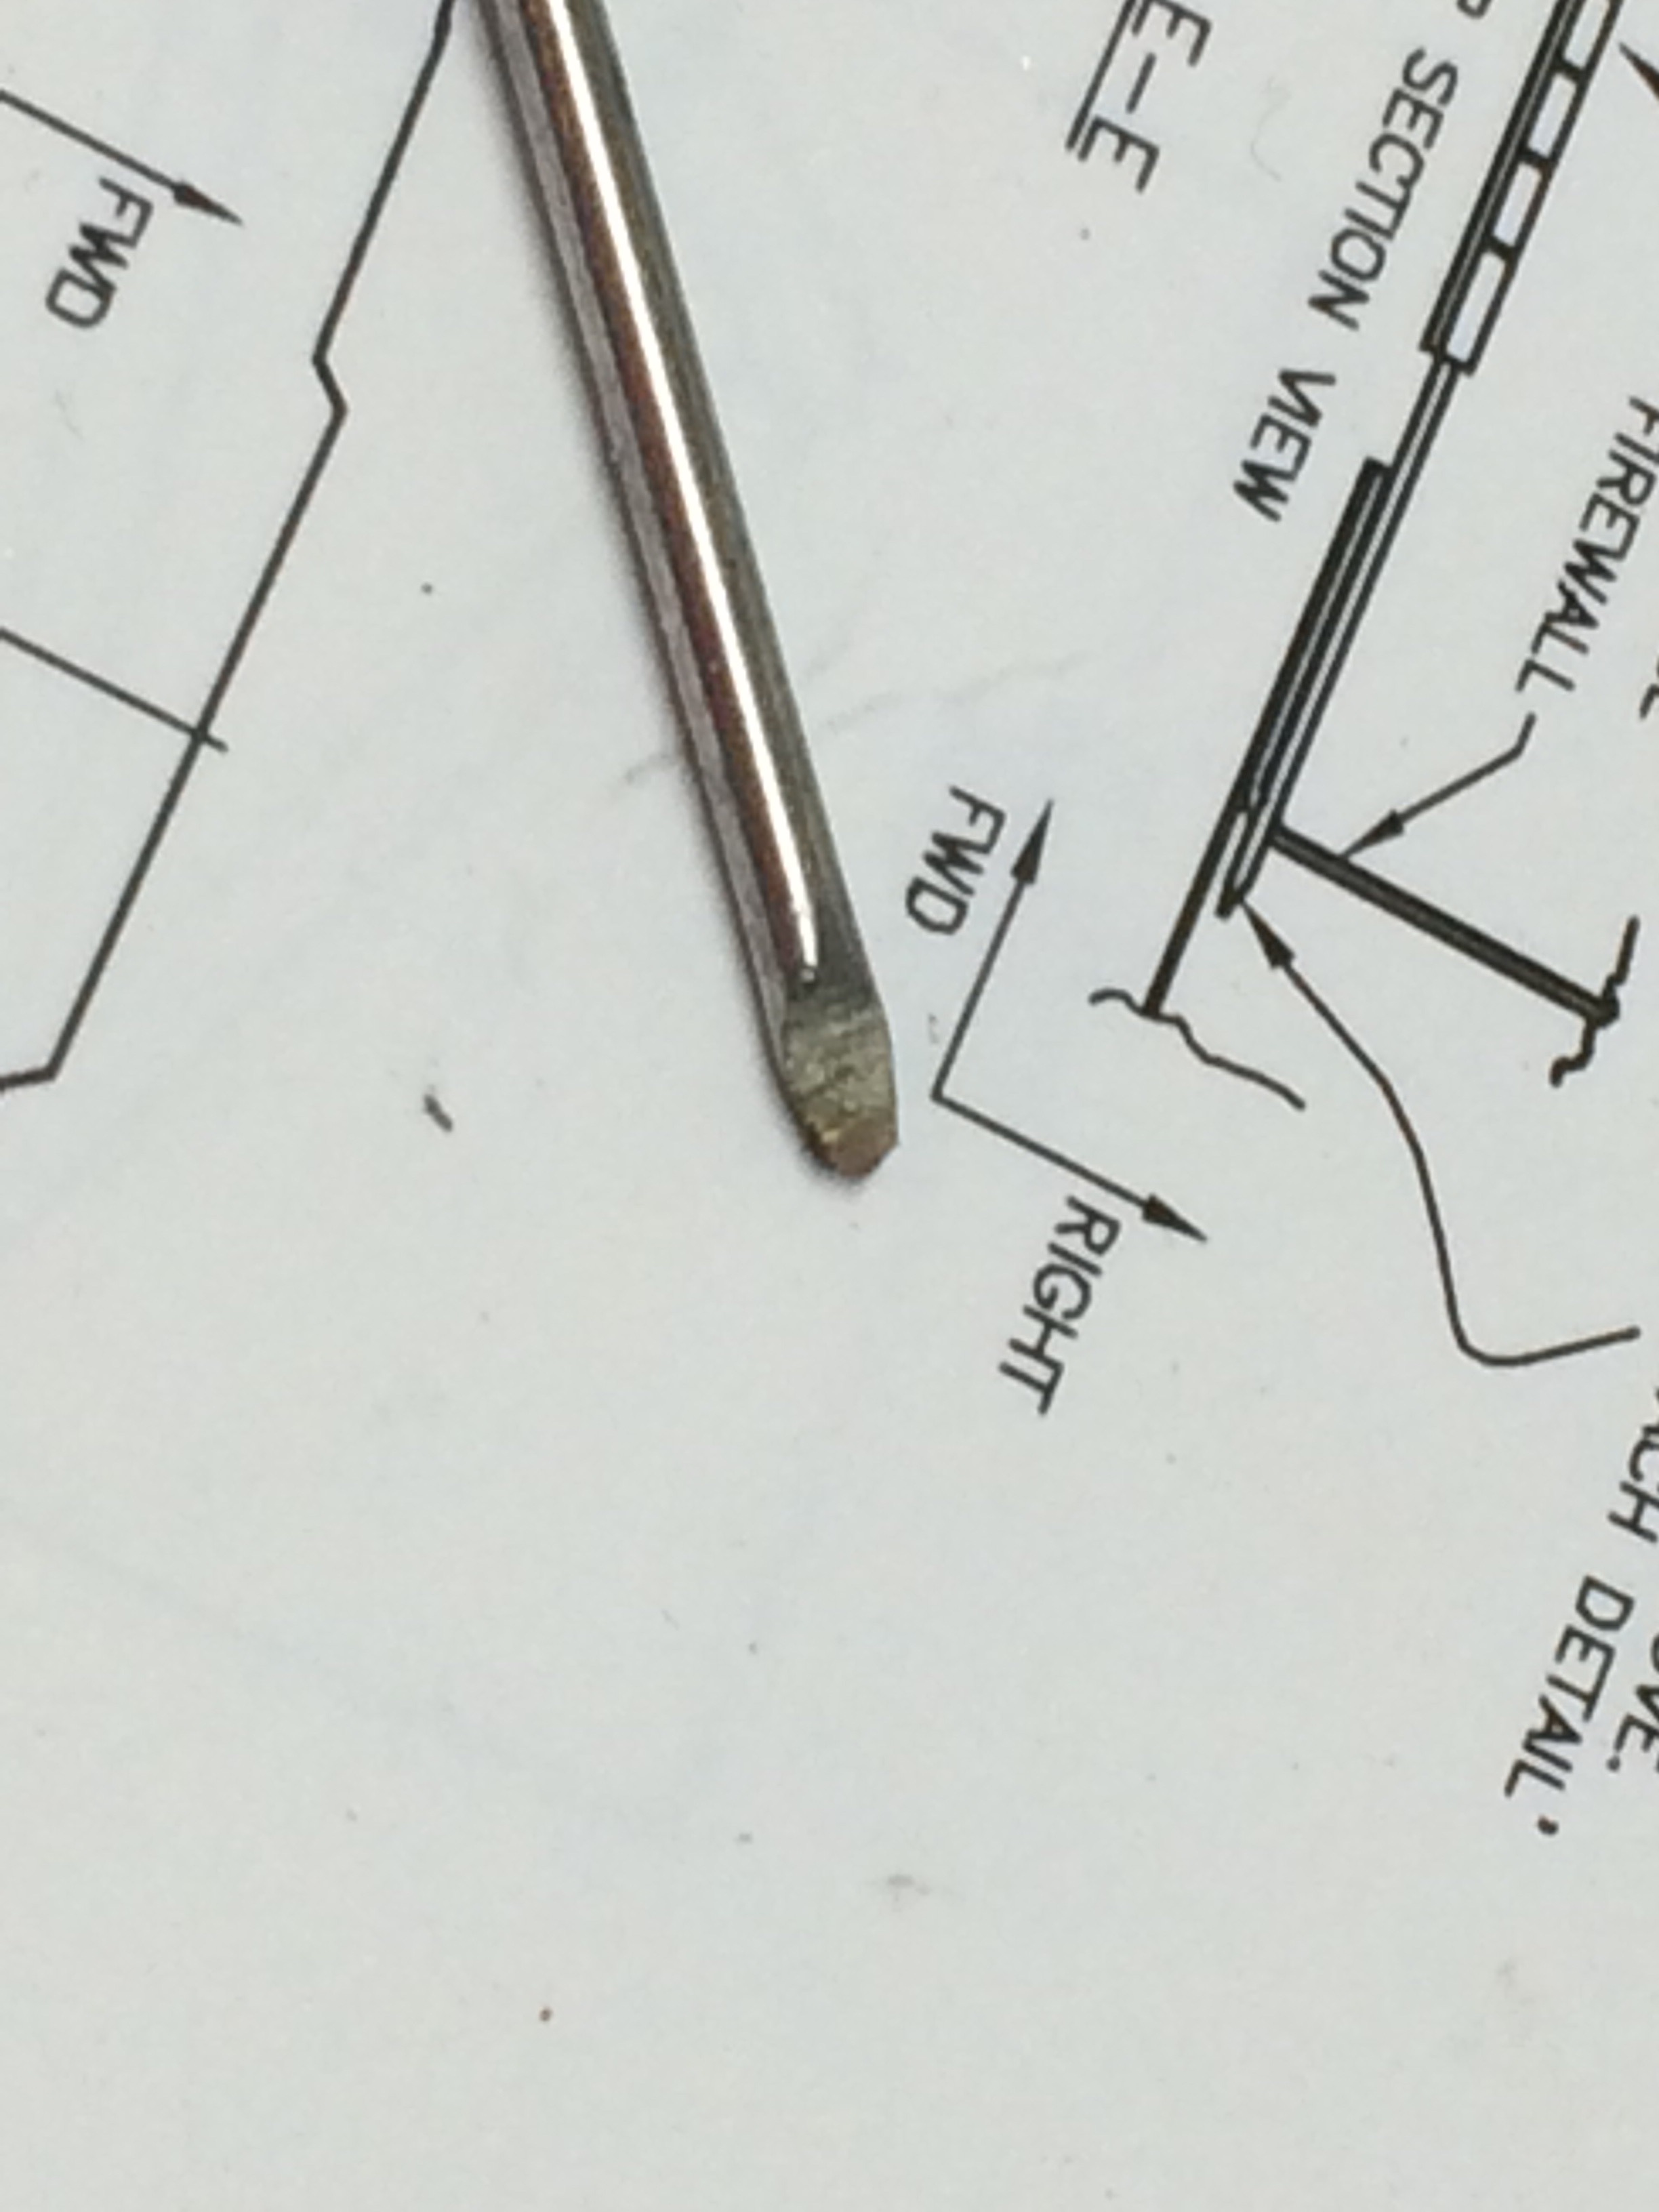
If you are not using hemostats to help you install adel clamps (a.k.a. Cushion clamps) you are missing a nice trick. Works great! ...
26 Jun 2017 Skybolt fasteners
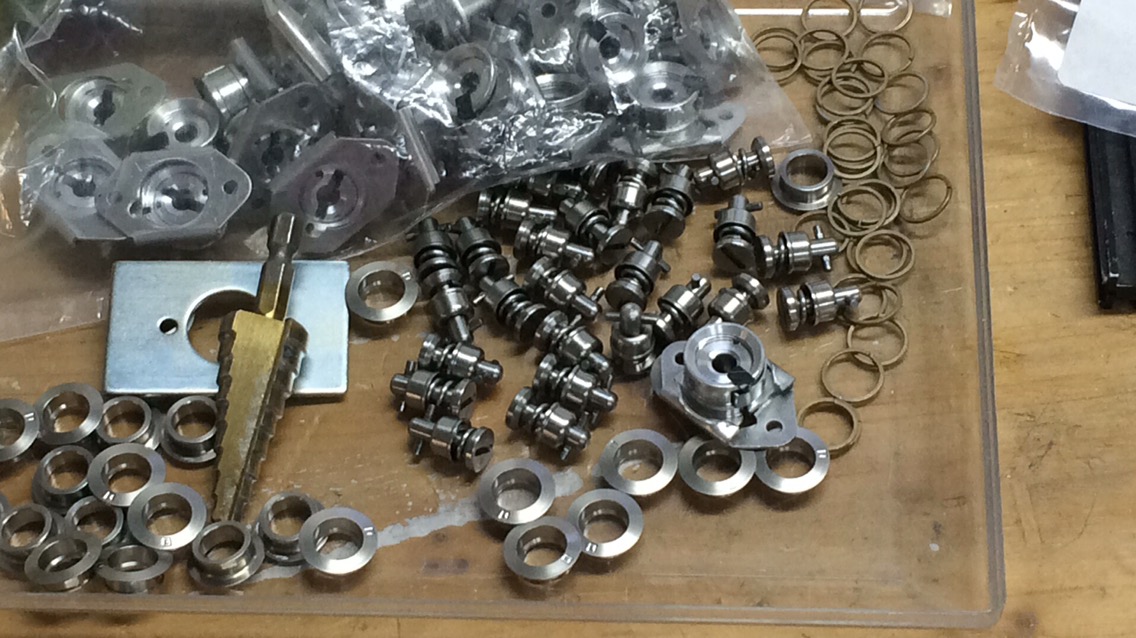
Some photos of my skybolt fasteners. ...
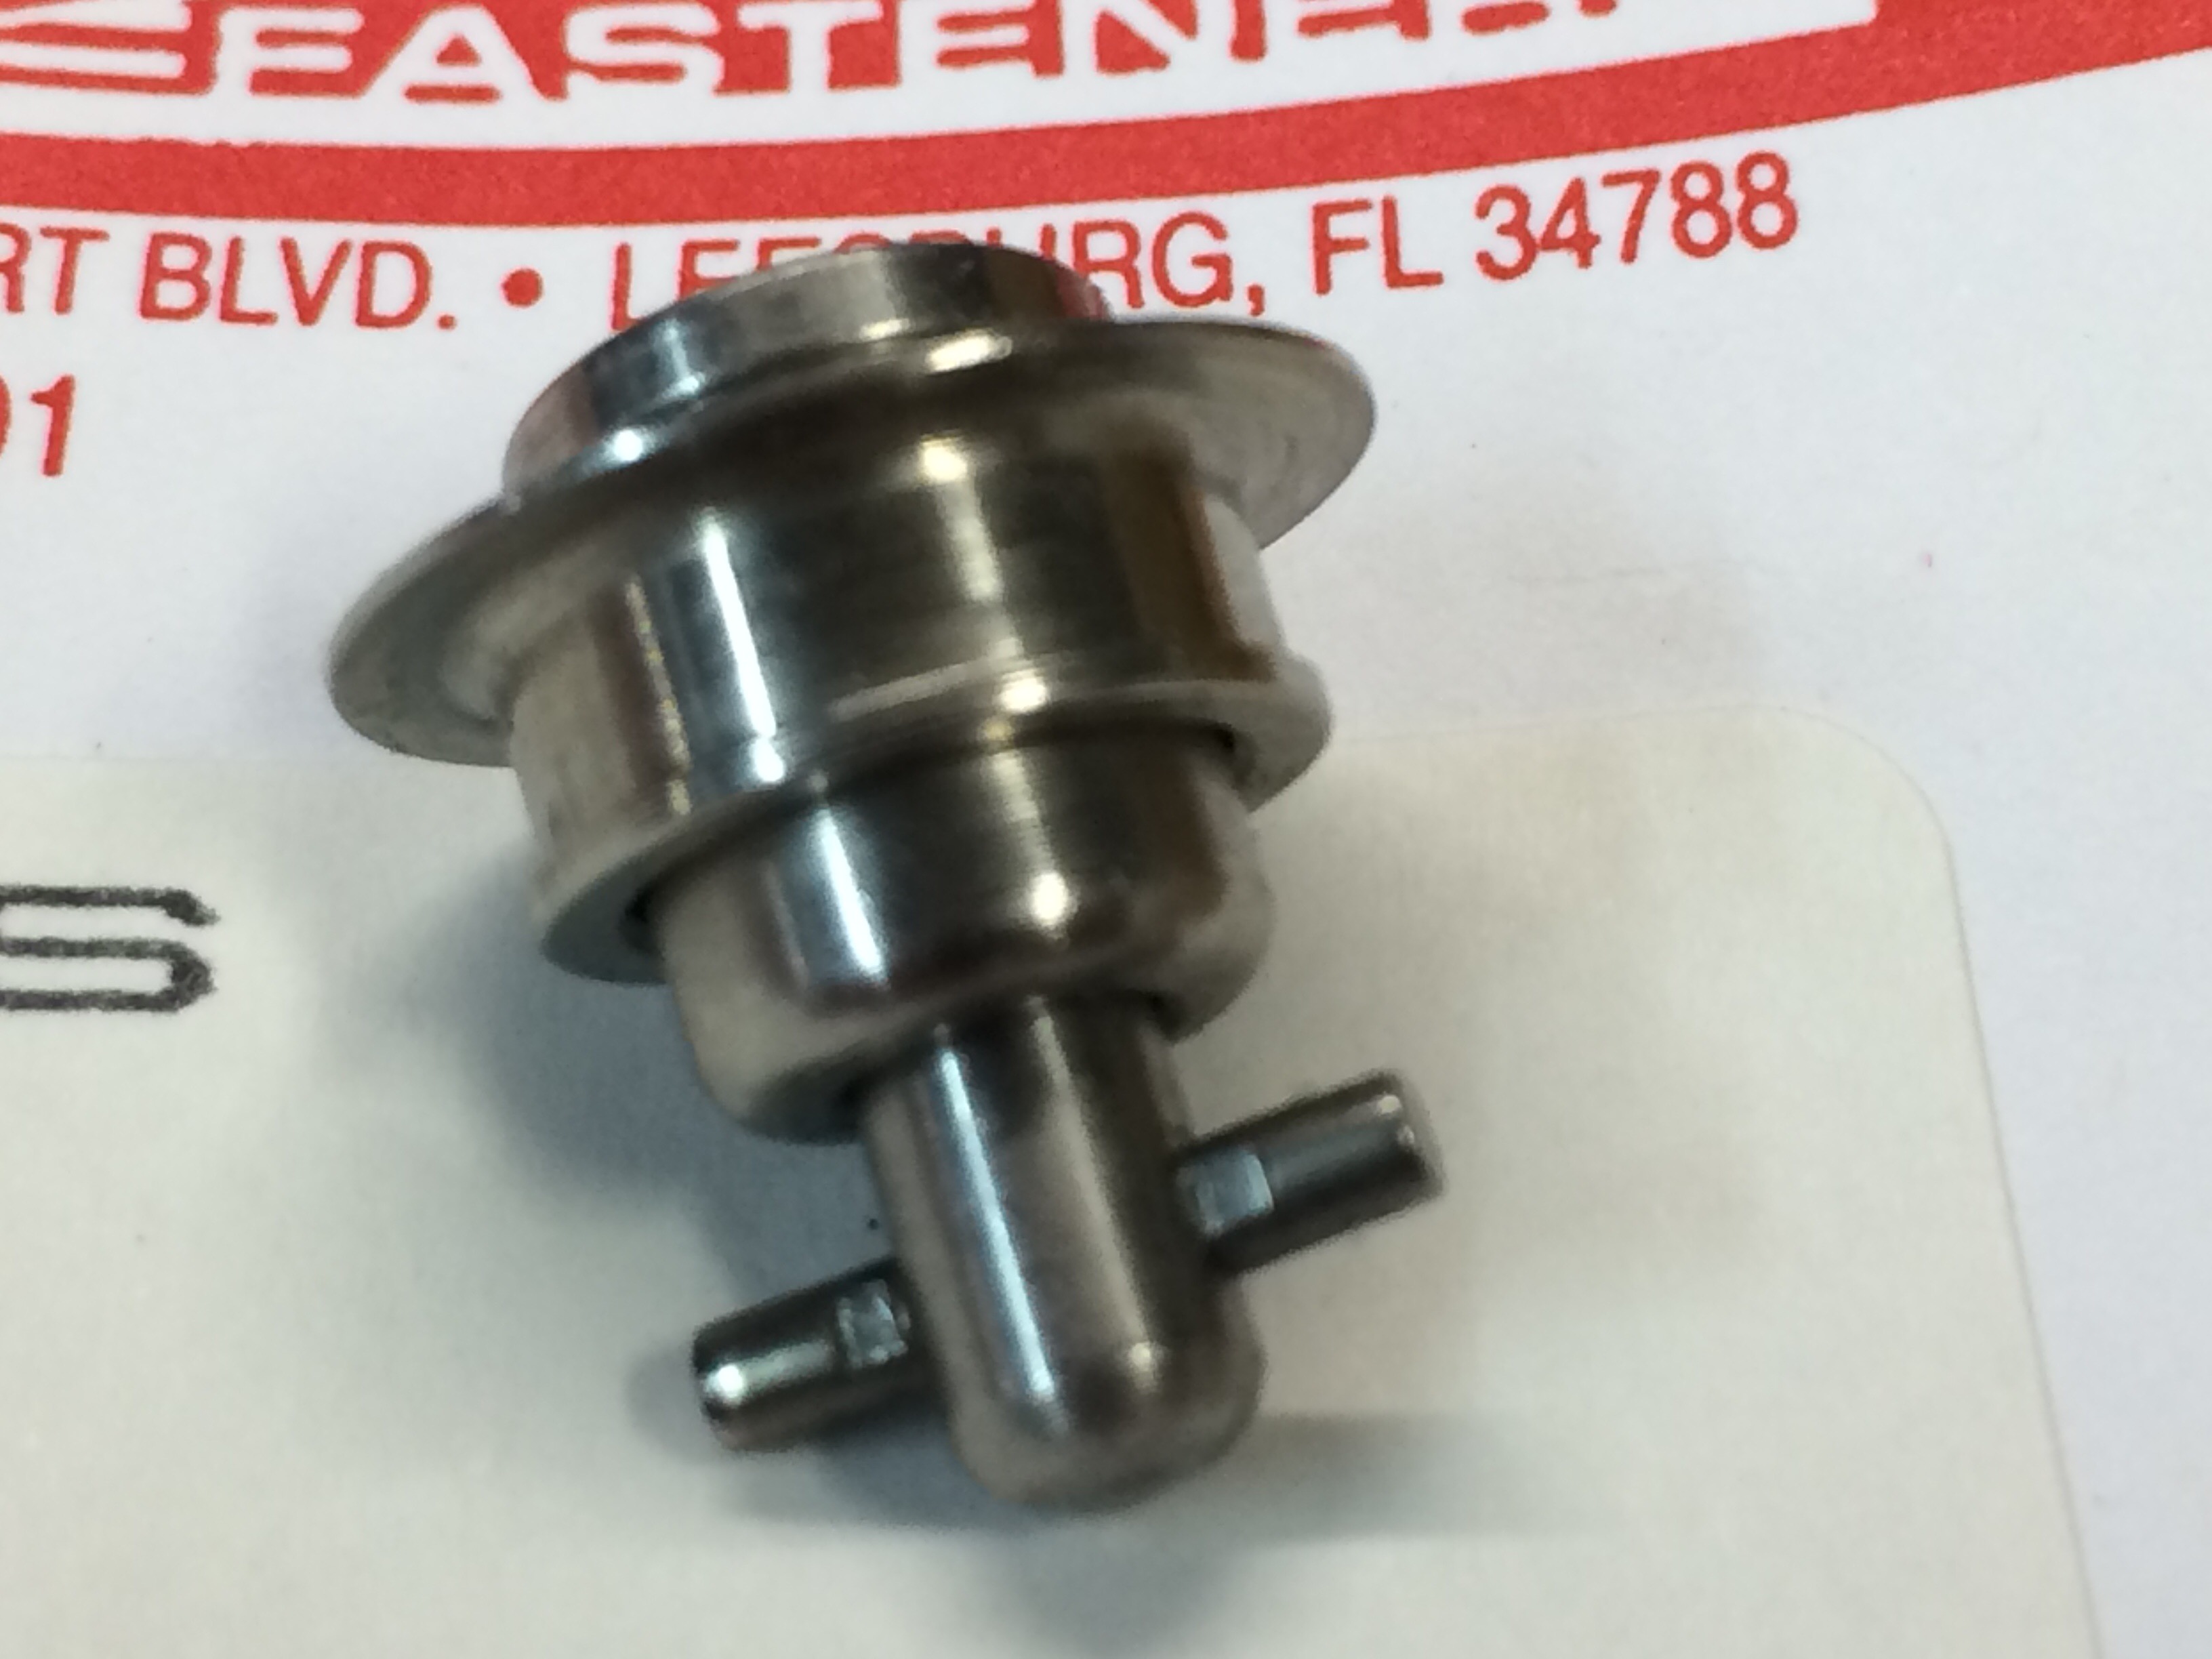
26 Jun 2017 Pressure sensor manifold spacer
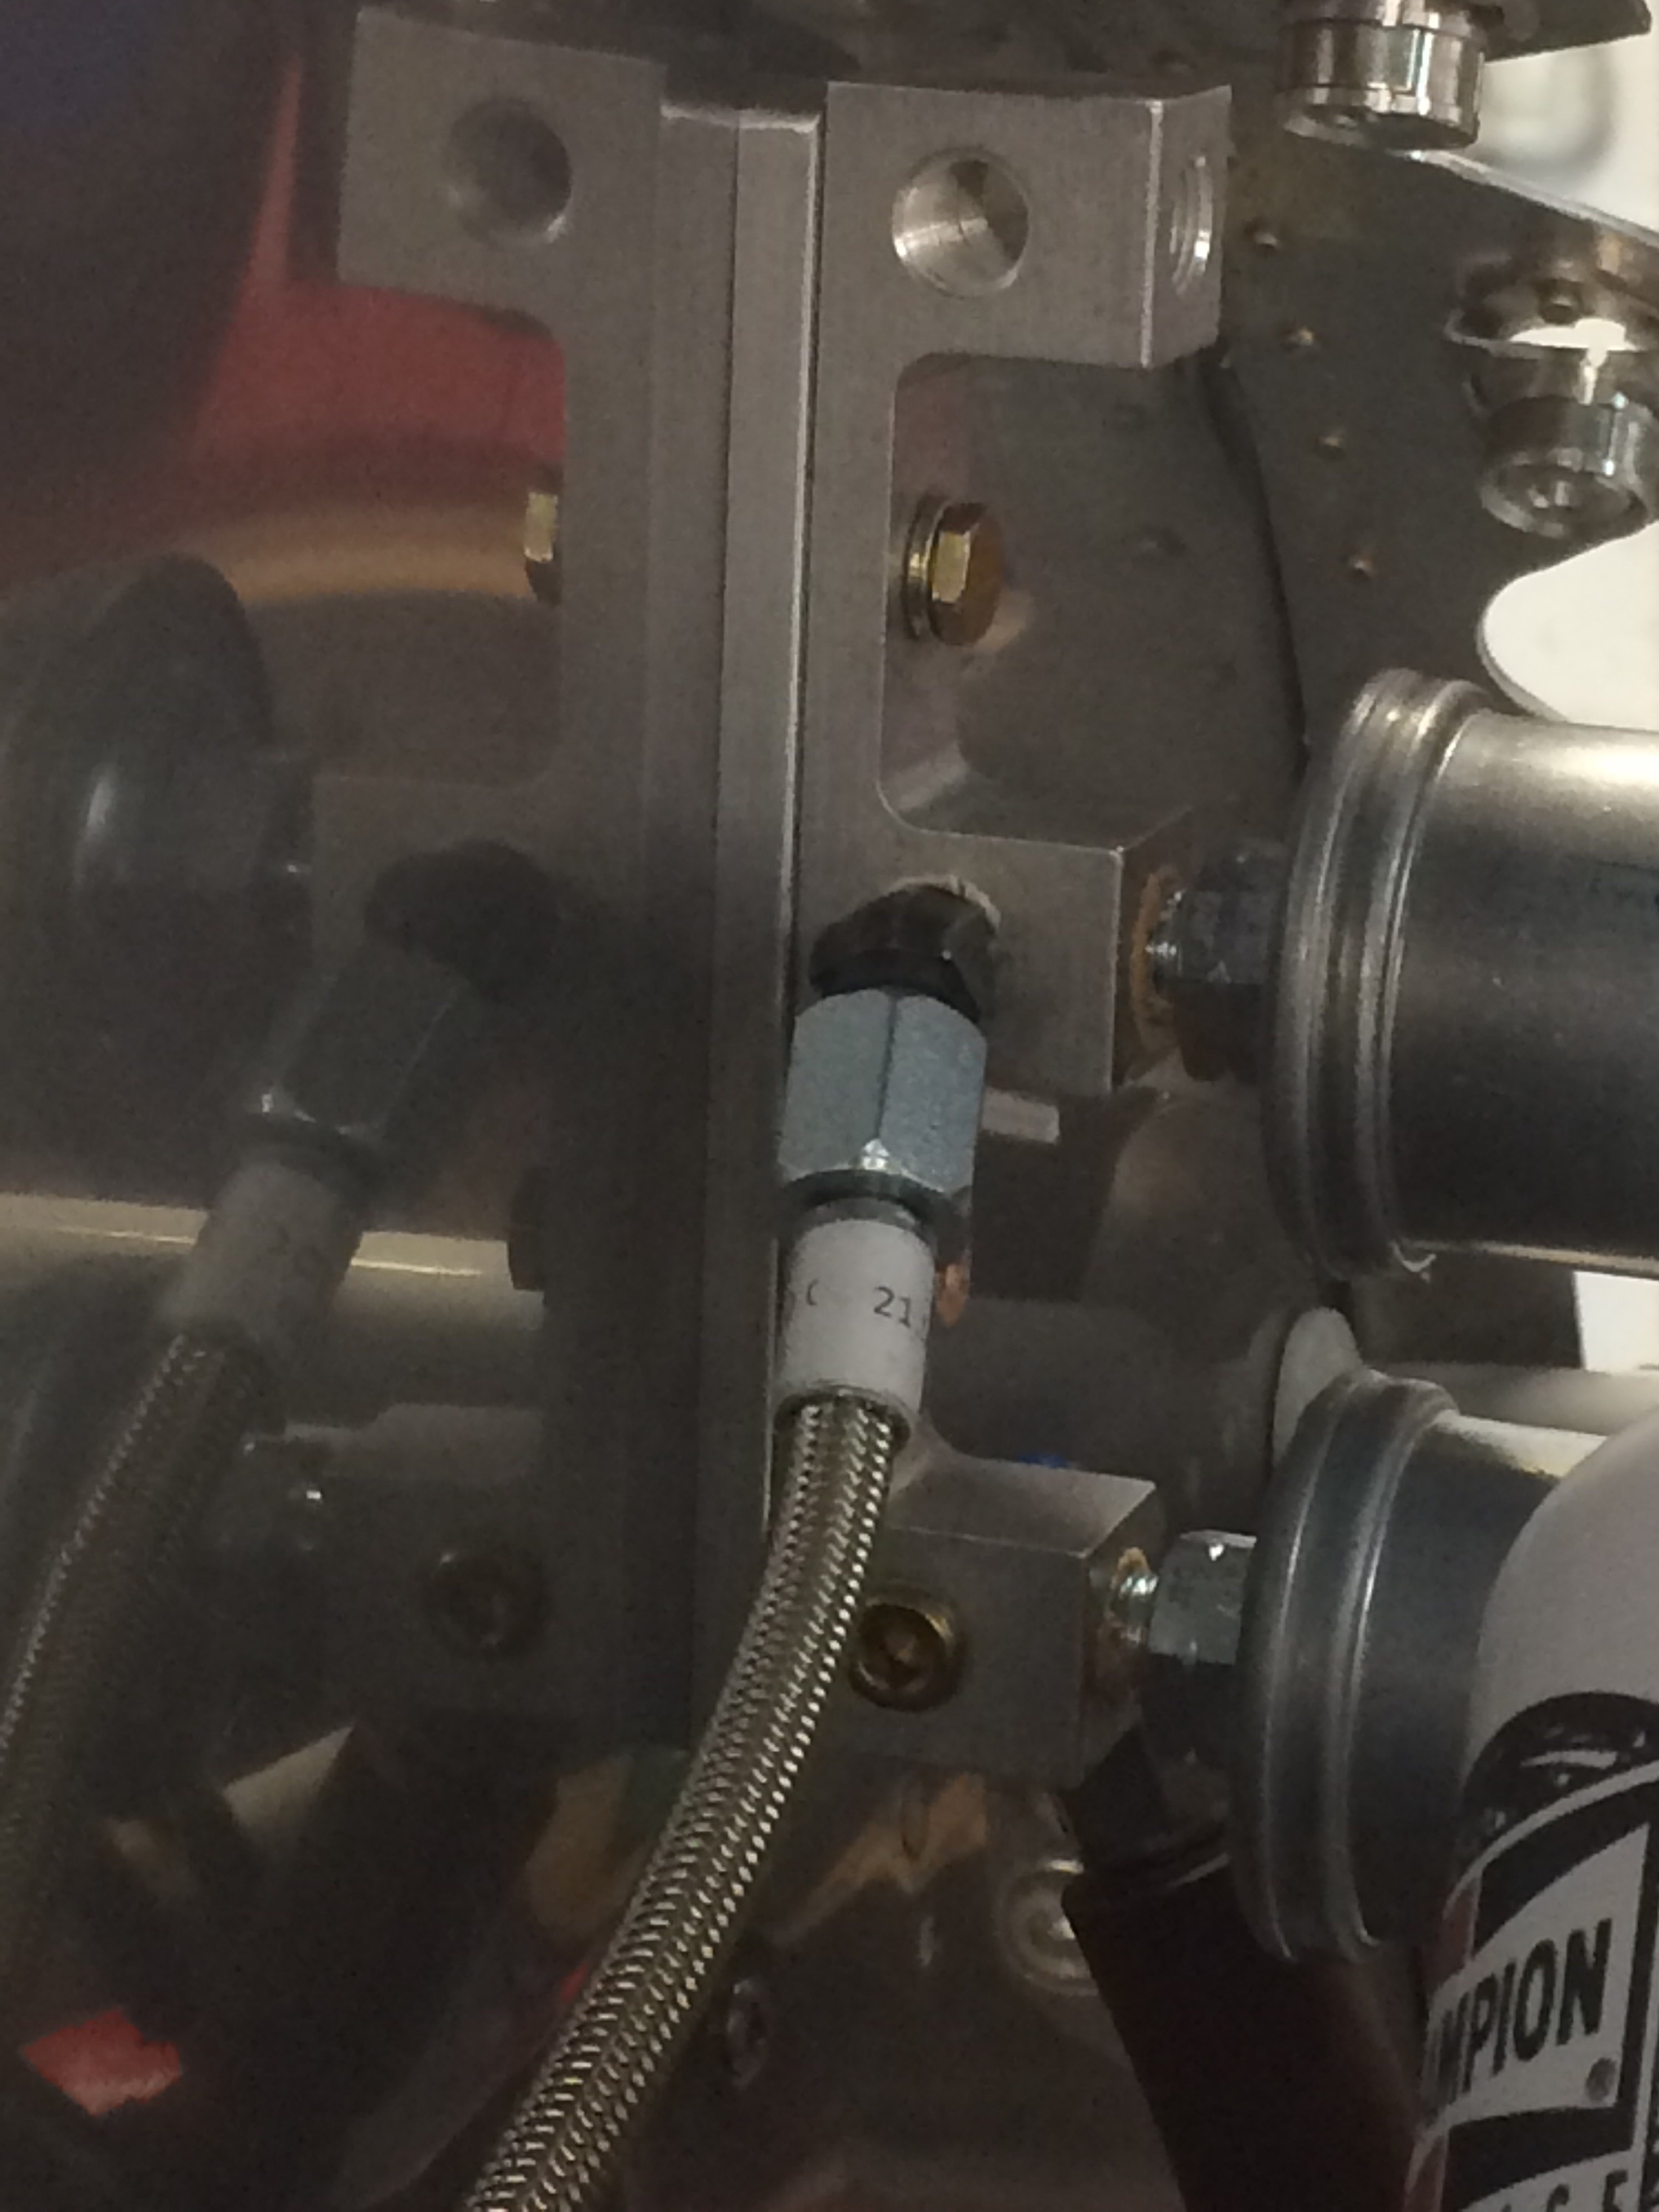
I needed to add a spacer to the pressure sensor manifold to make space for the barksdale NO/NC pressure switch. I also took a picture of my pressure test rig. I used this to set the...
26 May 2017 Oil breather tube installed
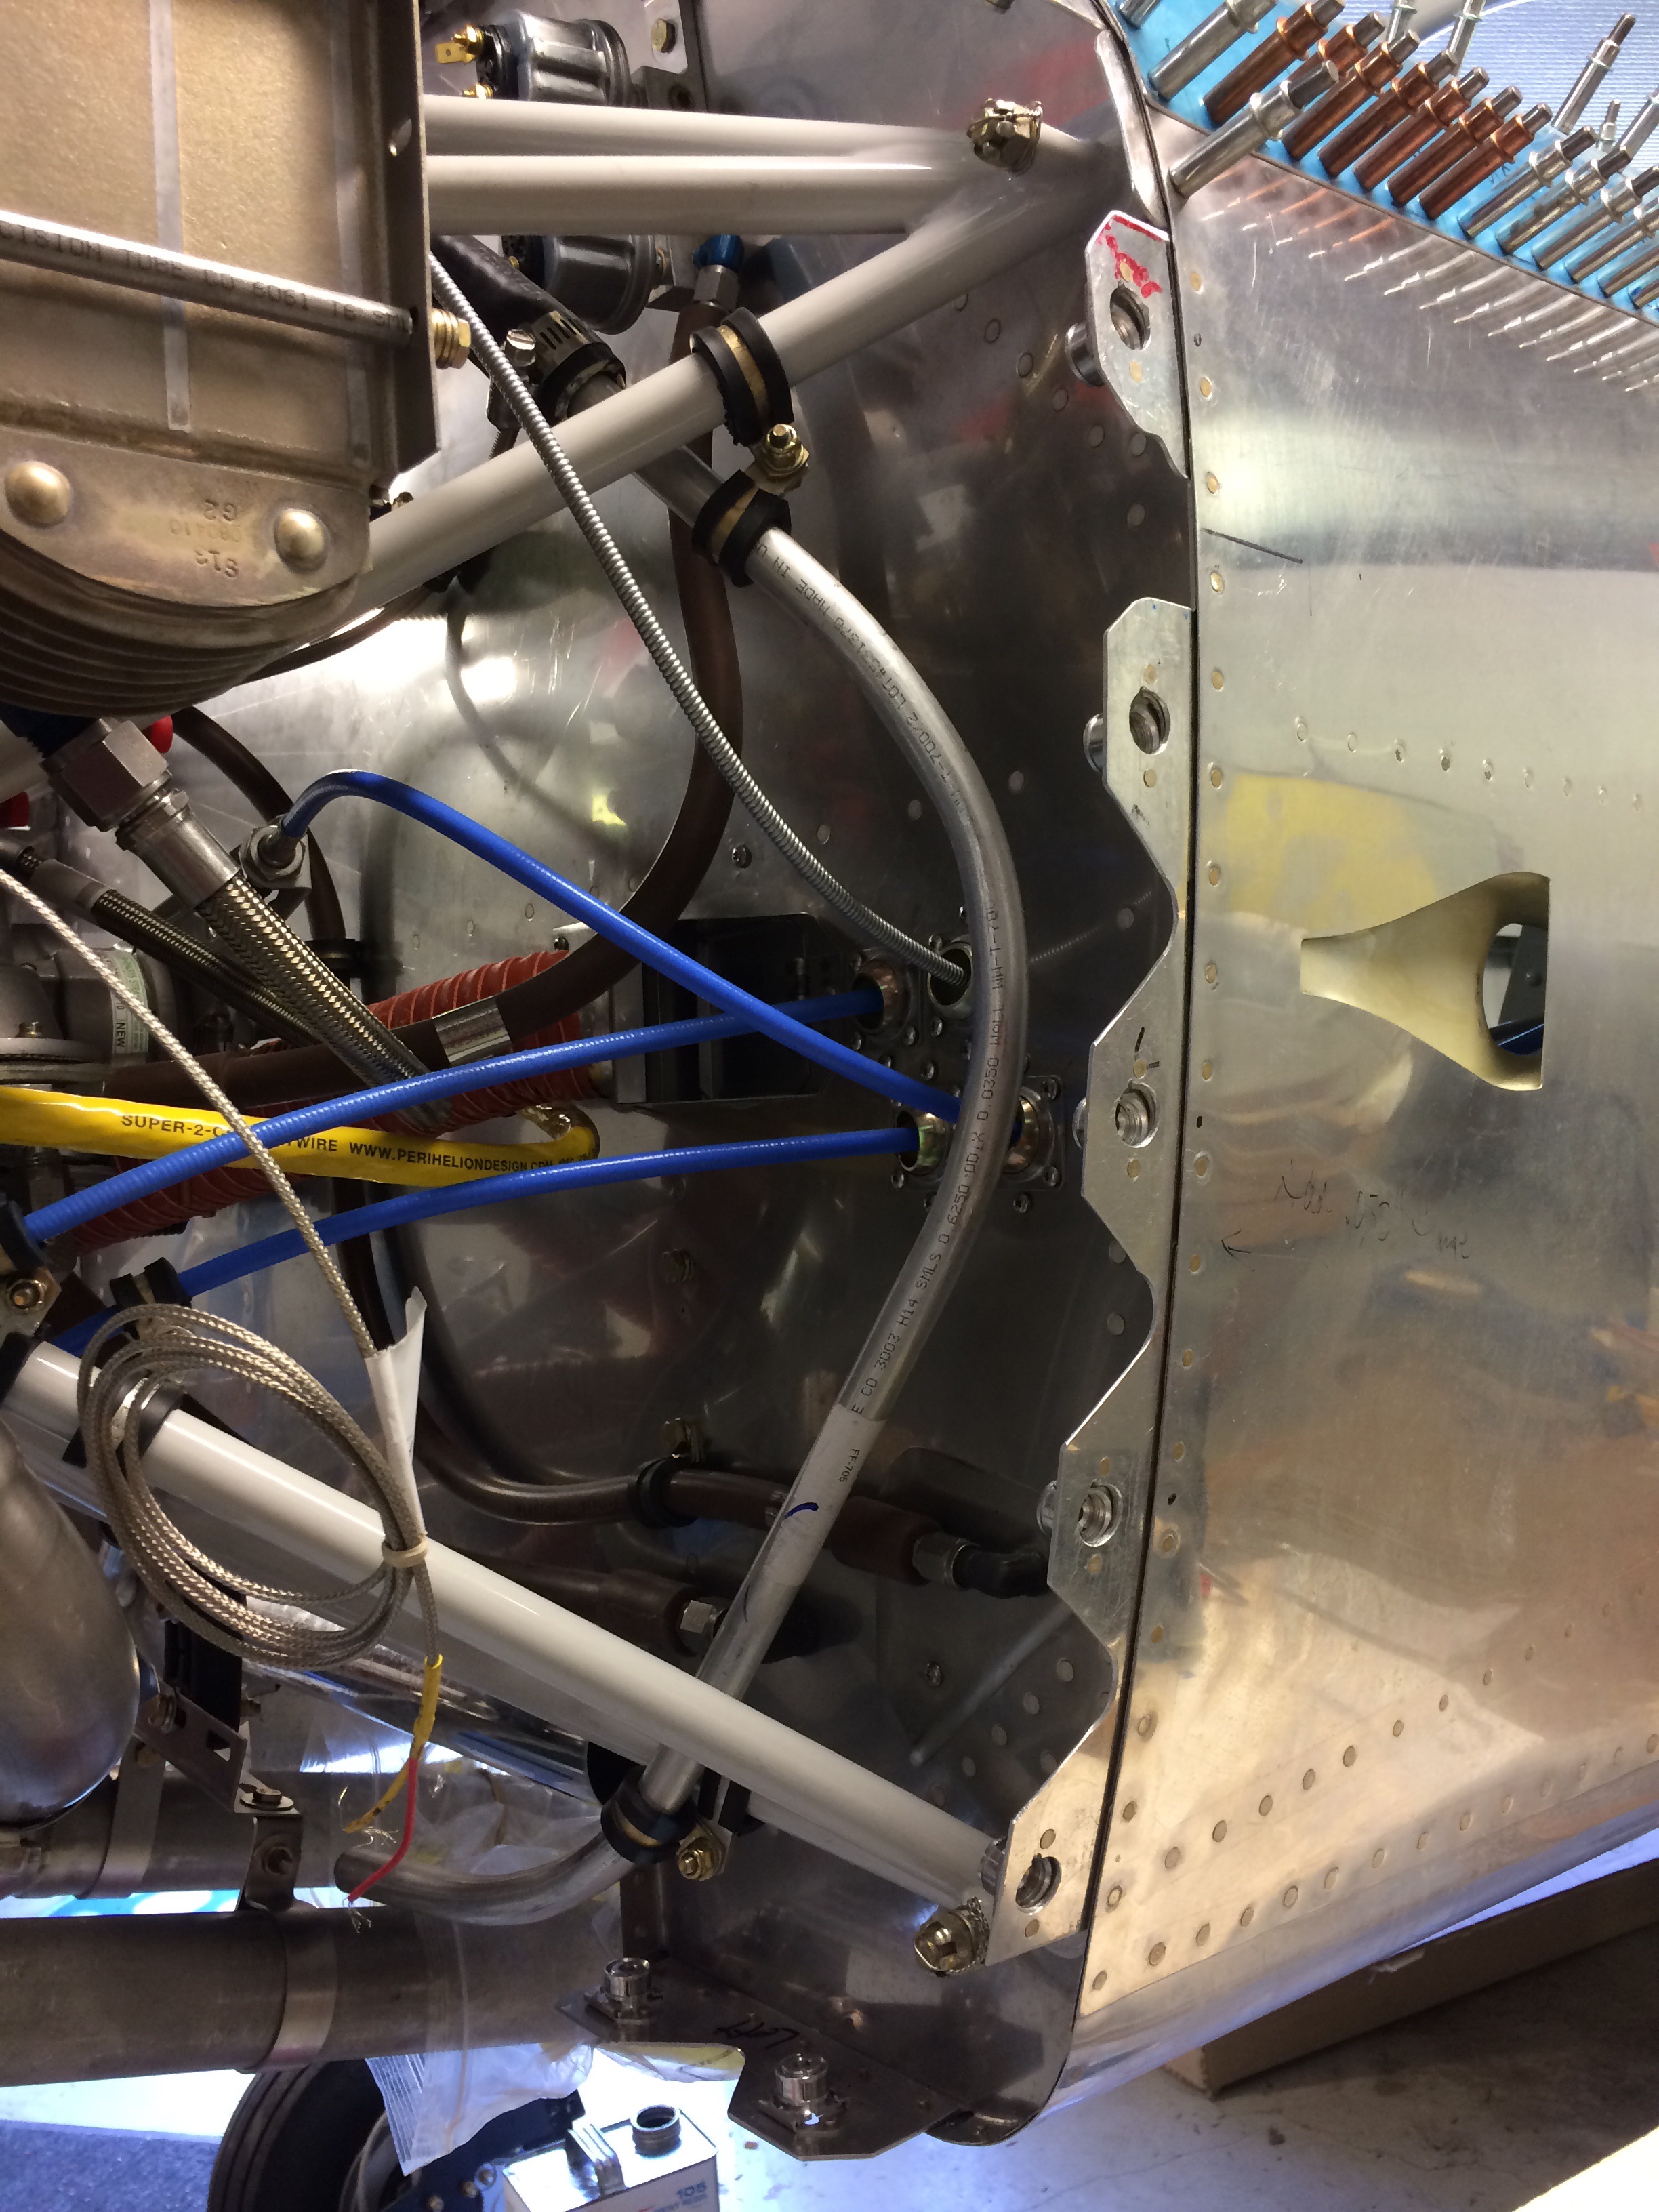
Ignore the exhaust pipe hangars - it was a test and I ended up doing it exactly the way Larry Vetterman recommends in the instructions. Very simple task but made a bit more complex with the...
22 May 2017 Oil cooler installed
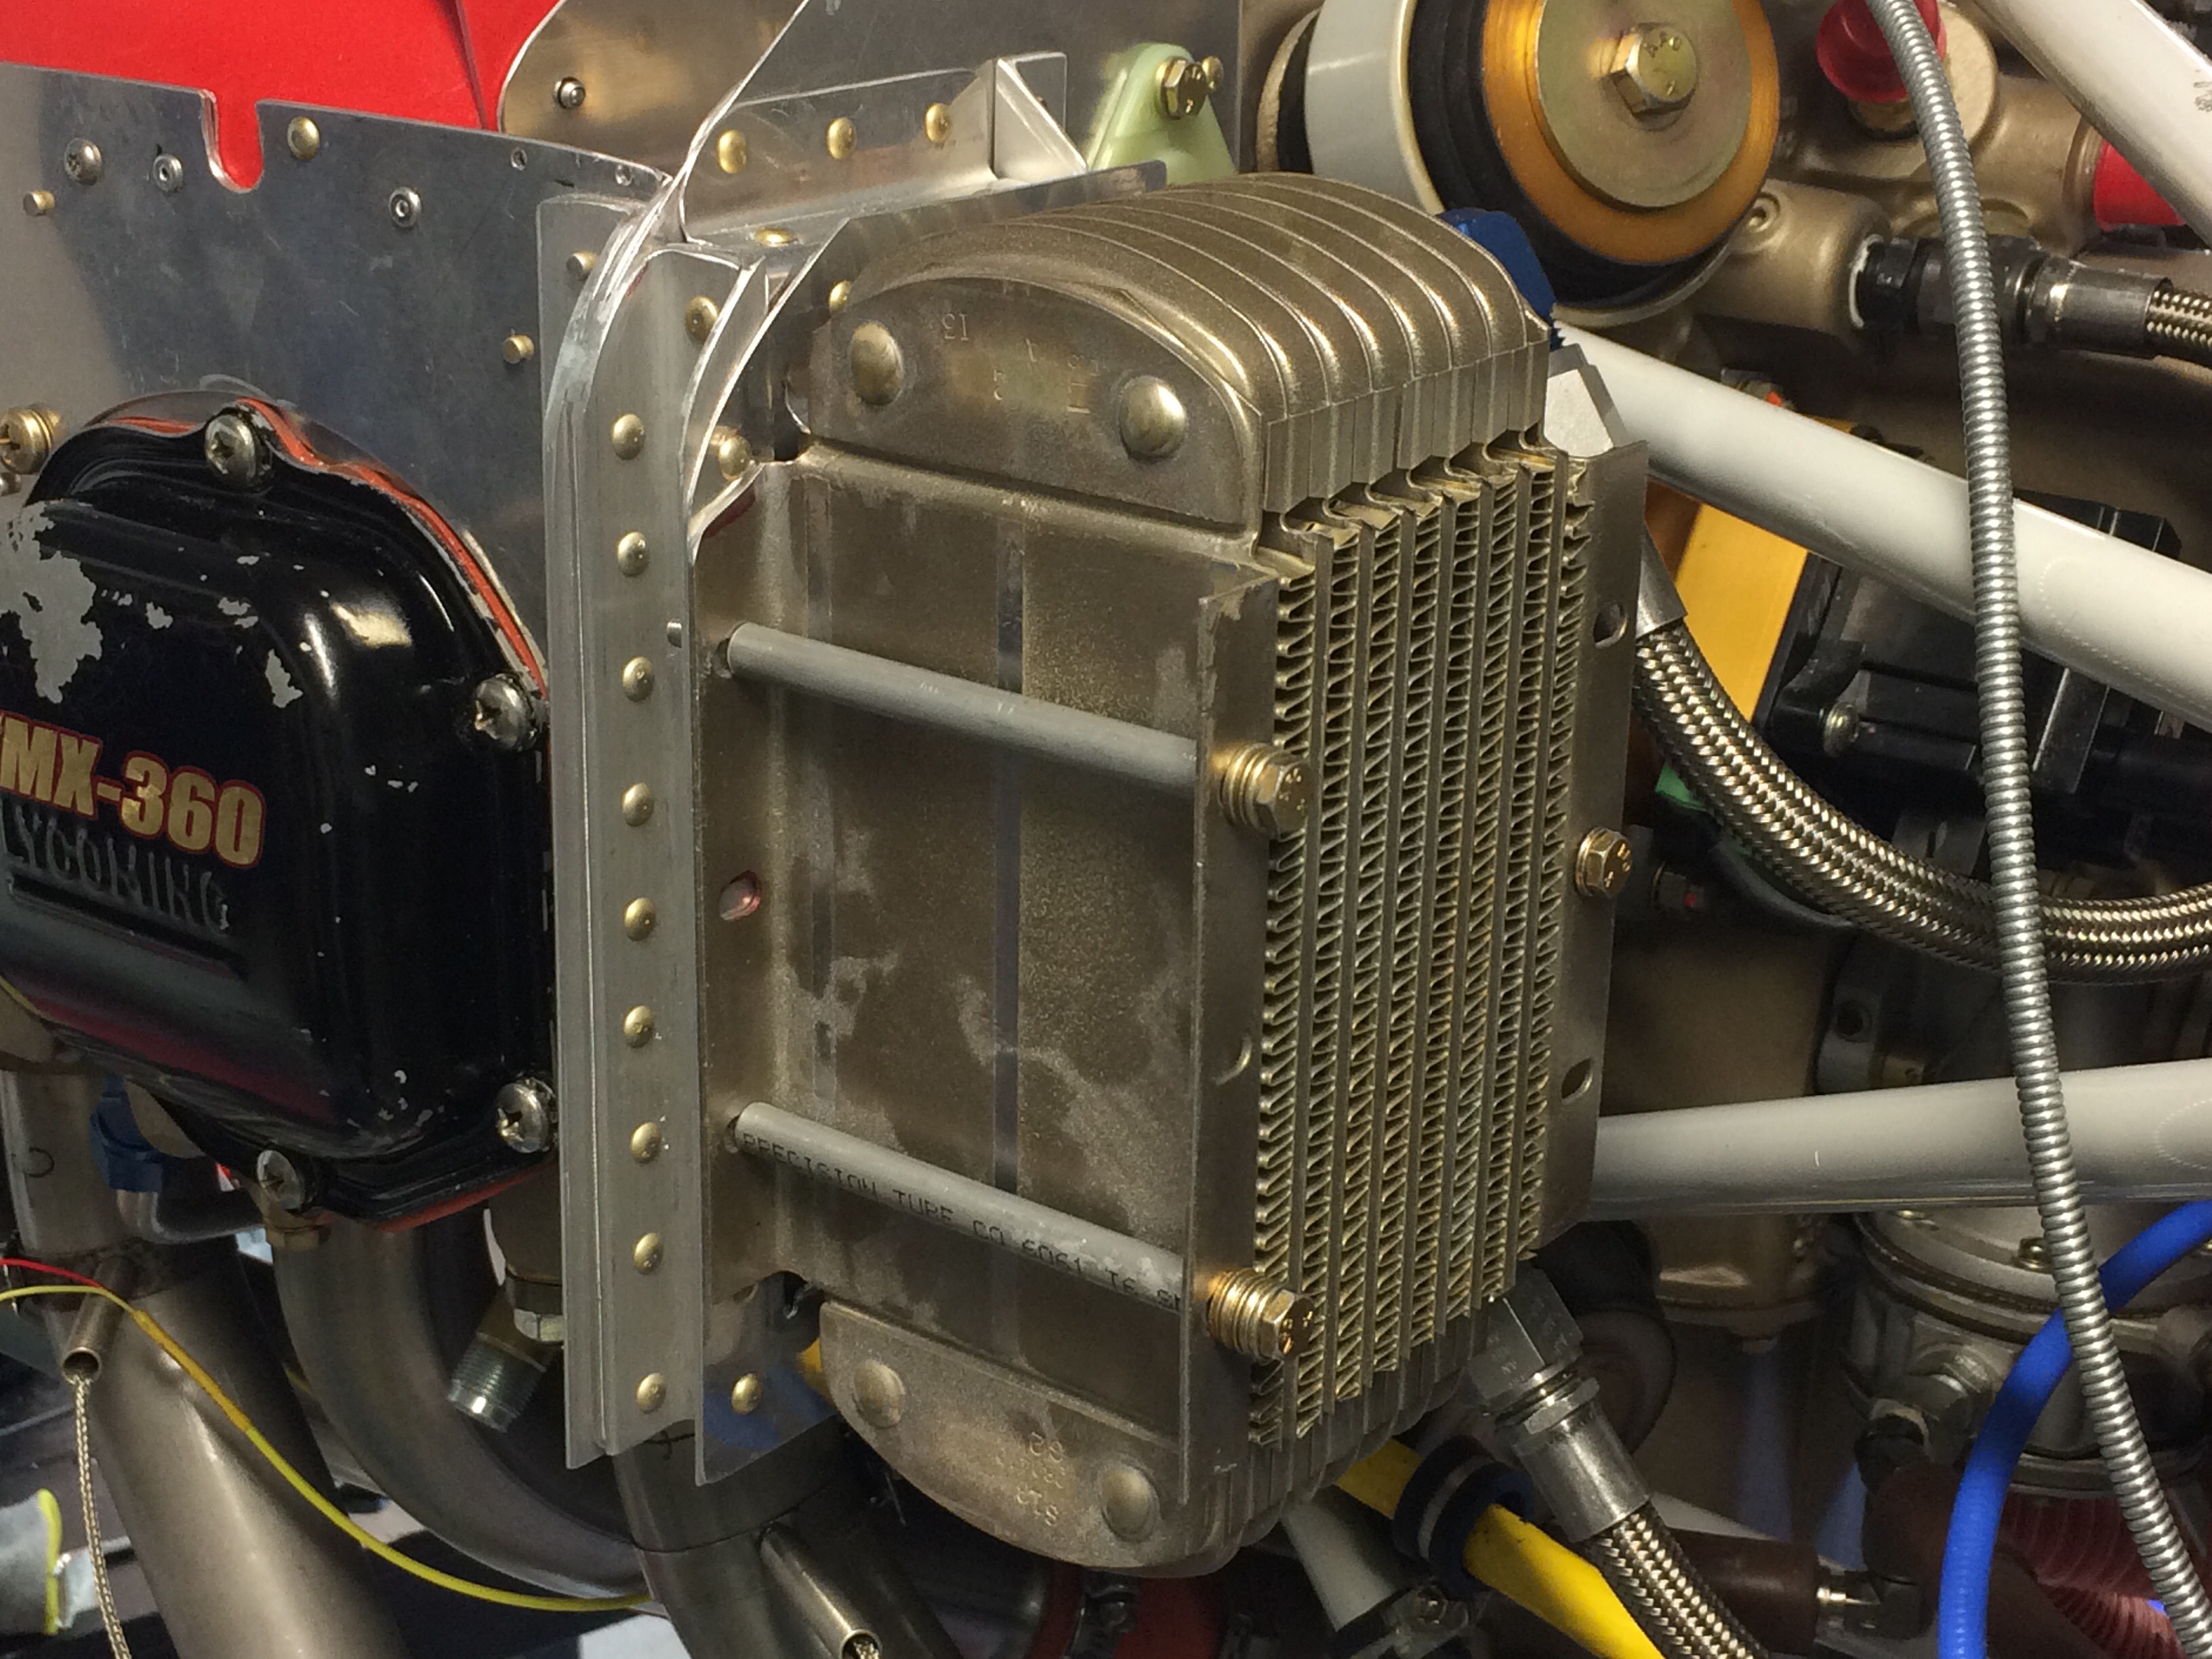
Much easier than I expected. Only issue is that the AN3-42A bolts are too long and I need to order some -40 bolts. Notice that I set the cooler back a bit and greatly strengthened the...
22 May 2017 Garmin Apollo SL-40 radio for sale
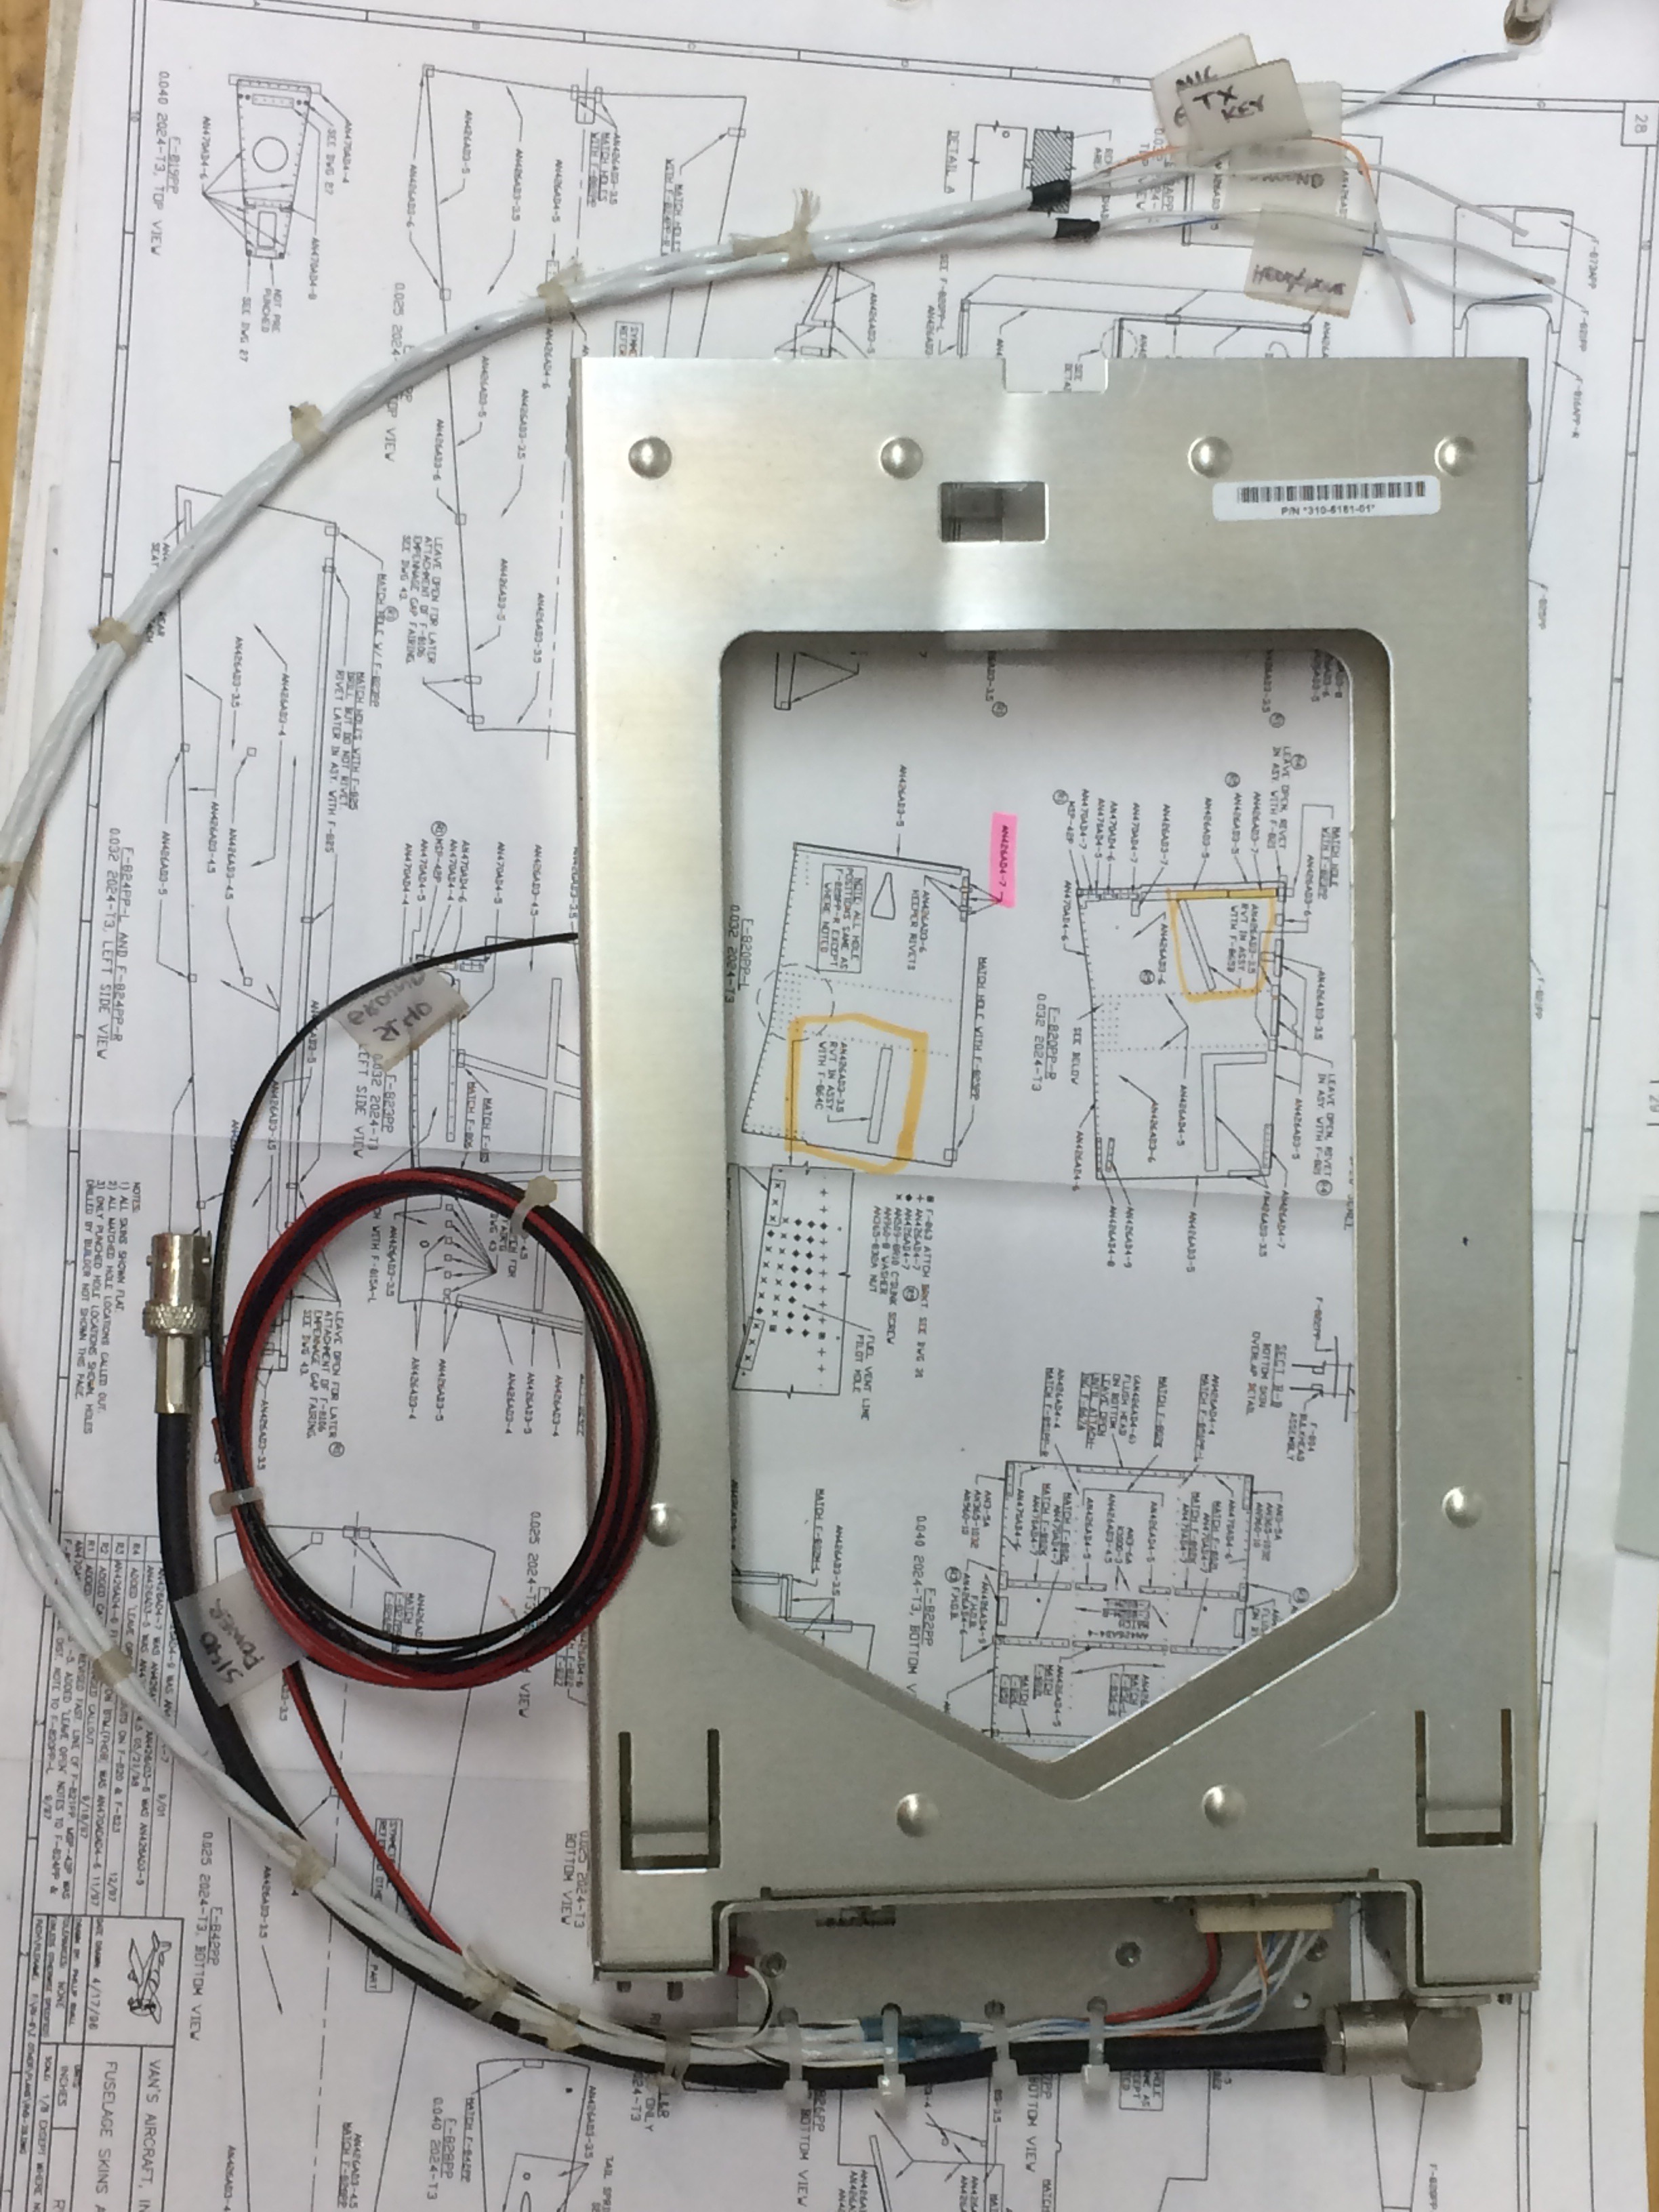
Beautiful radio, updated, totally new, never installed, with pre-wired tray. $1125 shipped in the US. ...
15 May 2017 Installed camloc fasteners
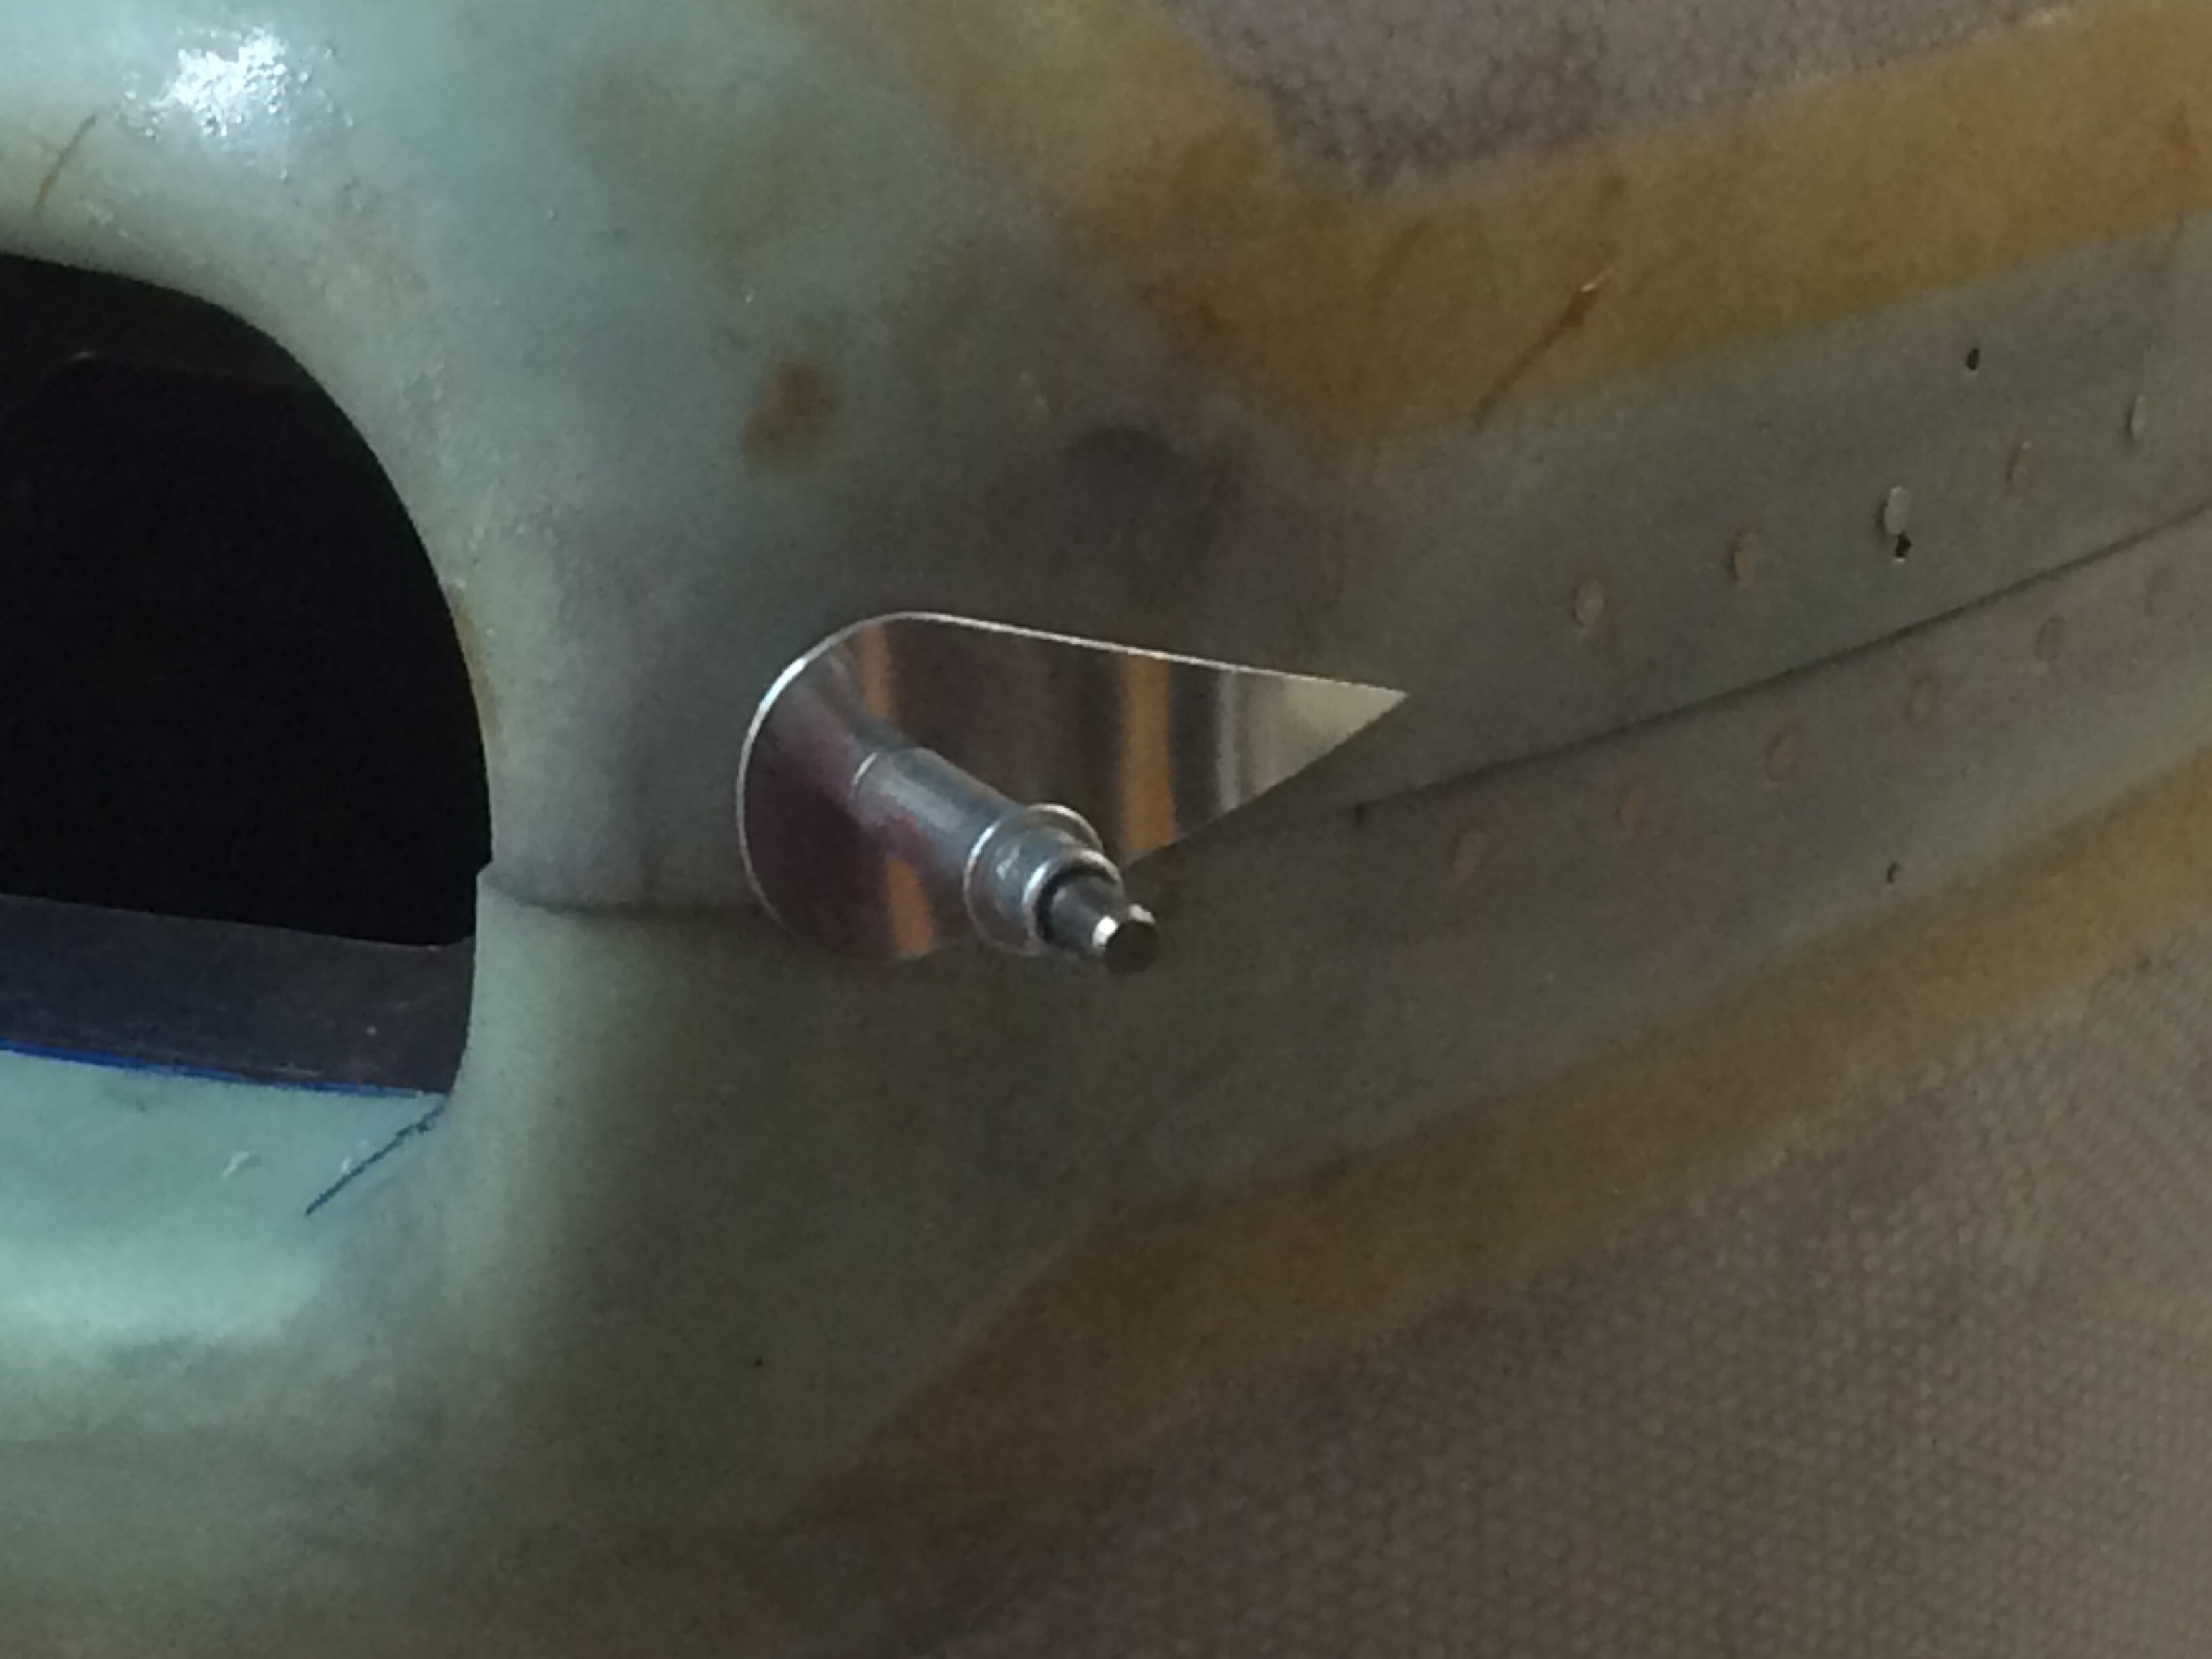
I bought some camloc fasteners from skybolt for the connection between the cowl and the firewall. Turned out fine and was really easy to install. ...
15 May 2017 Ready to rivet F-821PP top skin
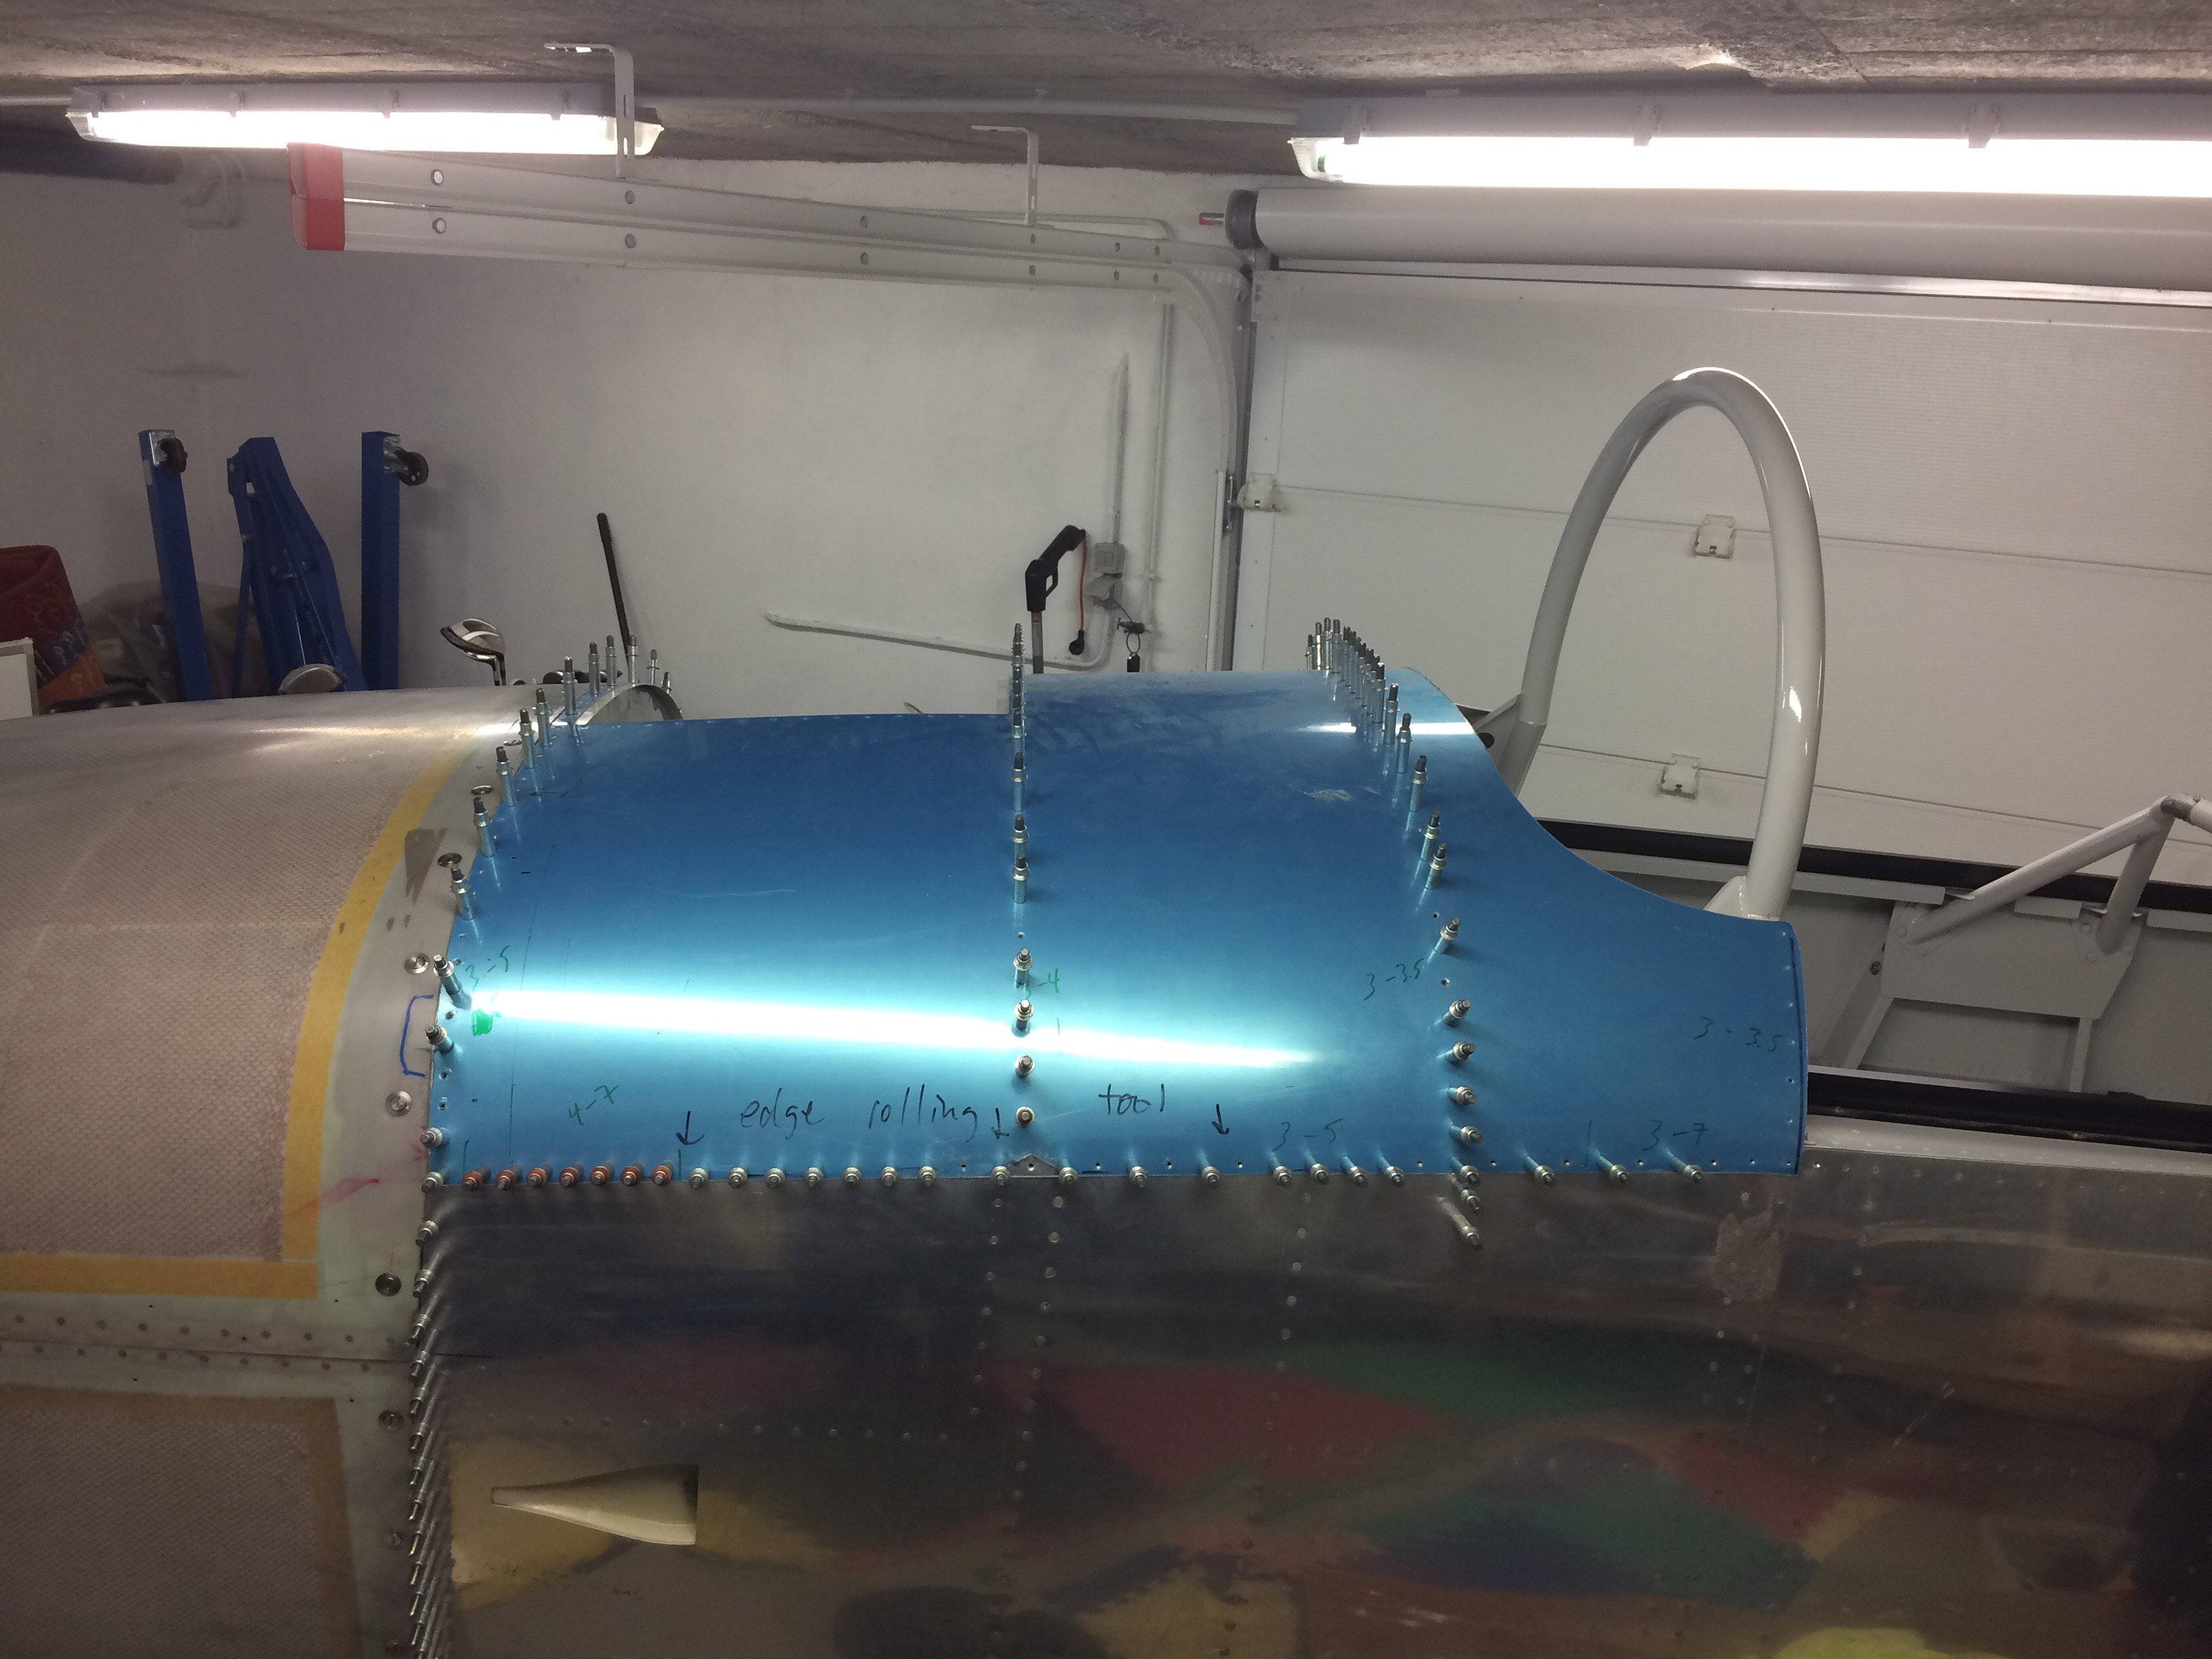
Ready to go - hope I have not missed something important. ...
07 May 2017 Air filter pics
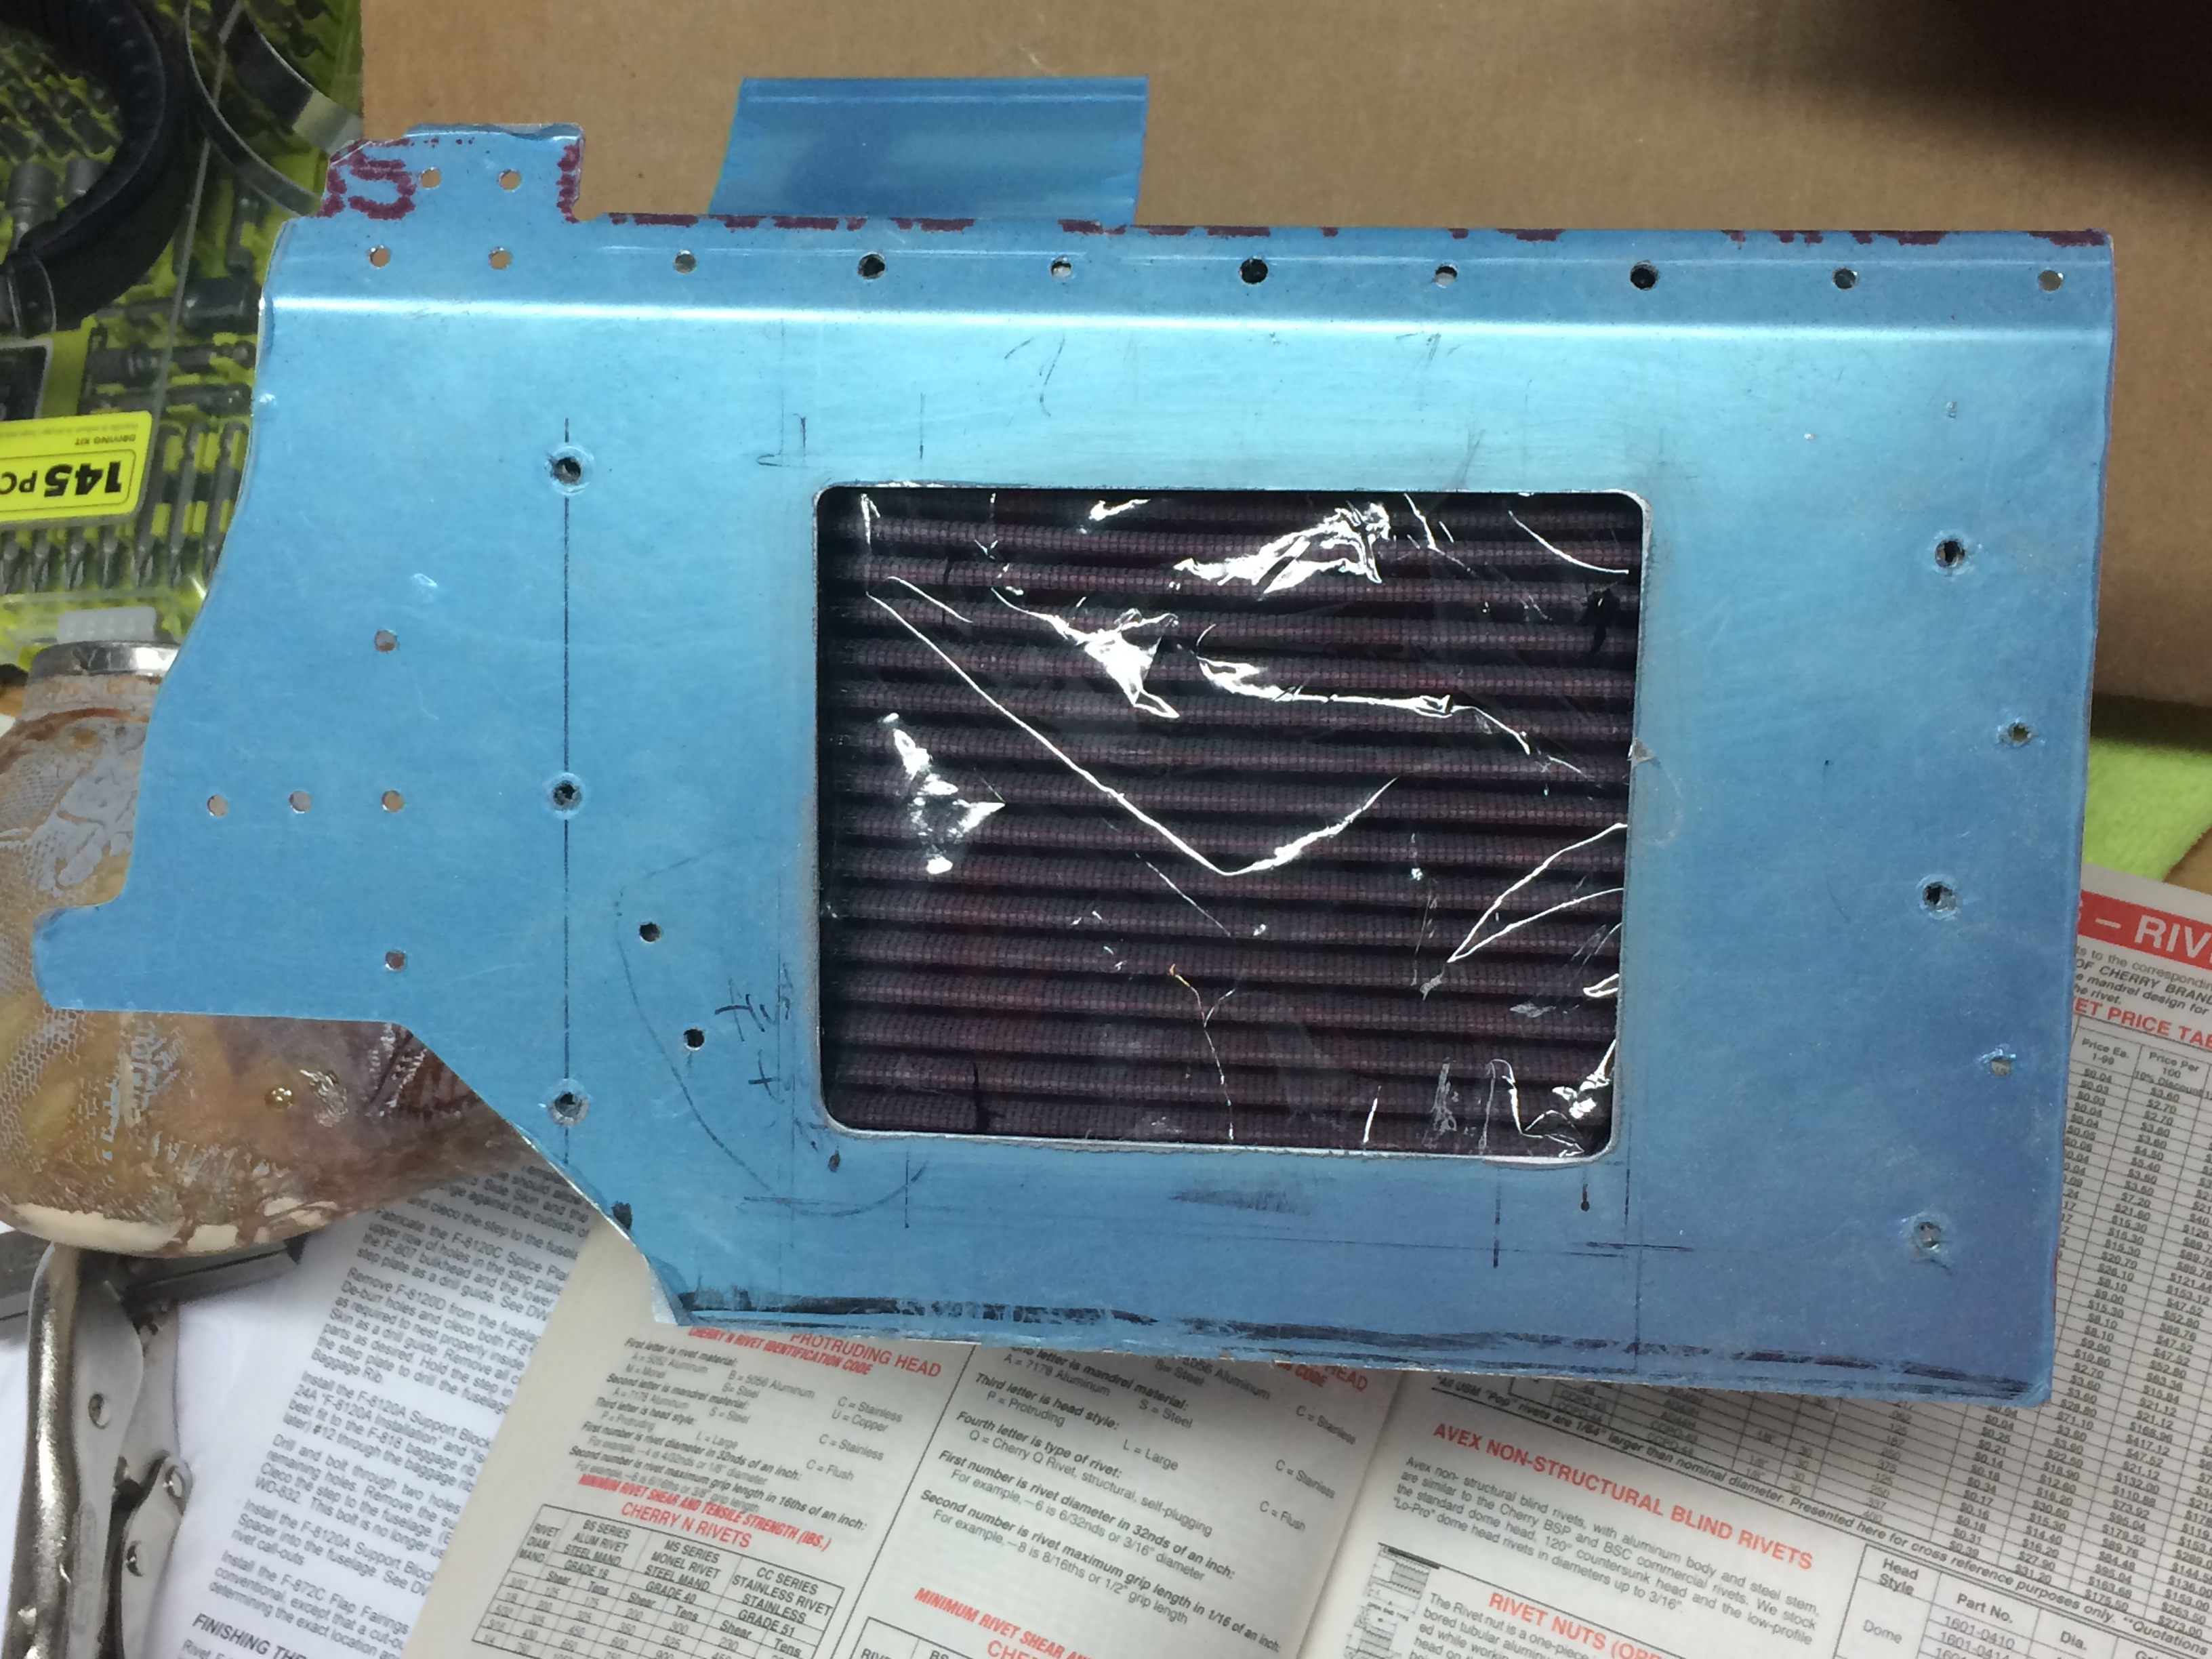
Some pics of the air filter install. ...
07 May 2017 Cowl hinge pin covers
This is an idea that I have seen on many other RVs. The hinge pin openings are kind of narly so generally people find a way to cover them. Here is what I did. ...
07 May 2017 Solution to stubborn cowl hinge pin
Paul gave me a very useful tip to fix a stubborn cowl hinge pin. Just flatten one end of a spare pin, grind it a little bit, and use a drill to ream it. Worked perfectly- now...
23 Apr 2017 Baffle to cowl clearance above oil cooler
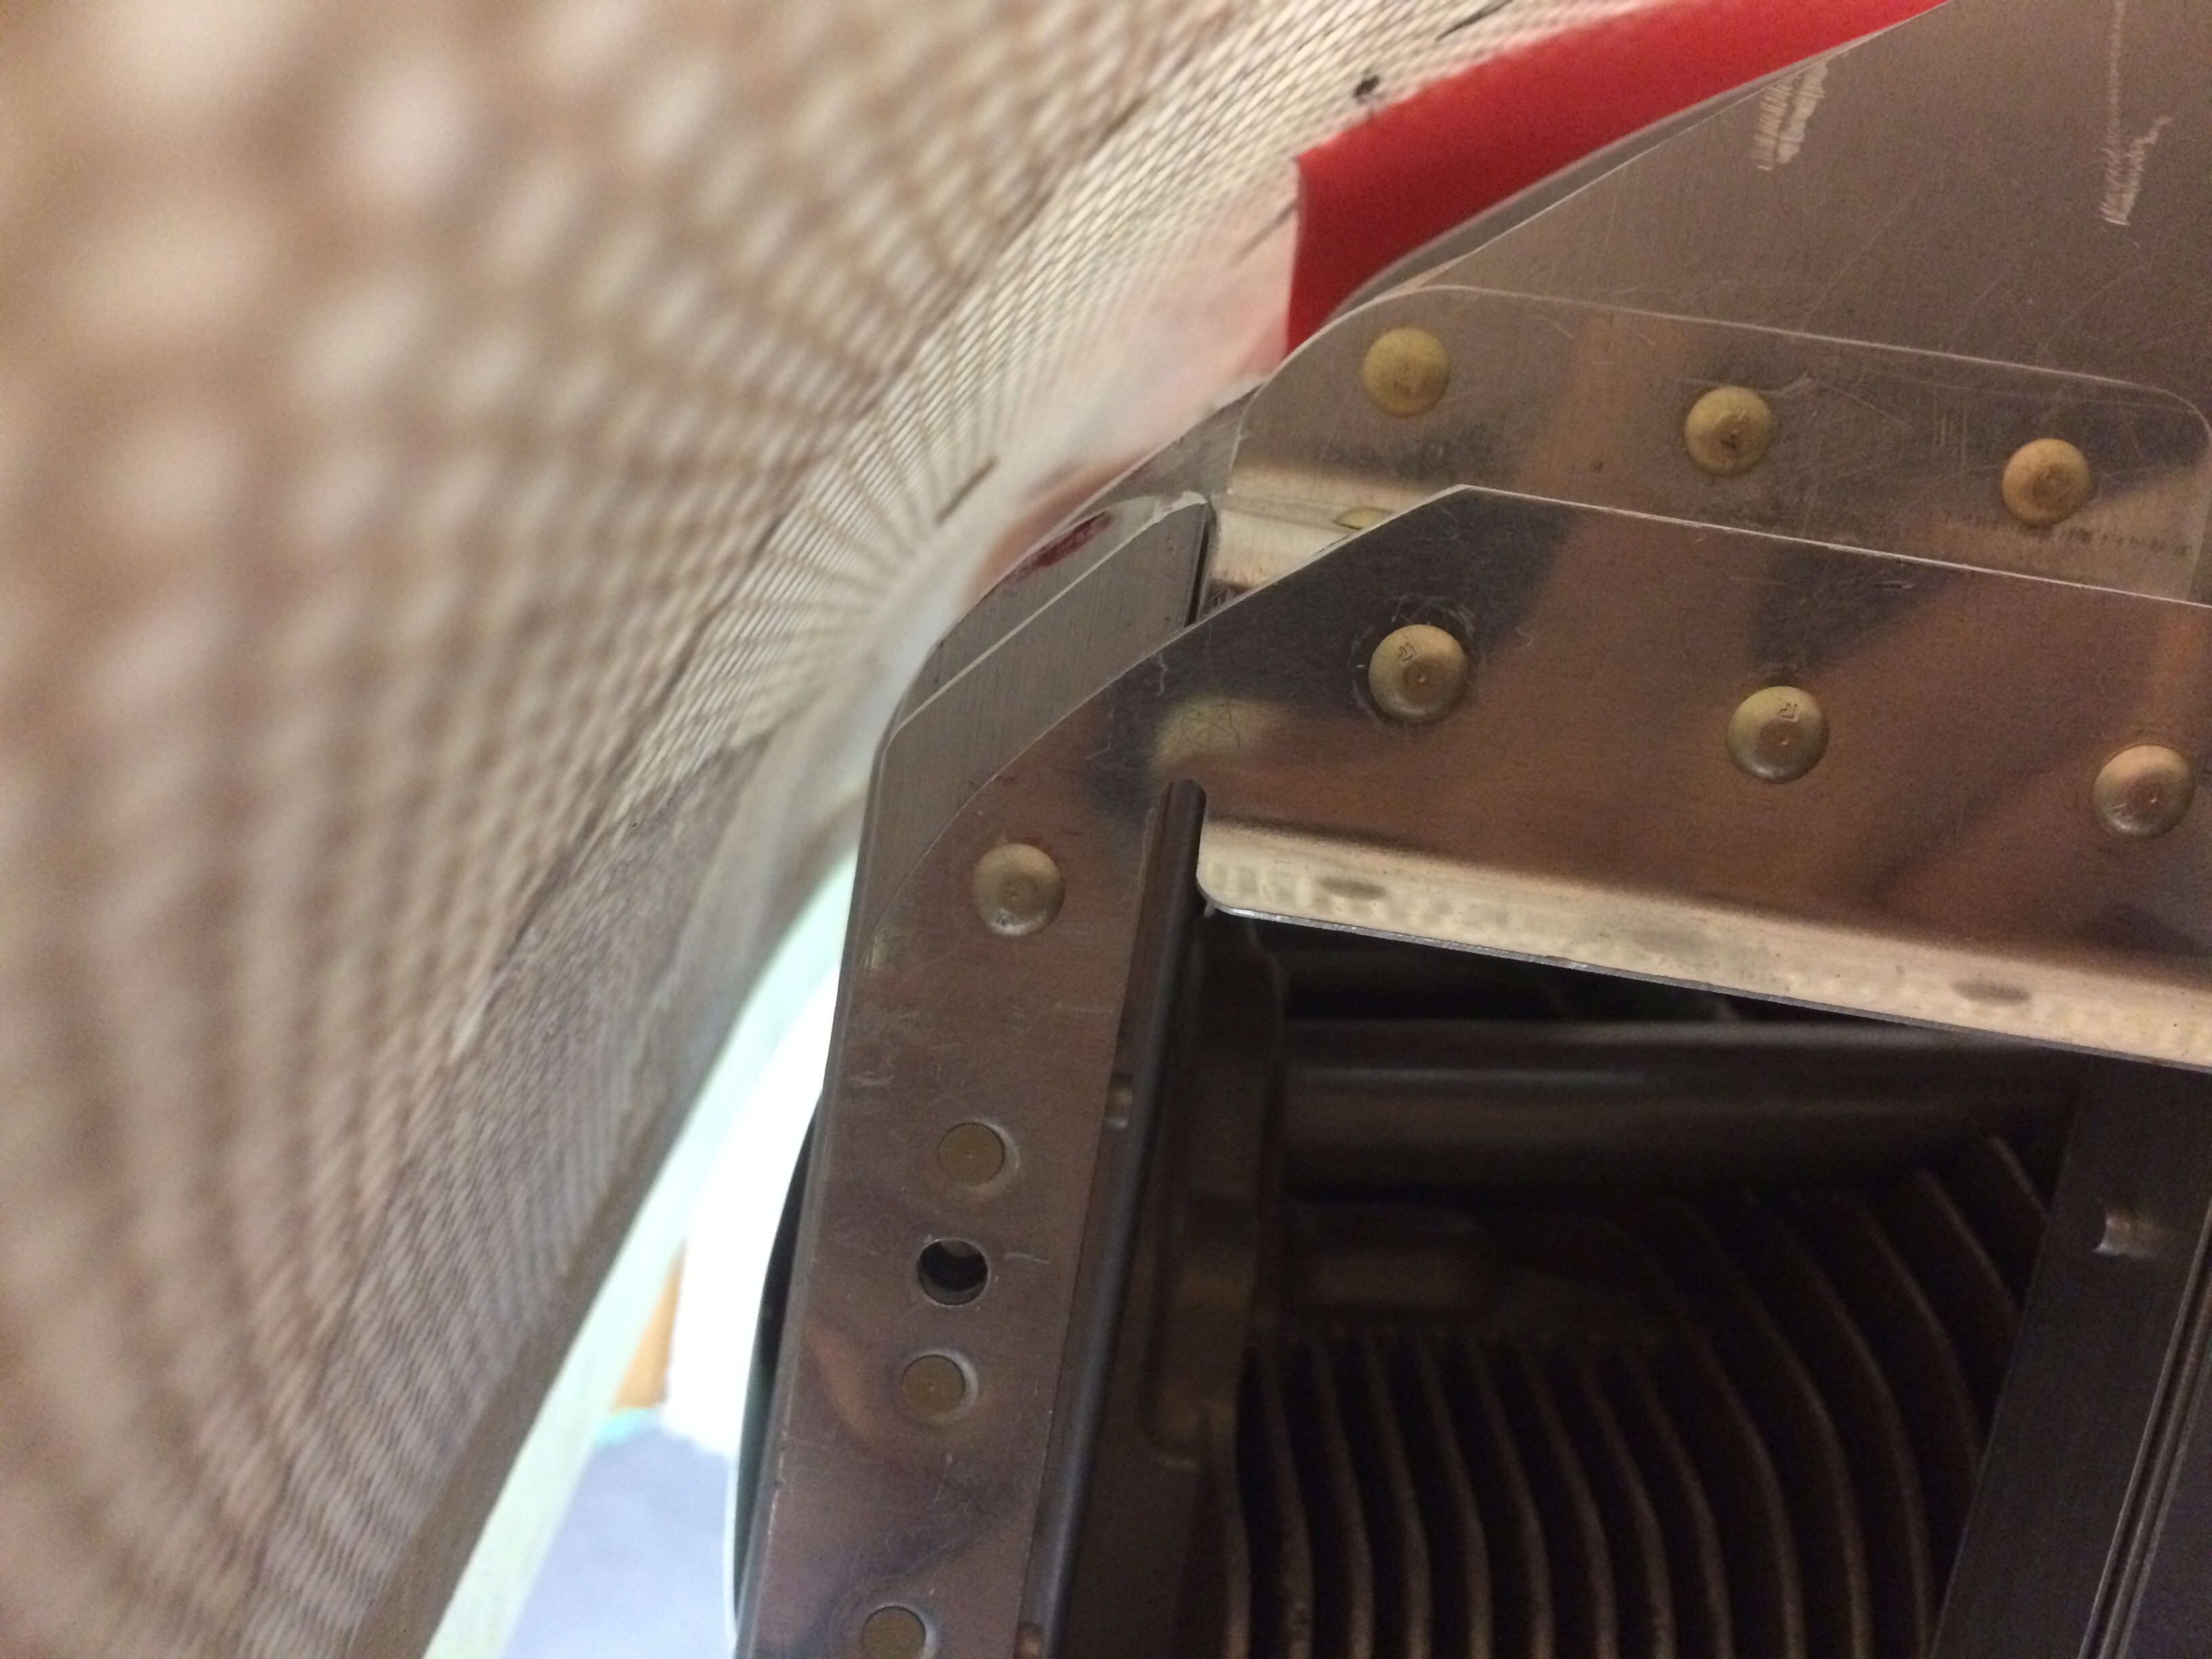
The instructions are pretty clear - keep a 3/8" to 1/2" clearance between the upper edge of the baffles and the inside surface of the top cowl. I have that everywhere but it just seems too...
14 Apr 2017 Alternator B lead install with Littelfuse midi inline 80amp fuse
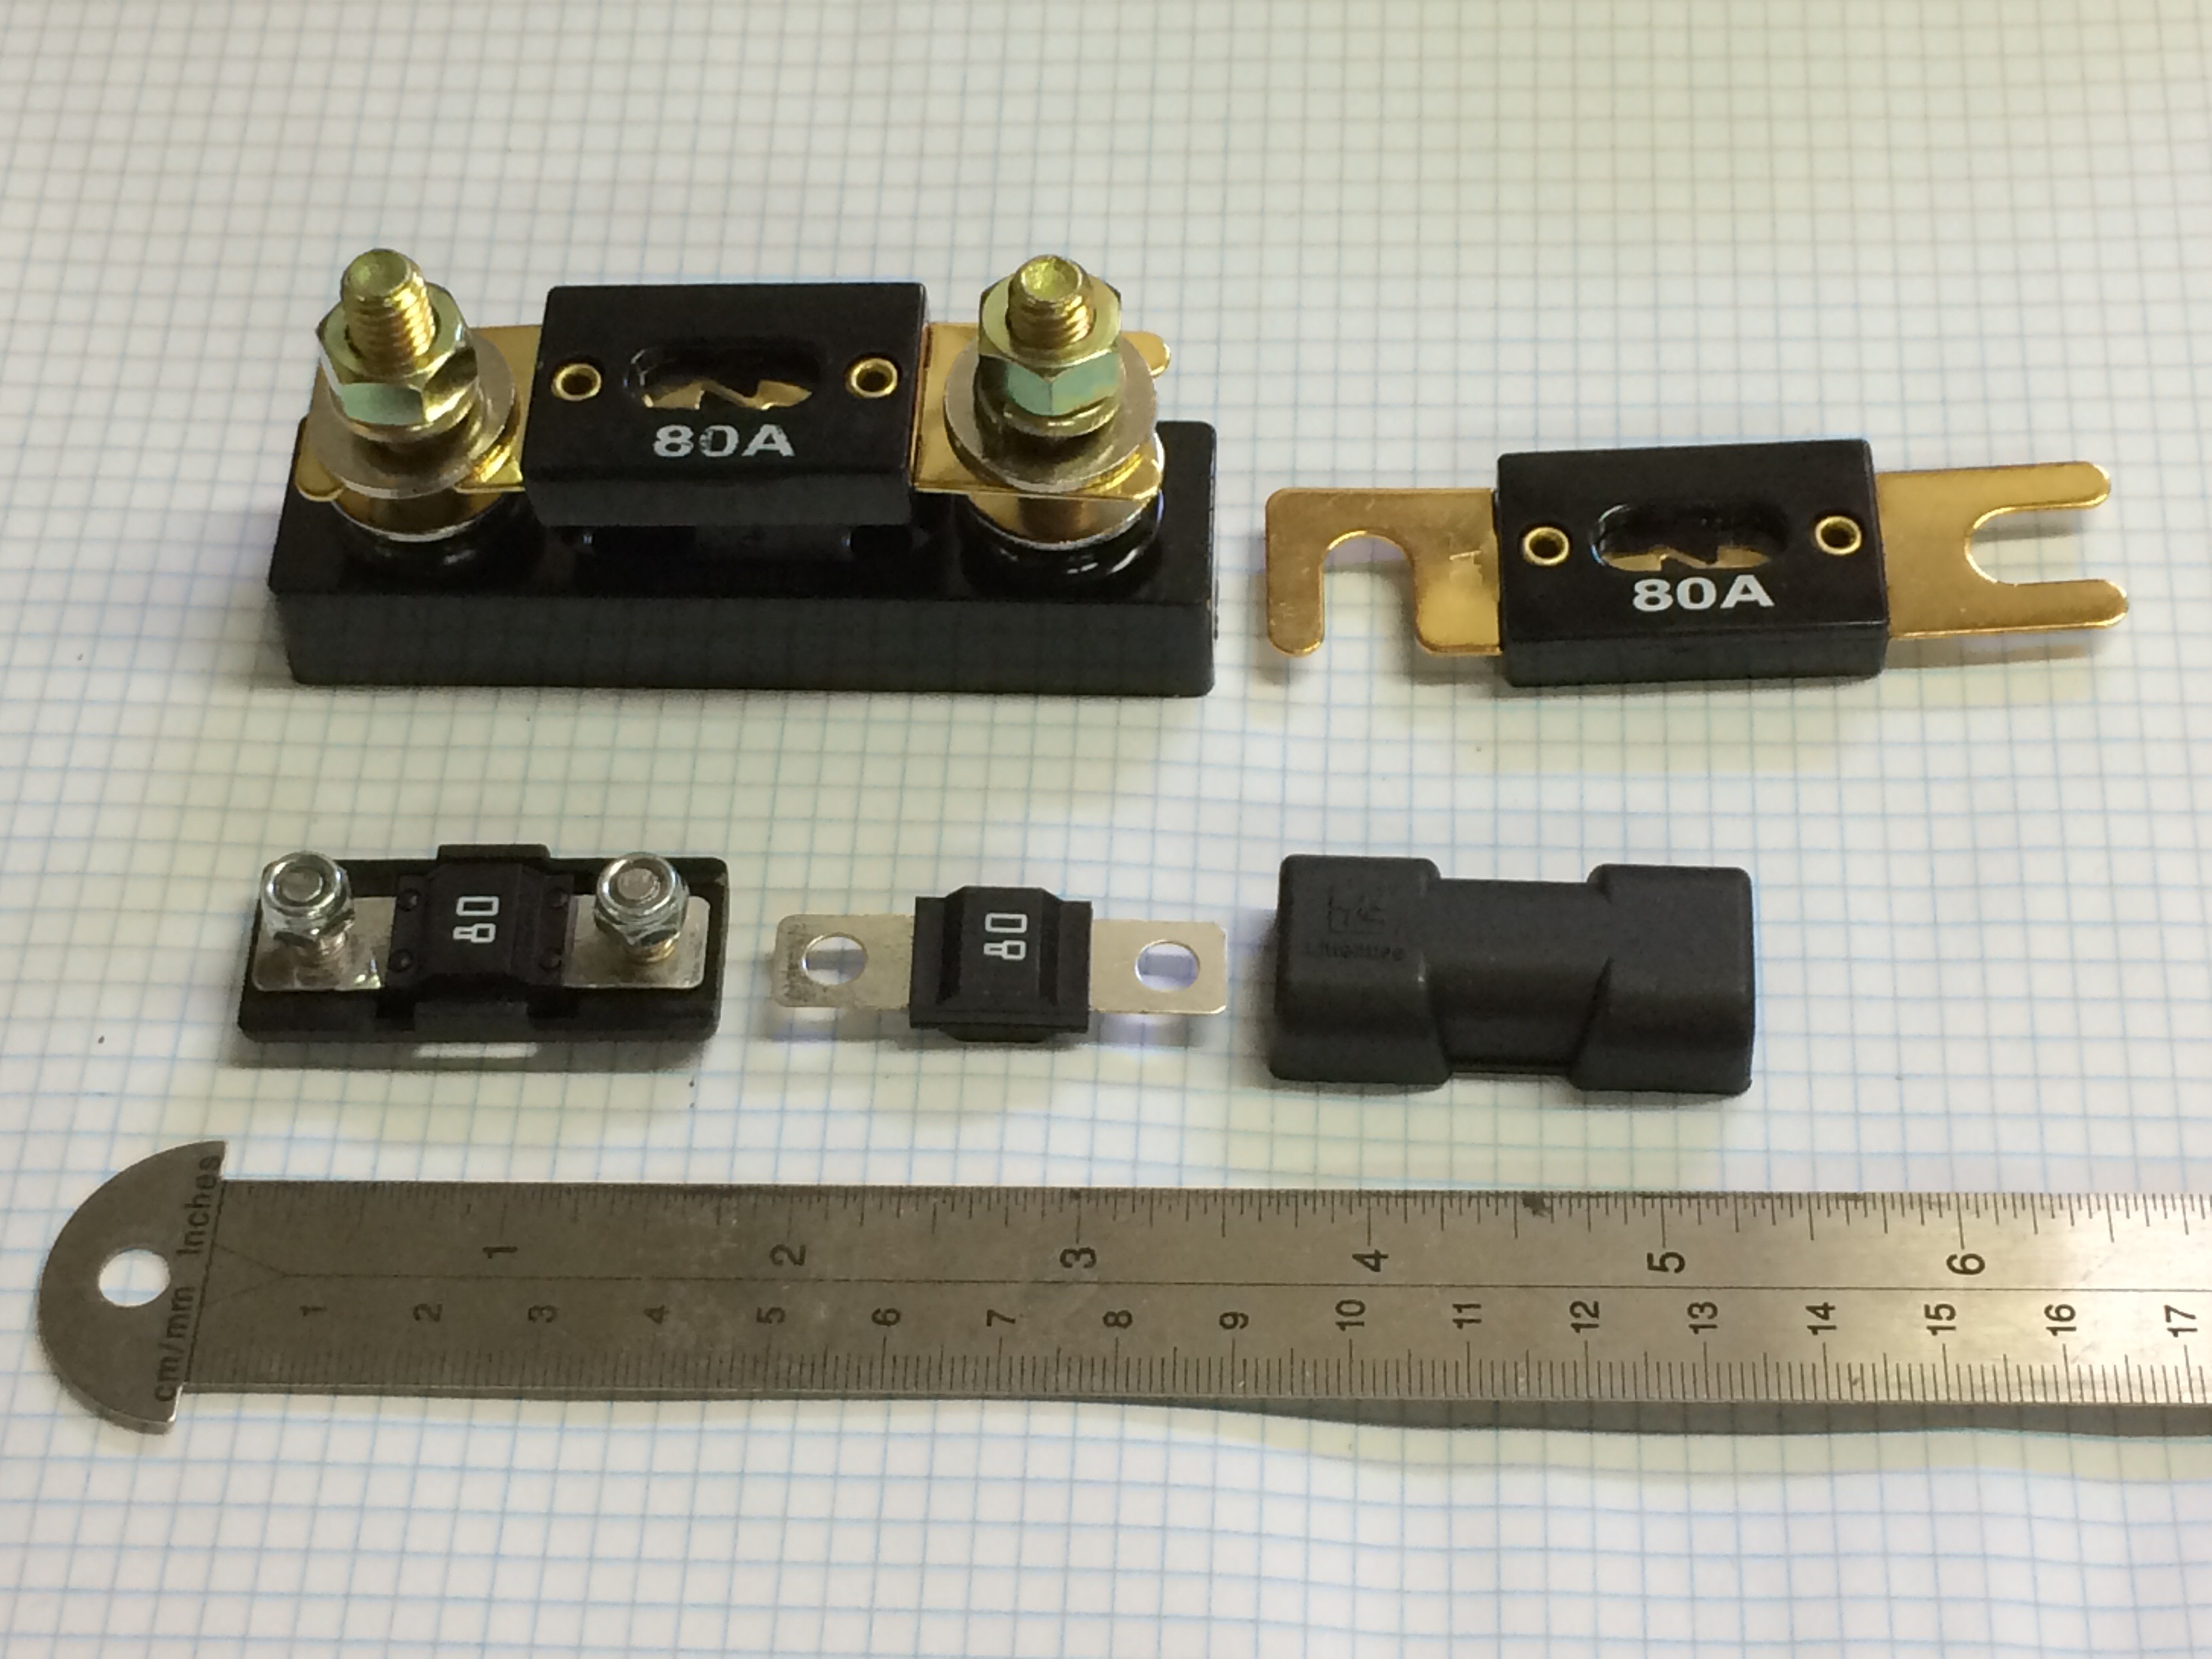
Installed the b-lead to the alternator. I decided to use the Littelfuse midi fuse inline older, with an 80amp fuse. The are much smaller, lighter, and don't require me to drill another hole in the firewall....
14 Apr 2017 More work on the cowl
Now that the snorkel is almost done, let's see if we can finish up the lower cowl cutouts. (These photos are in reverse order.) Cowl bump is glued on and I've added a couple of layers around...
09 Apr 2017 Ground point on firewall
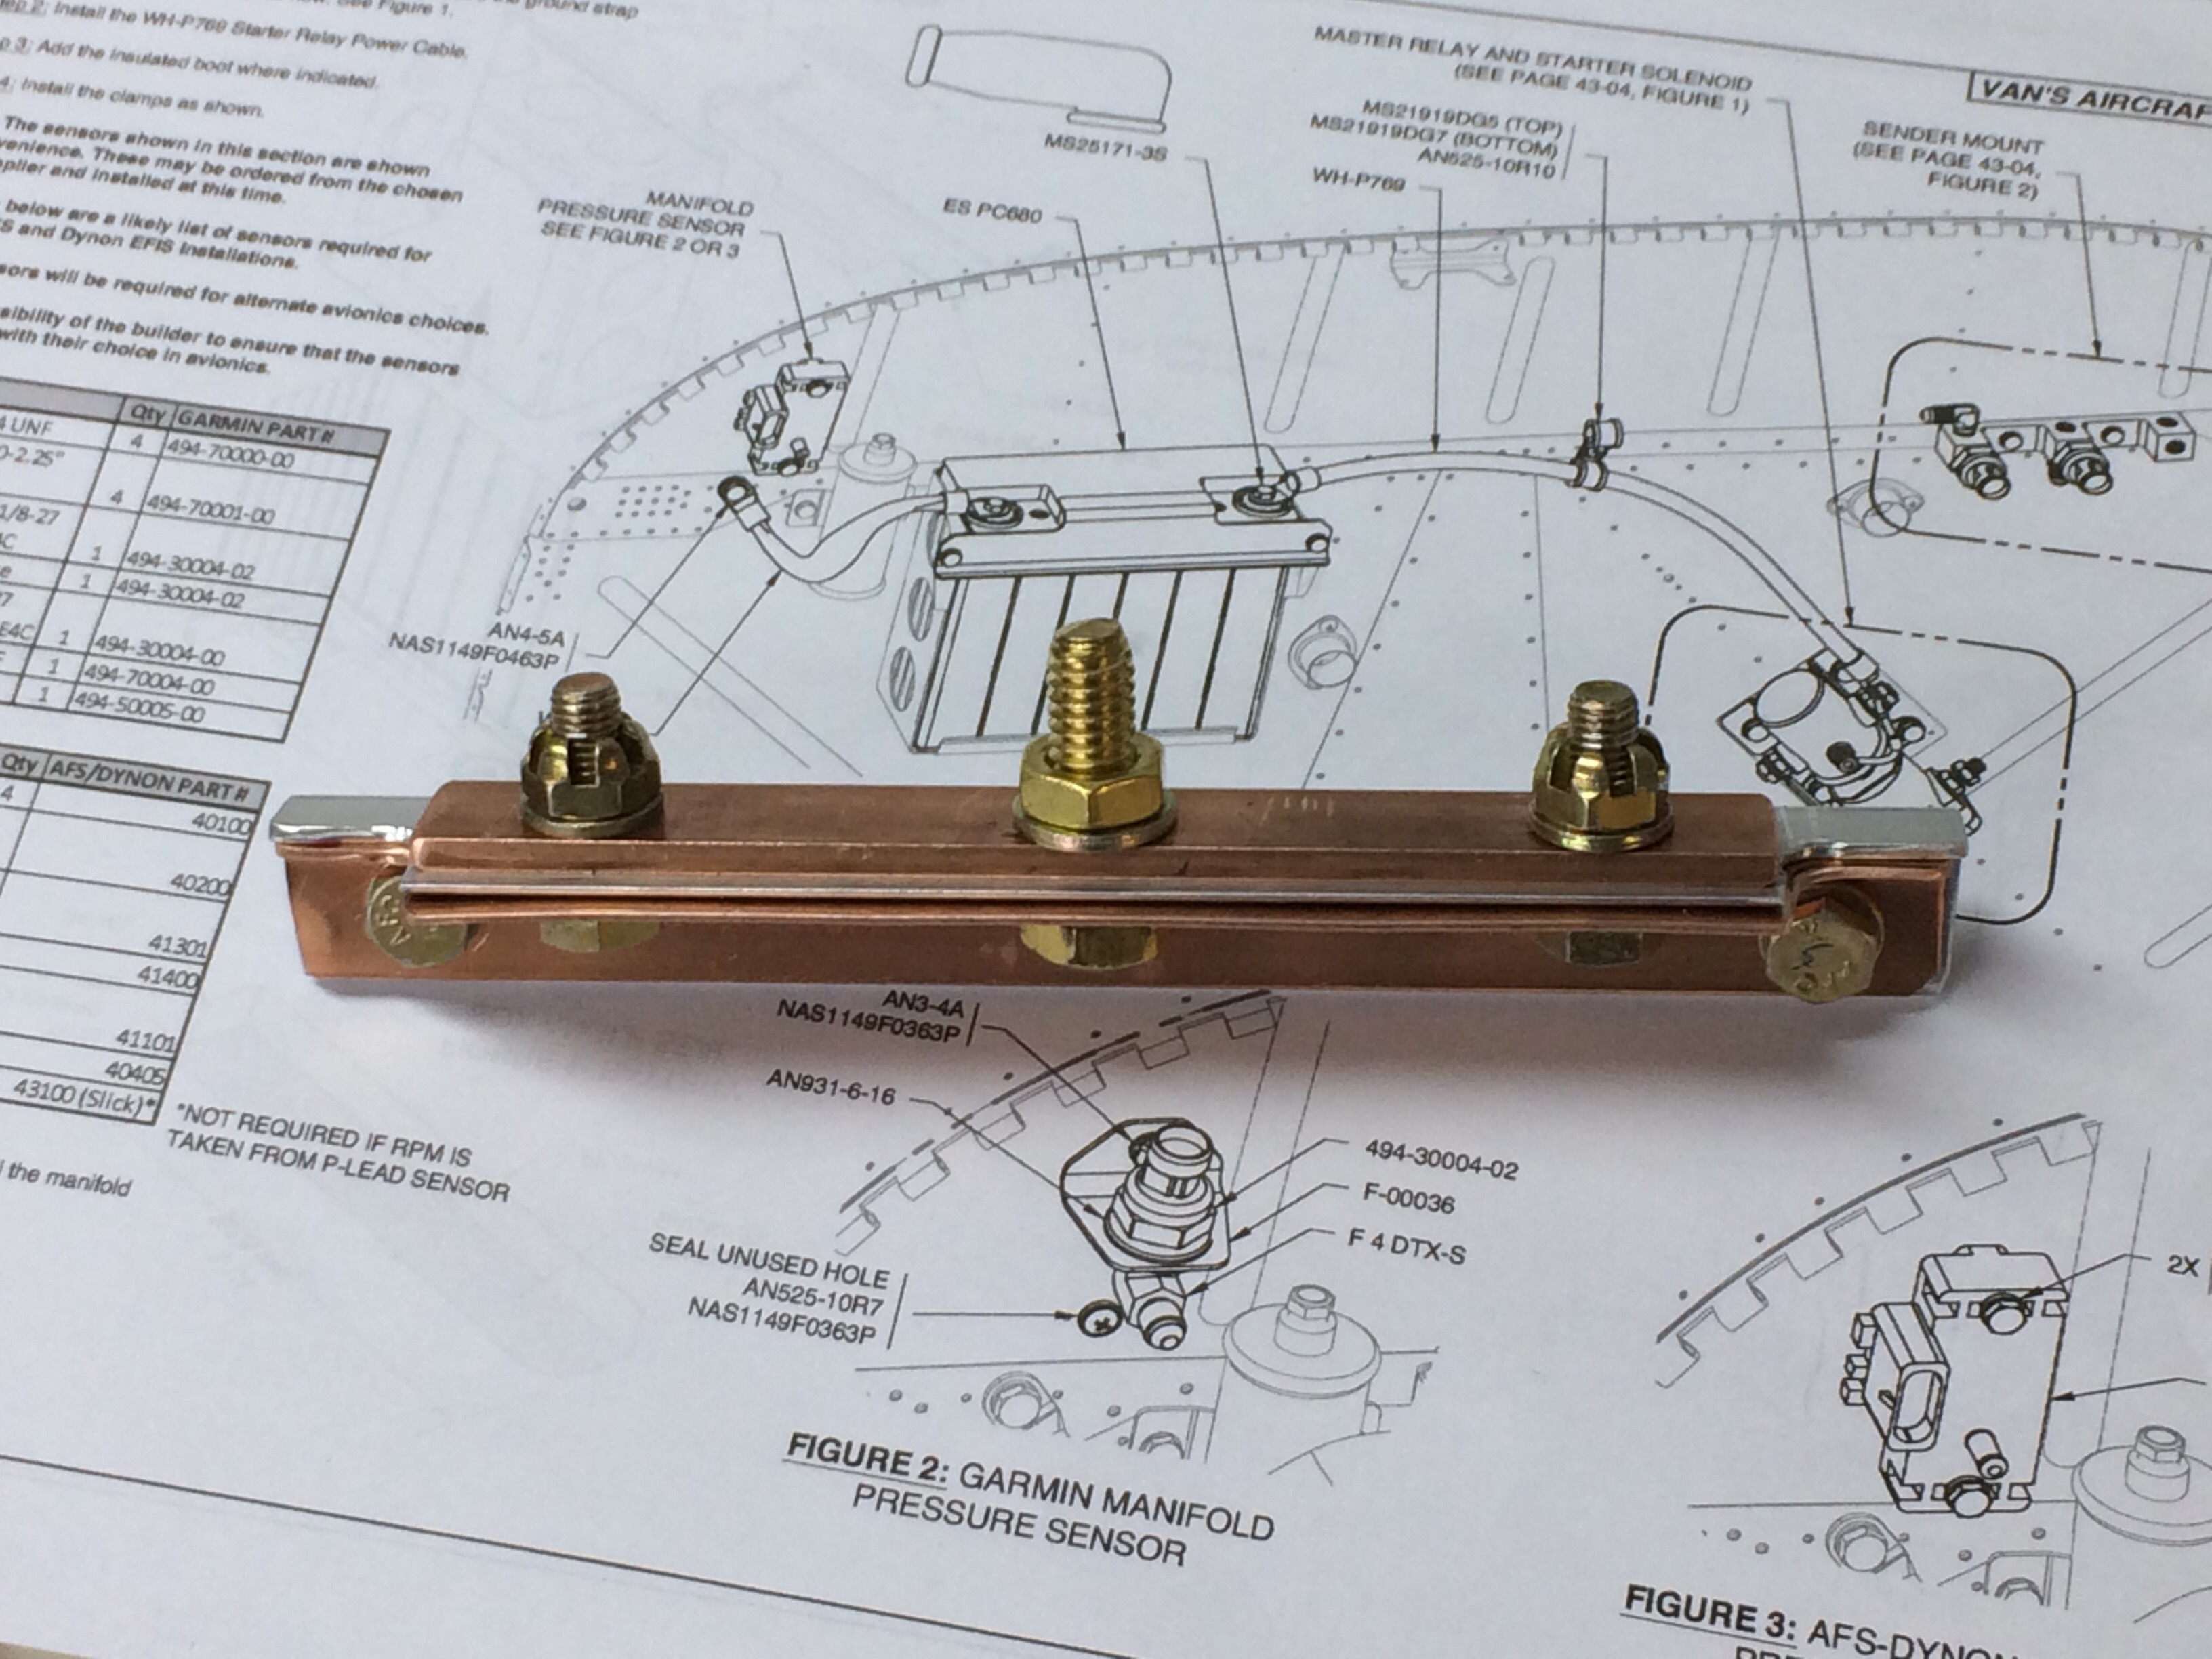
Added this ground point on the firewall. A bit of overkill but I think it is pretty clean, and allowed me to use the braided straps and attach them to the engine case. Note...
02 Apr 2017 Starter wiring
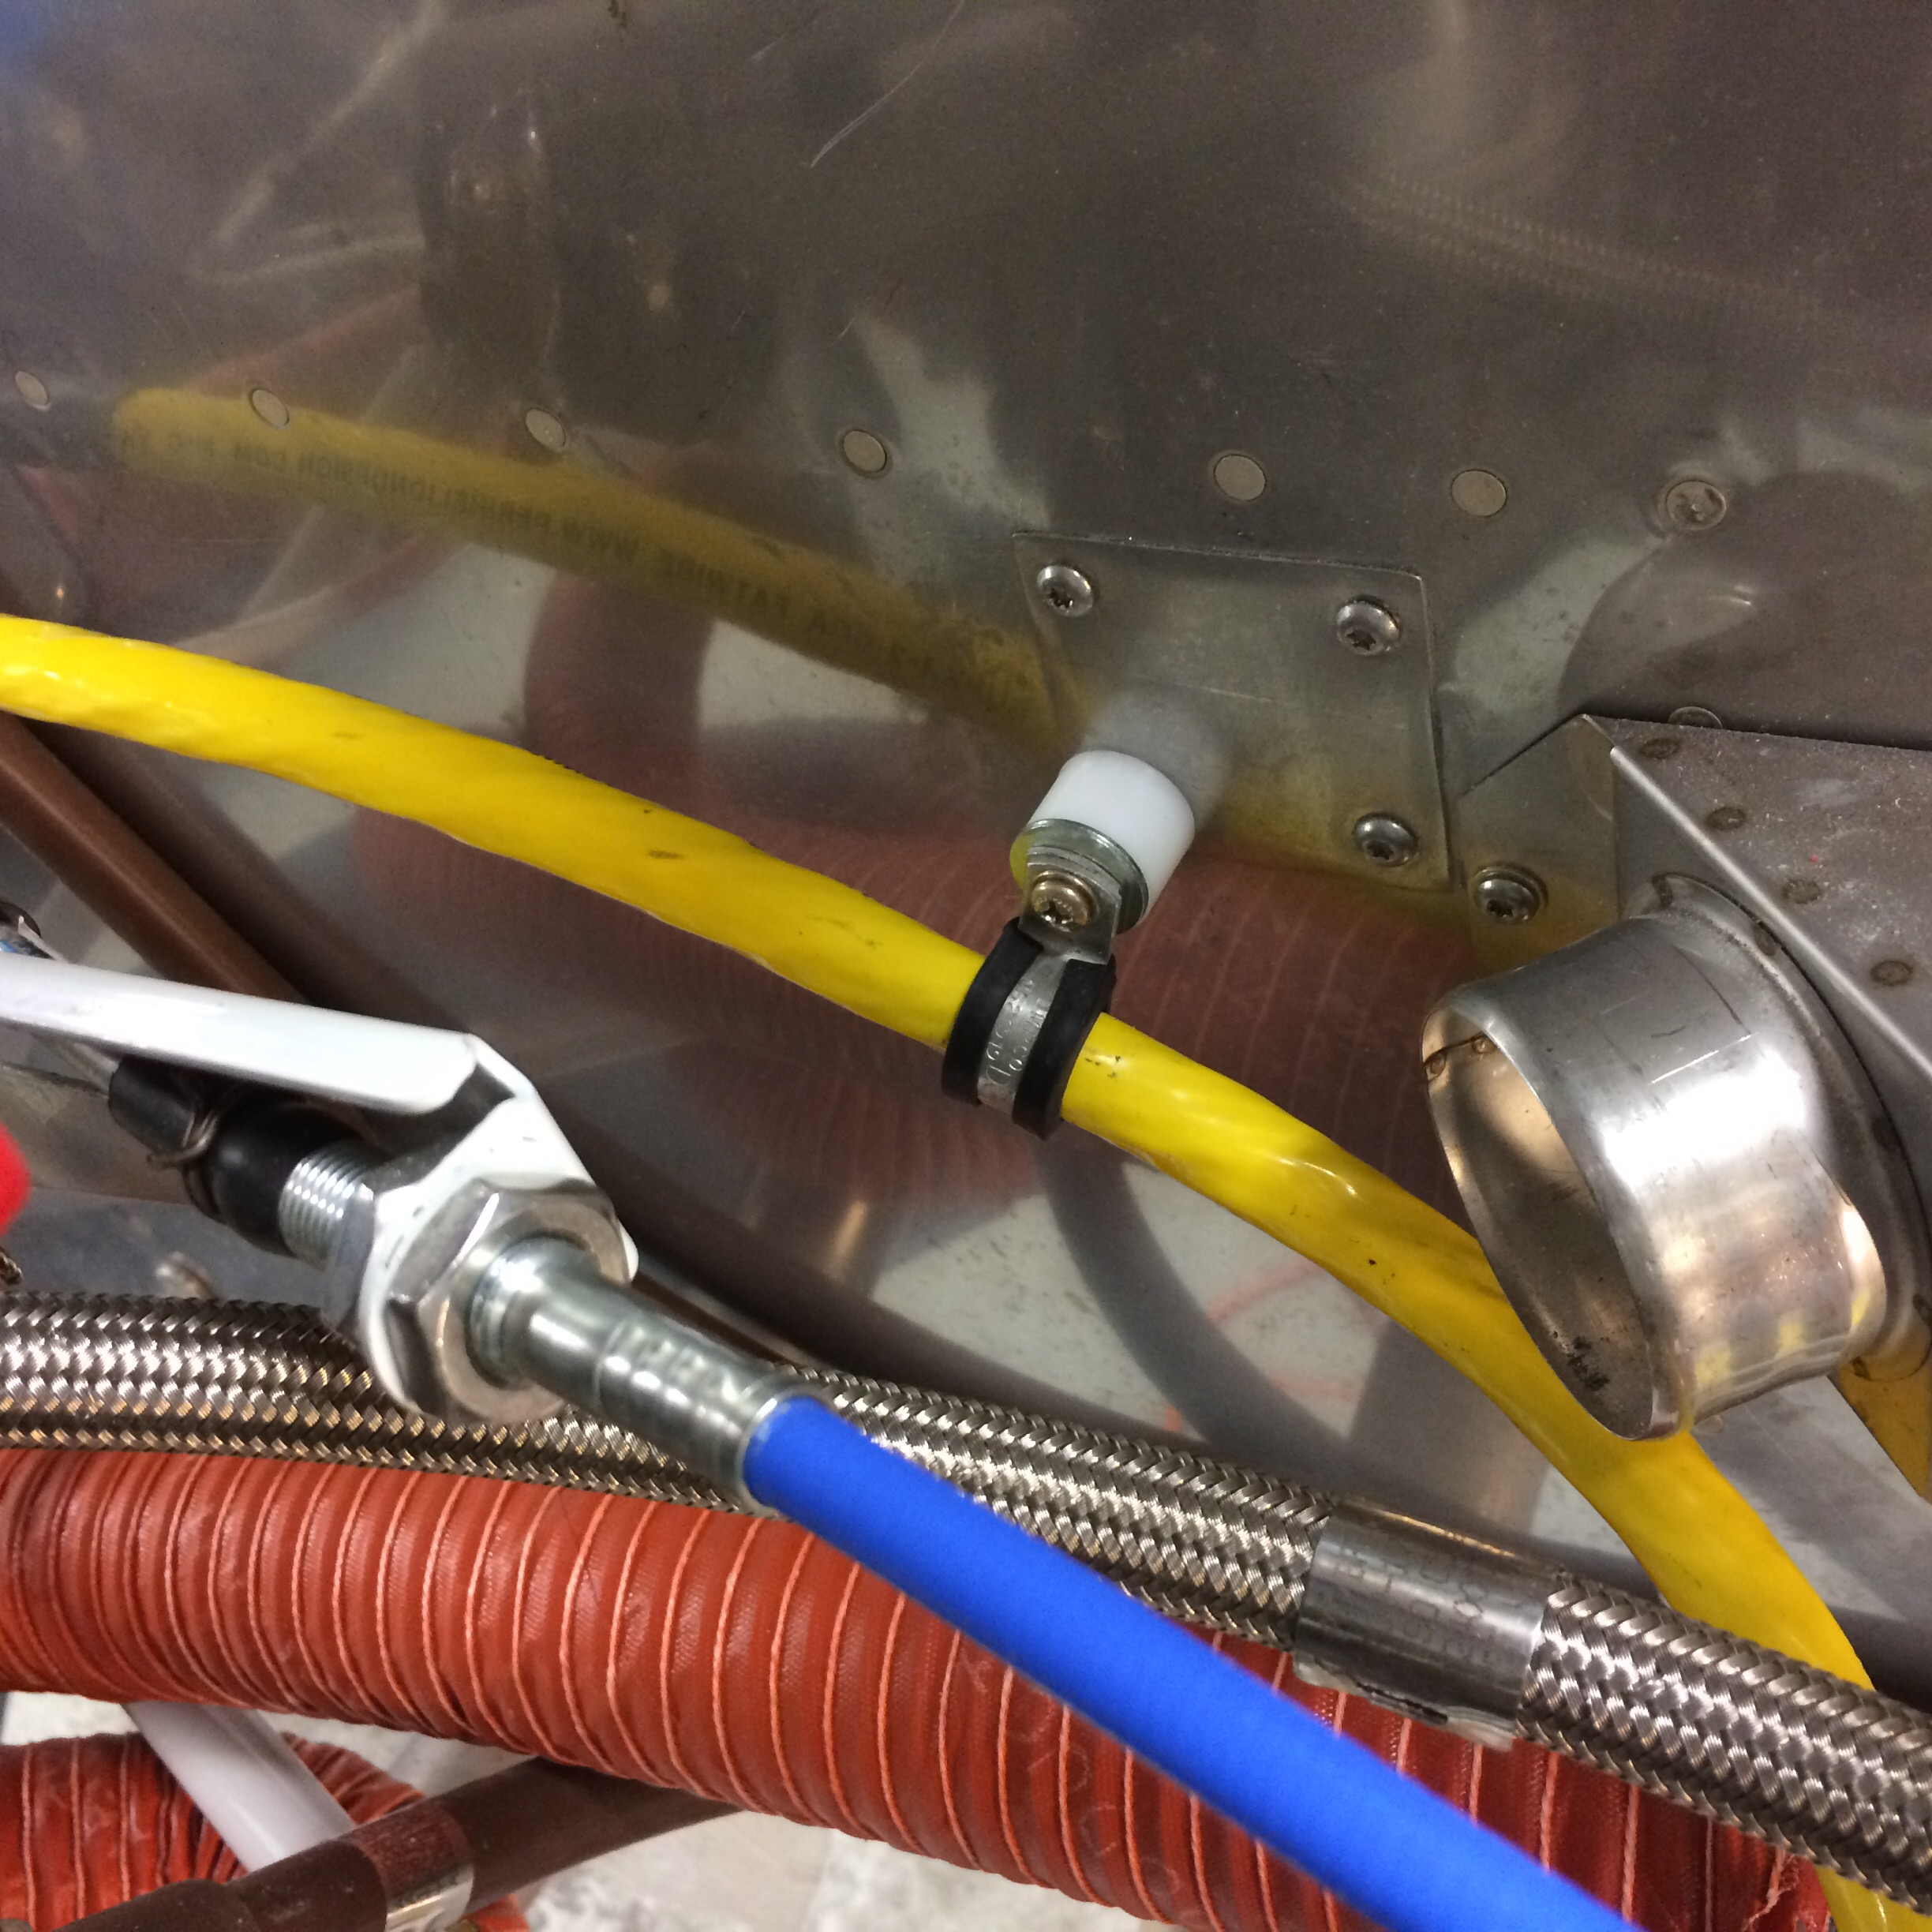
Installed the giant starter wire. It's a fat wire from Eric M. Jones's Perihelion Design http://www.periheliondesign.com/fatwires.htm (Super-2-CCA, AWG#2) so it should flow plenty of electrons. It's about 42" long, and supported in 5 places including the ends,...
19 Mar 2017 Installed the EGT probes on the exhaust pipes
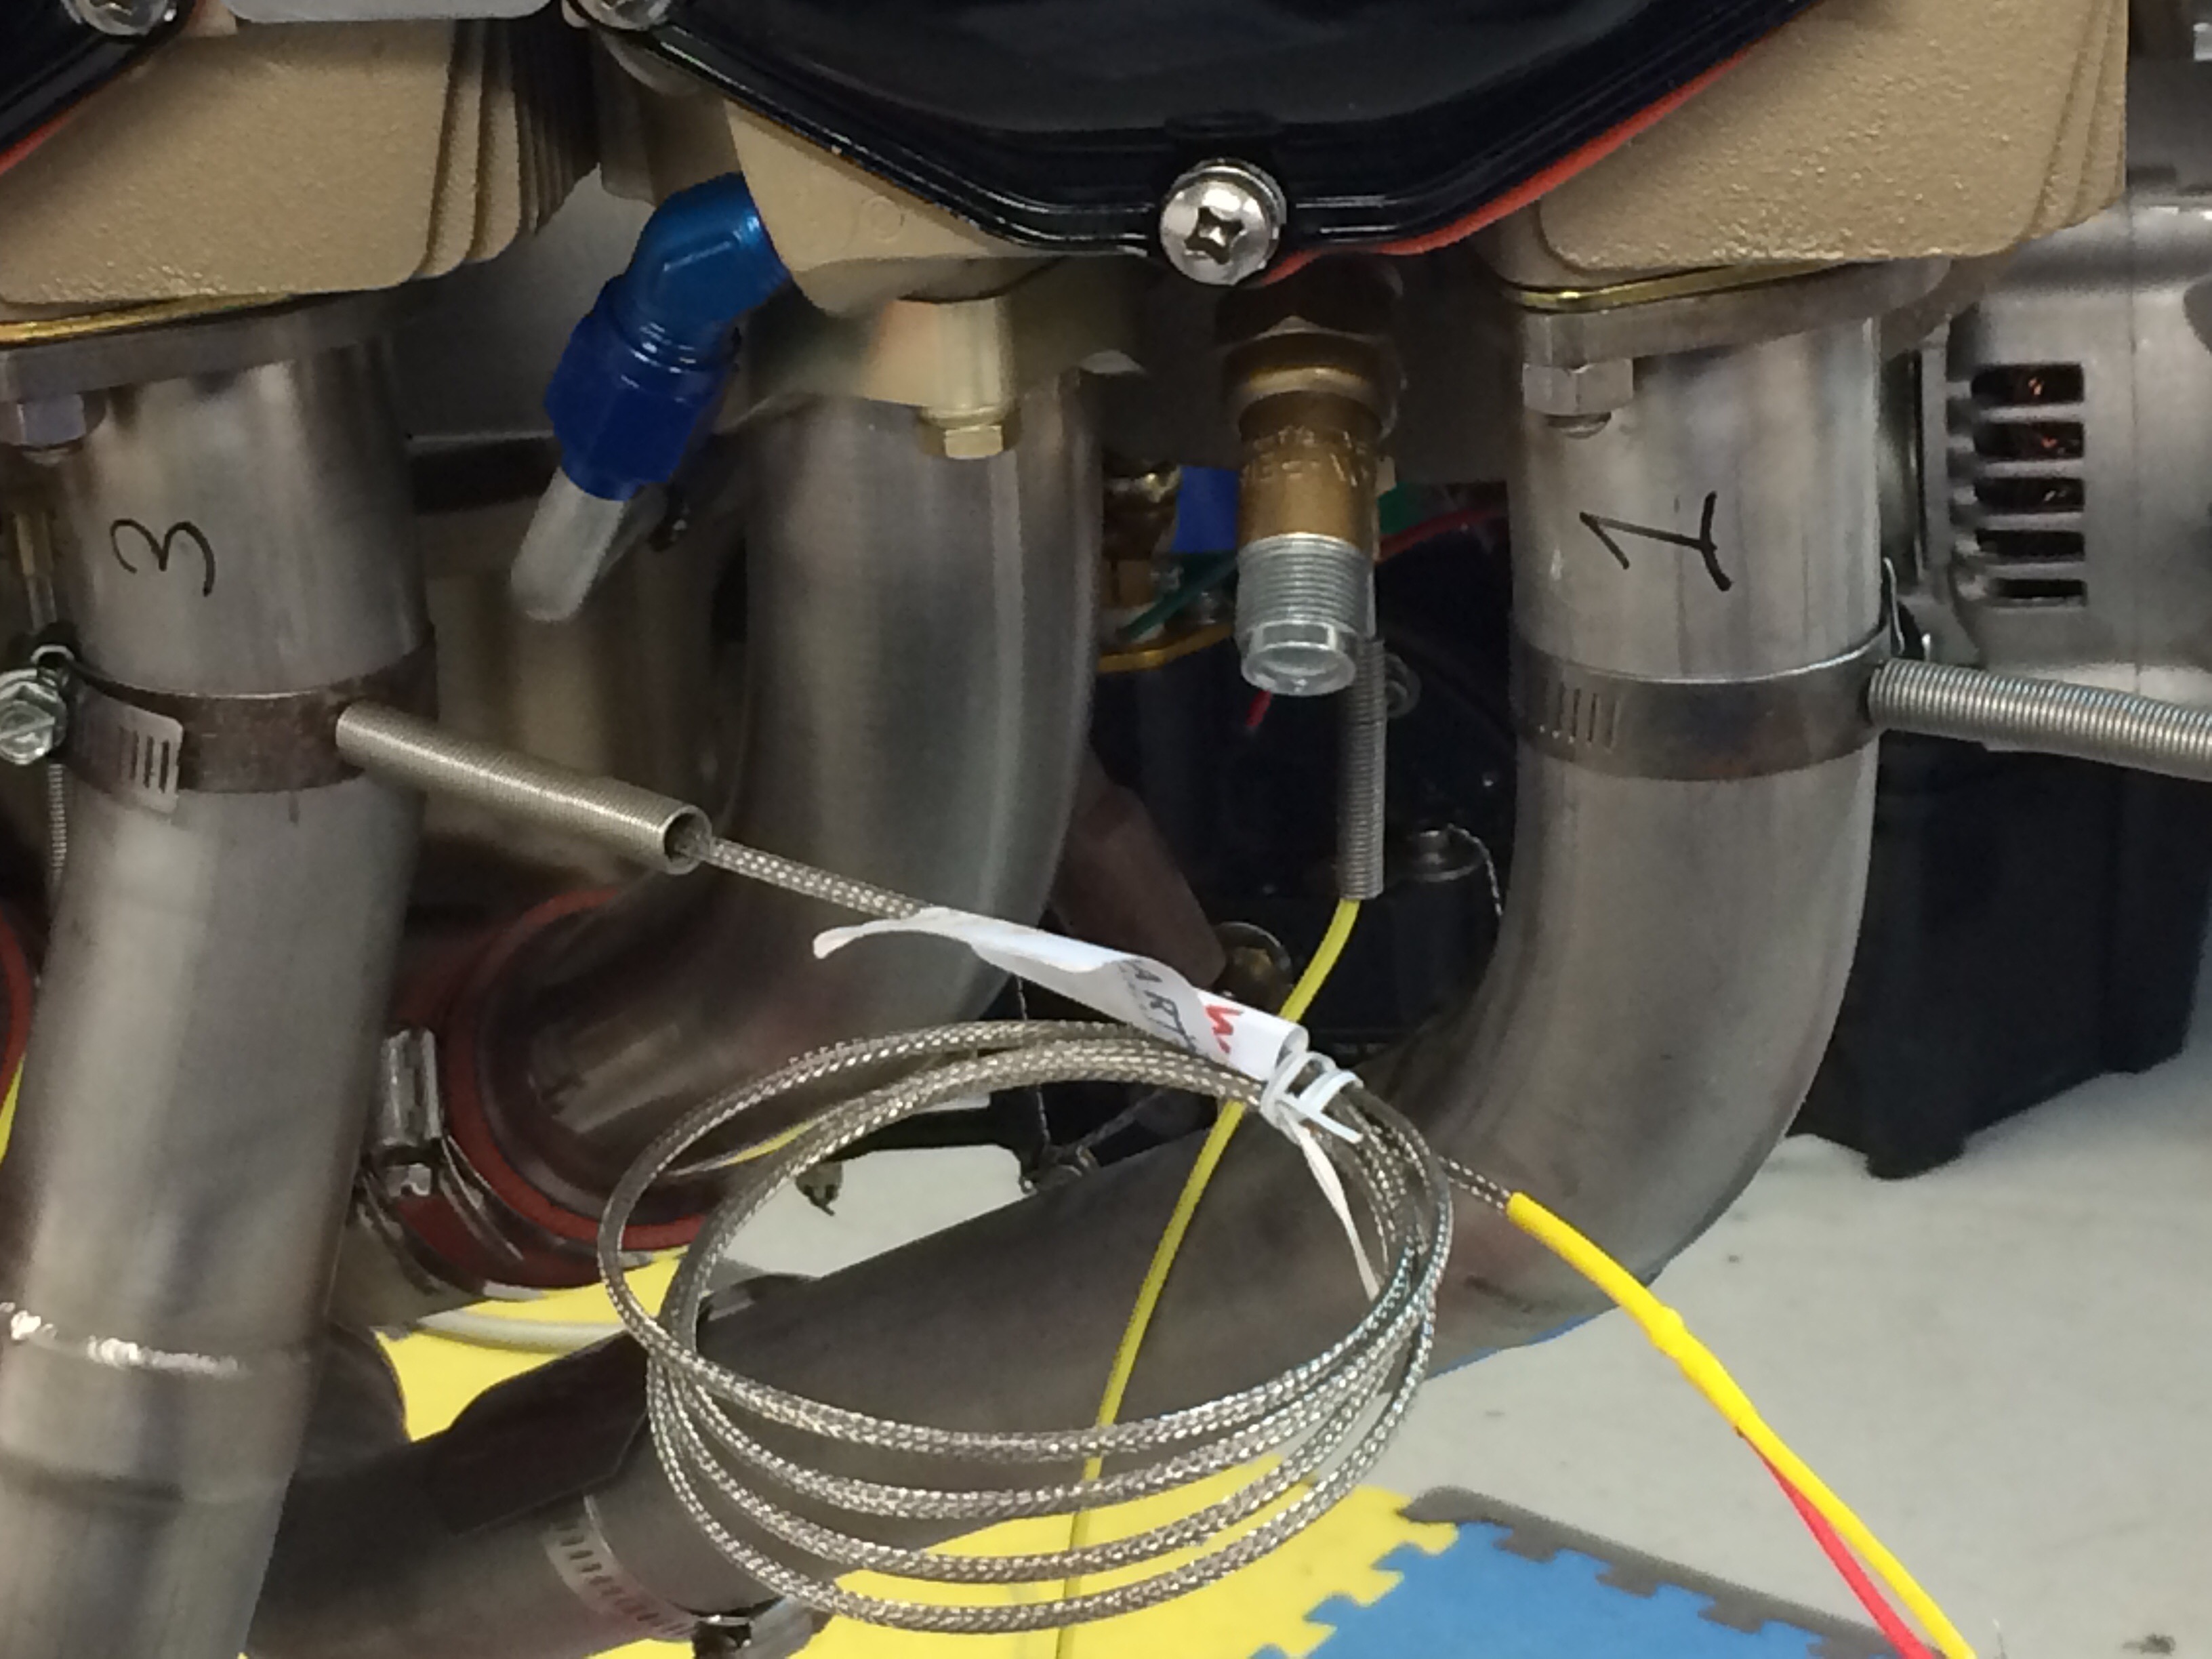
Vetterman recommended installing the probes between 1.5" and 2.0" below the cylinder port. Others say it doesn't matter much as long as they are about the same distance from the exhaust port flange so the...
12 Mar 2017 Alternator pulley change
The standard alternator pulley is 3" and I wanted to change it for a 4" to slow it down a bit and to move it up a bit in the cowl. Bought one from Summit Racing. All...
05 Feb 2017 CHT probe gasket/washer missing?
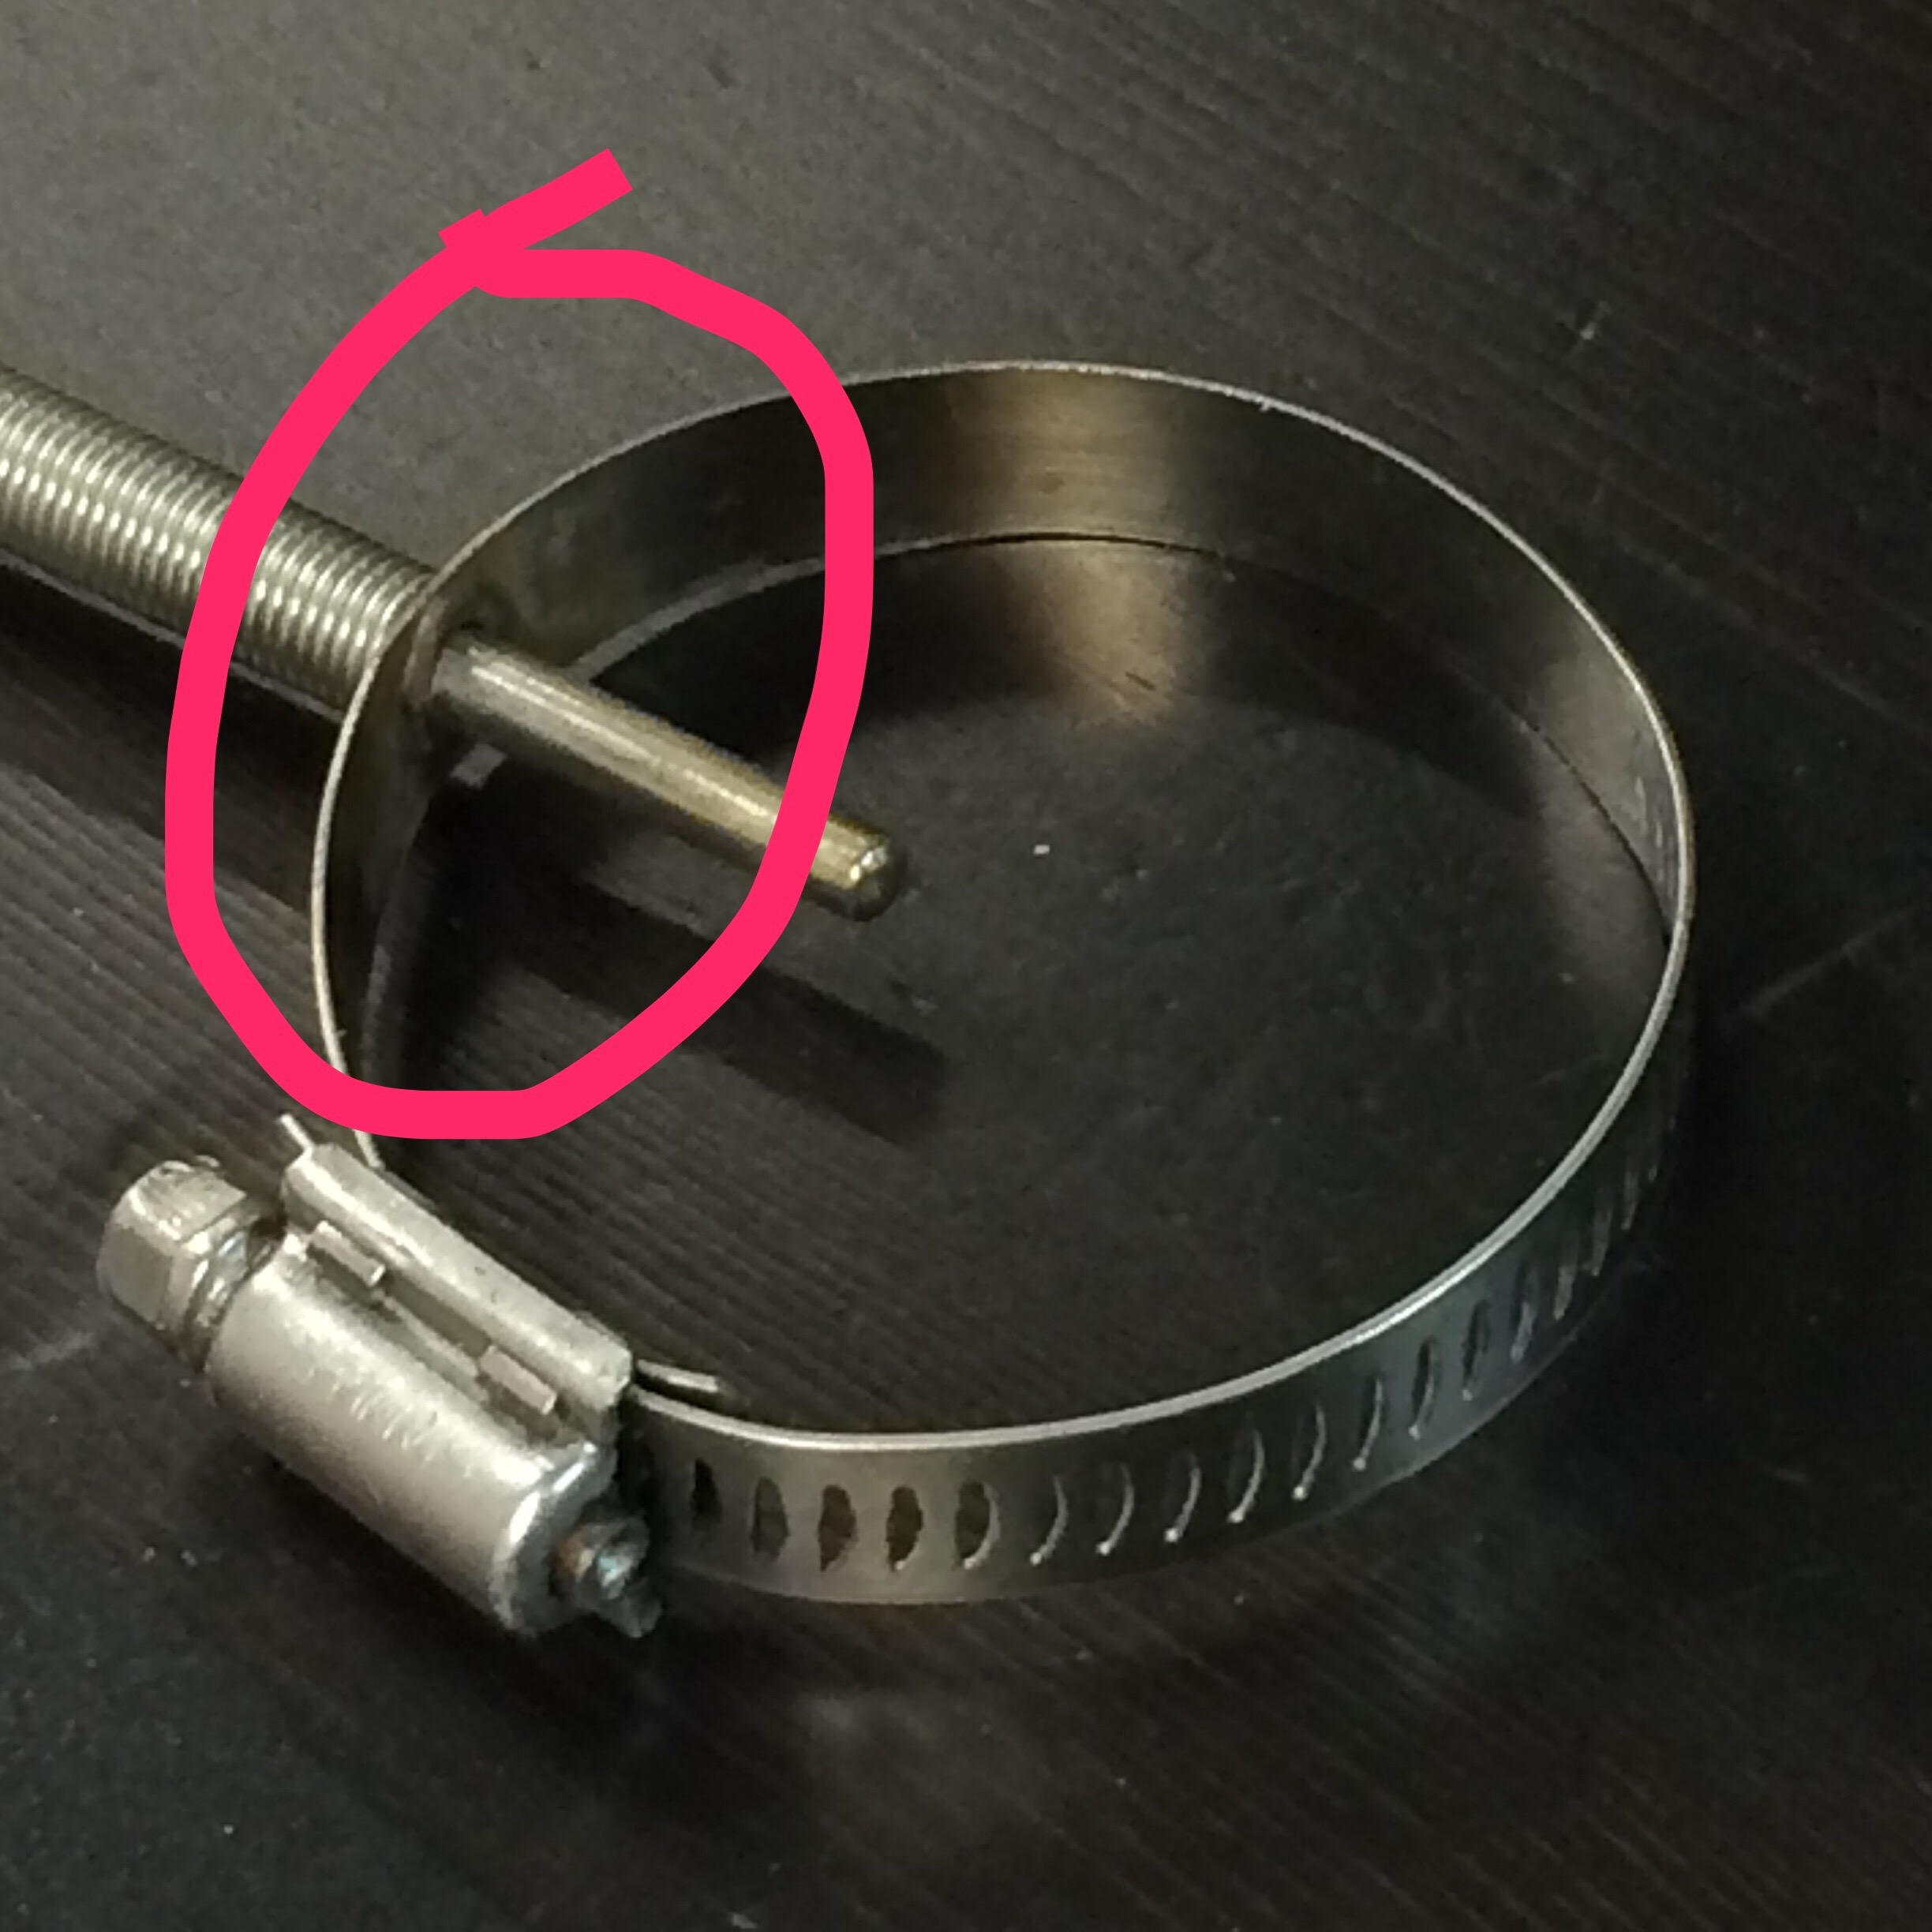
I have some CHT probes from MGL and I'm curious if there are supposed to be little washers or gaskets at the point where the probe is welded to the hose clamp. Will check on VAF...
09 Jan 2017 More baffle work – rivets and silicone baffle seals
I'm finally actually riveting the baffles. It's a real pleasure. I'm using the silicone baffle seal material I bought from spruce. I read that it is better than the standard material shipped with the kit. After...
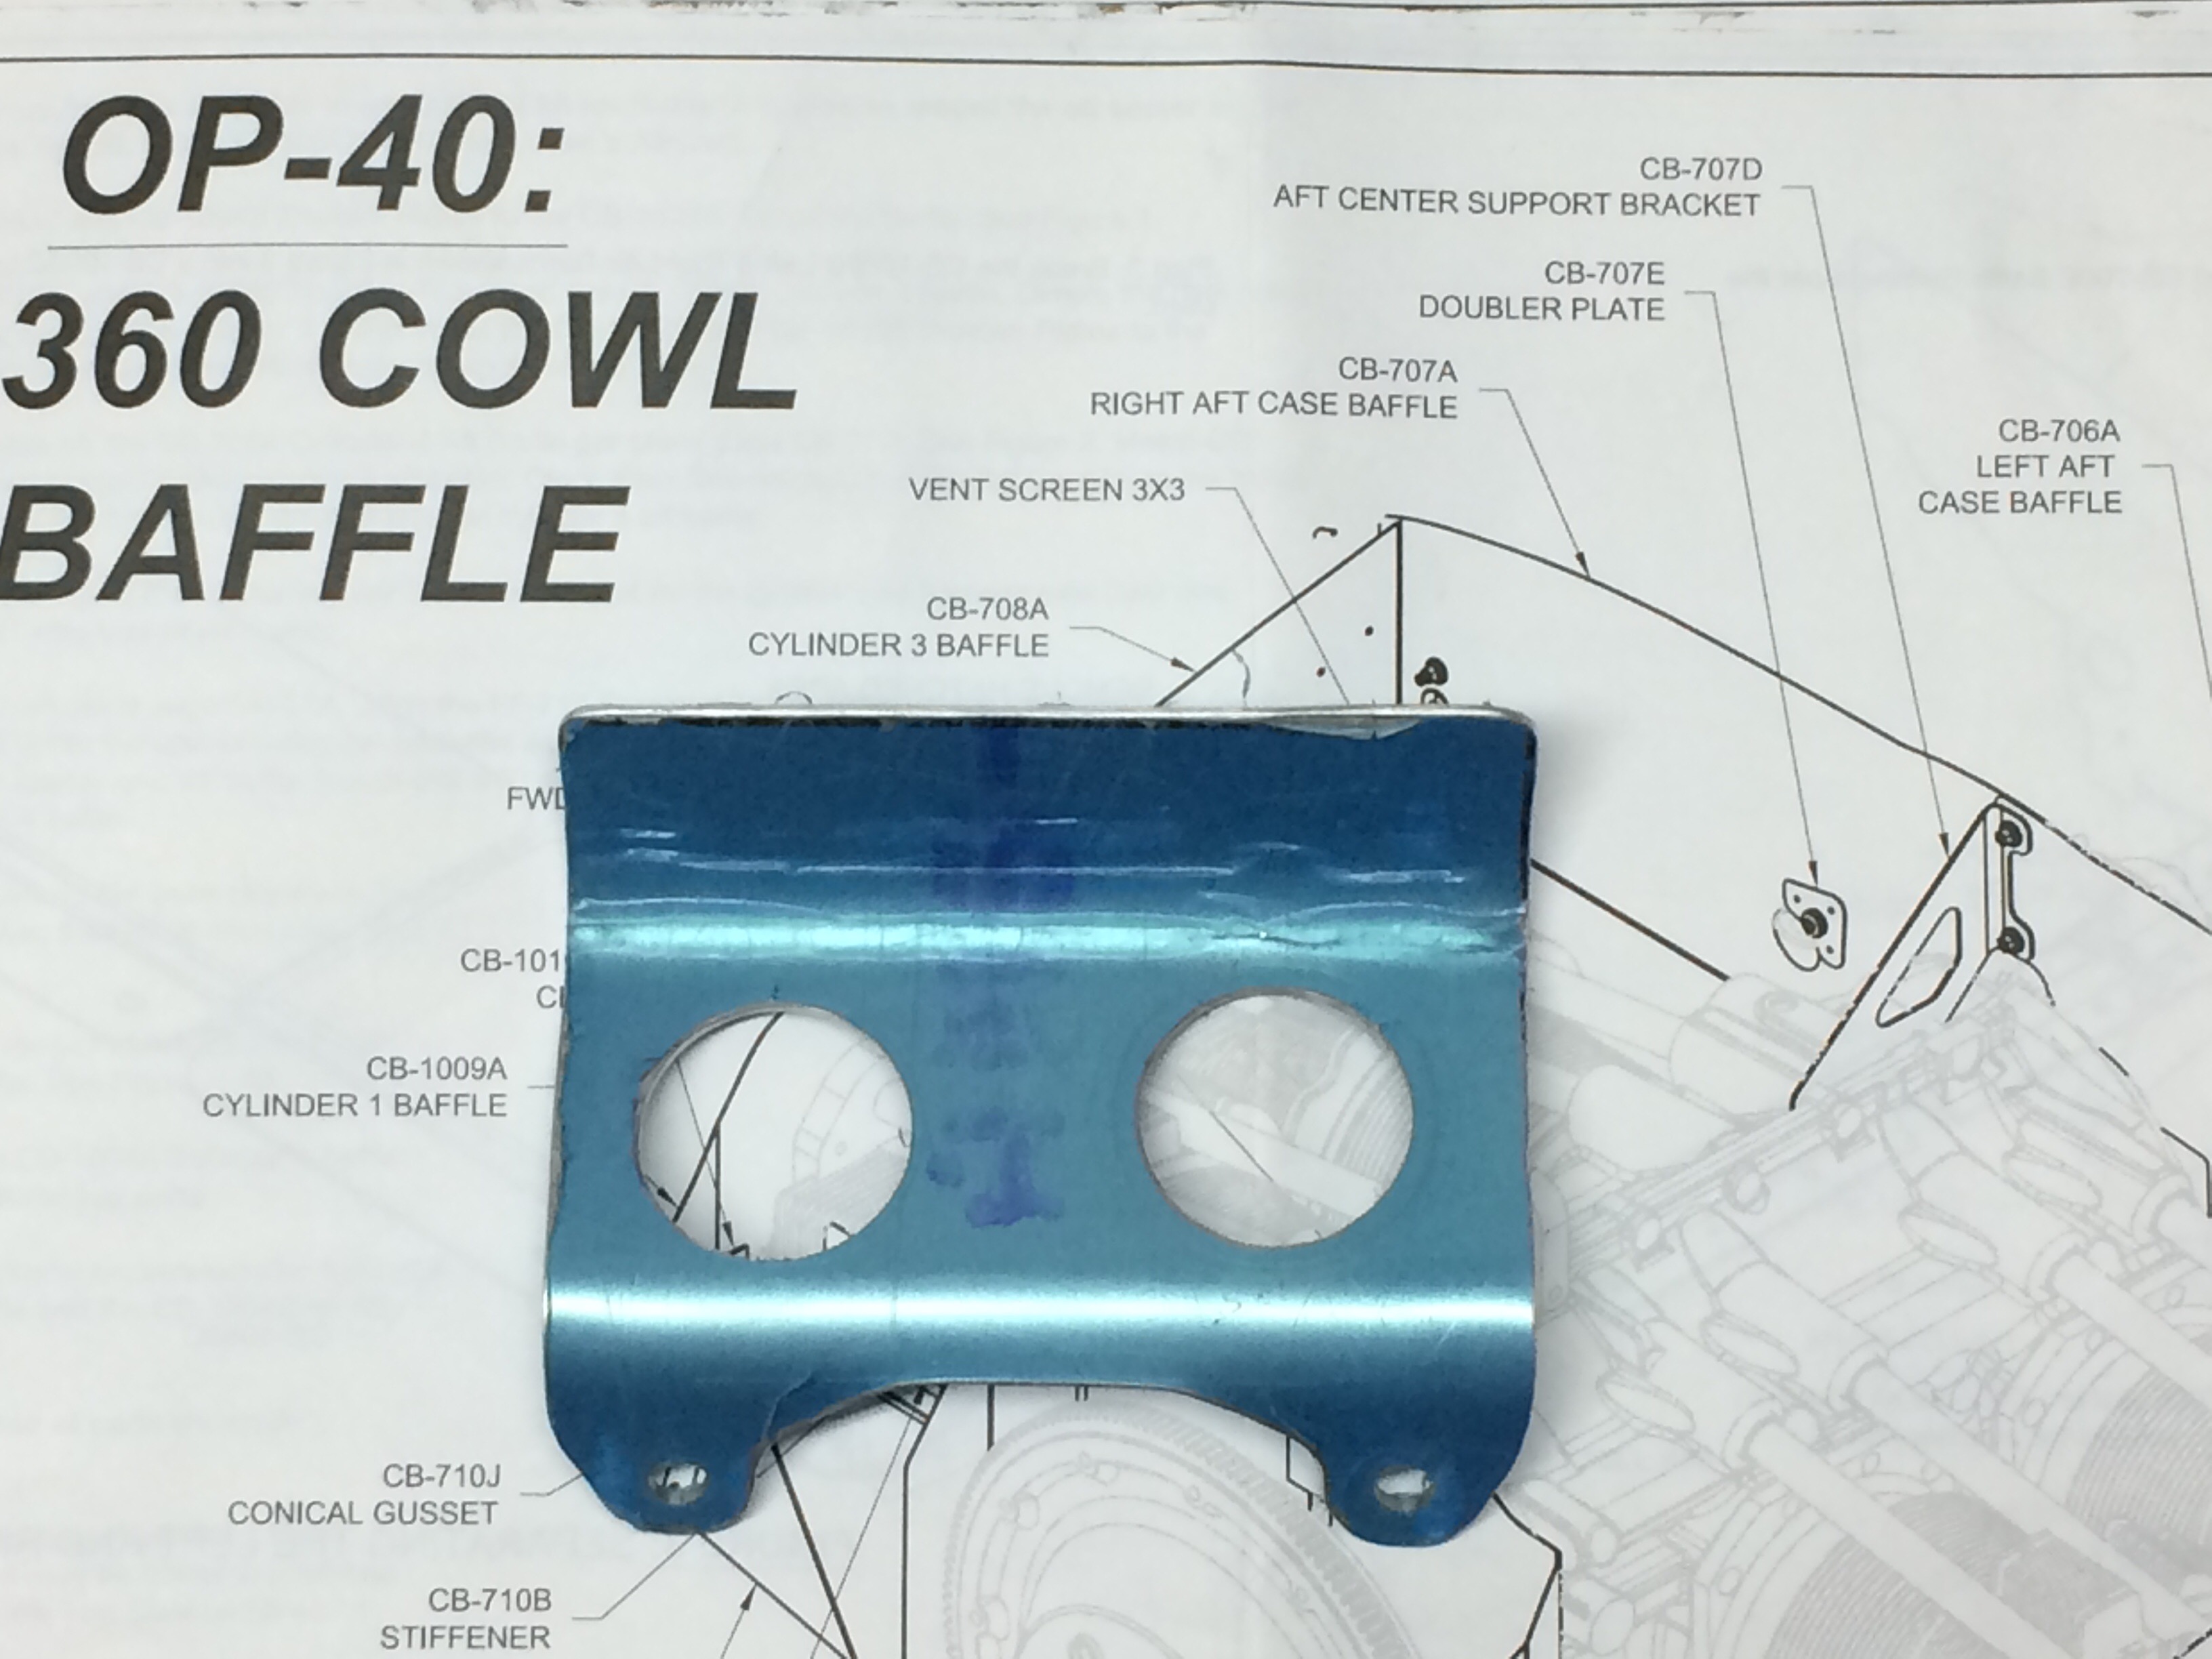
27 Dec 2016 Baffle rear mount bracket
The rear of the baffle requires some support and the plans suggest a bracket from the front side to support the baffles. This looks fine until you are ready to install the baffle seals. The...
- 1
- 2

