14 Dec 2019 Empennage Fairing
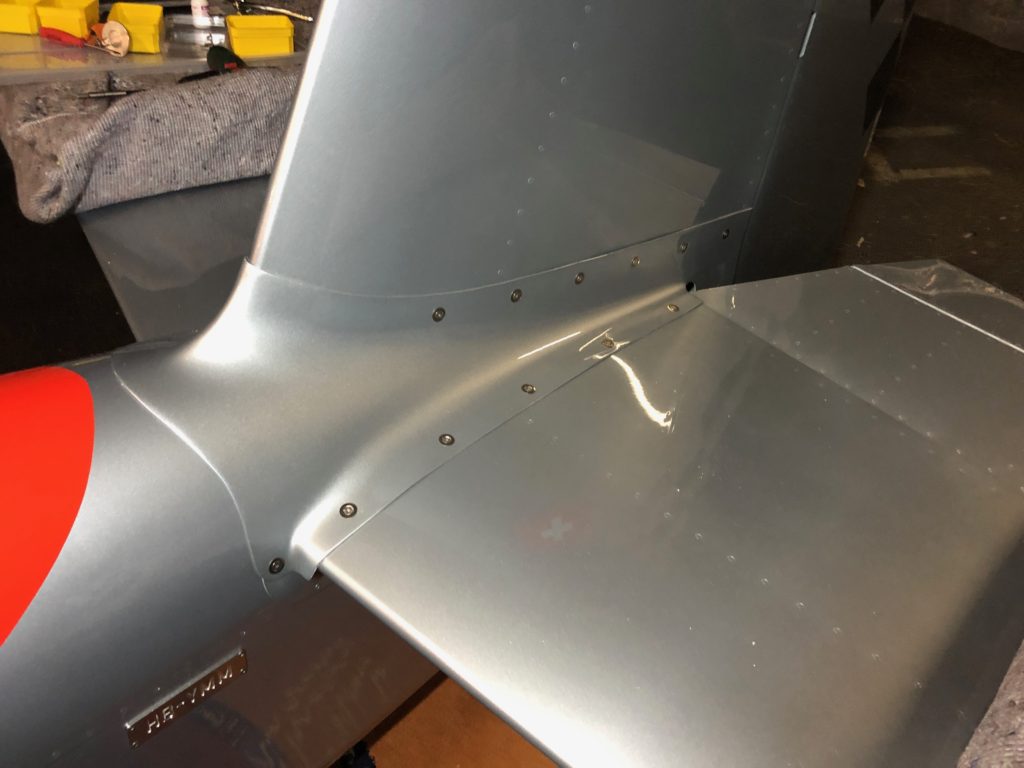
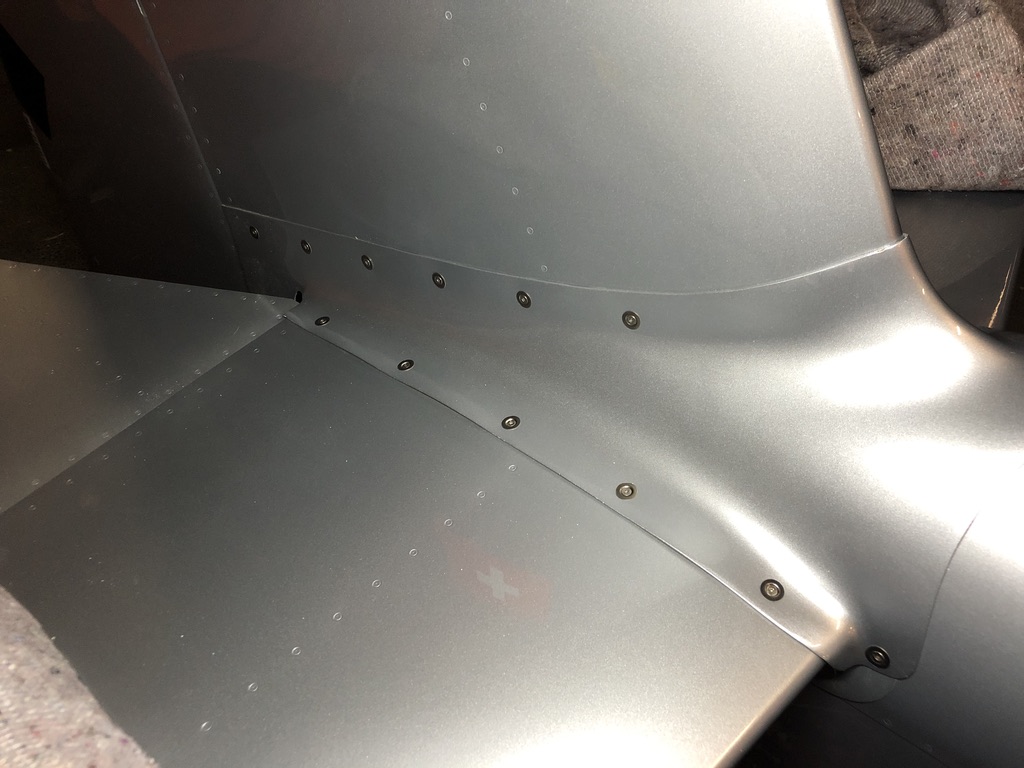
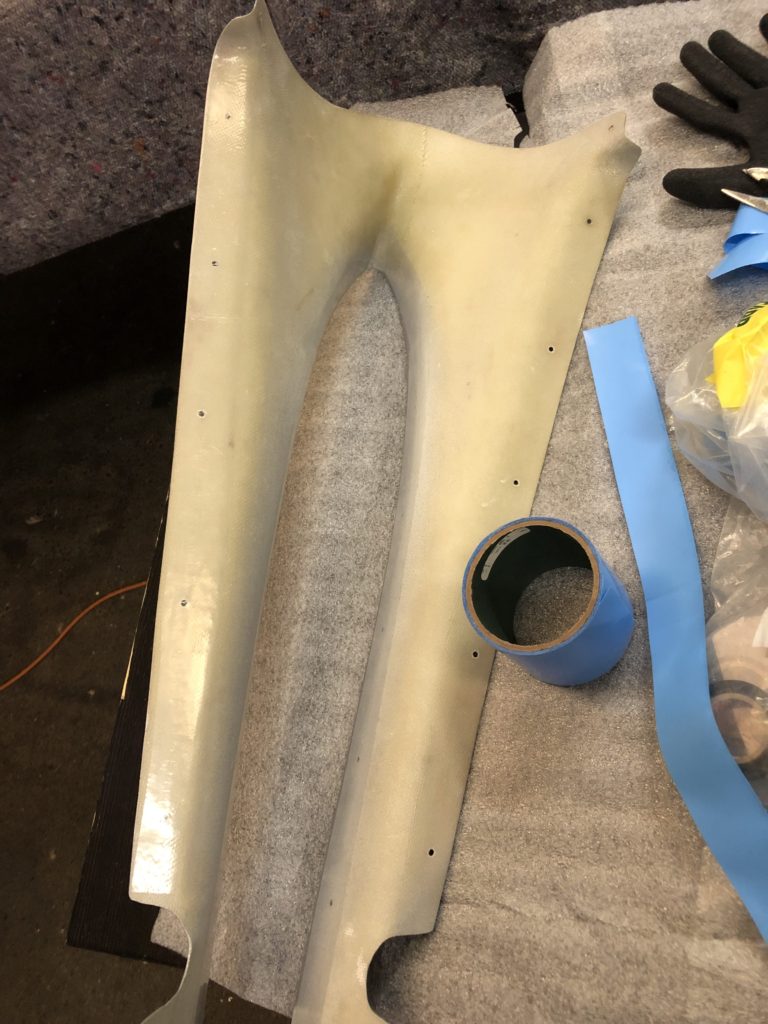
Not gonna lie – the empennage fairing turned out much better than I expected. Probably don’t need 1000 screws like the plans say, but I didn’t know that when I was doing that part of the build. In the end, I’m really happy with how it fits, and how it looks.
I have some #6 screws and some #8 screws, all countersunk. I used stainless steel tinnerman washers on the fiberglass part, and I think it looks great. They are all #6 tinnerman washers – work fine for both #6 and #8 screws. Of course, the screws are stainless steel torx (a.k.a. 6-lobe or hexalobular internal.).
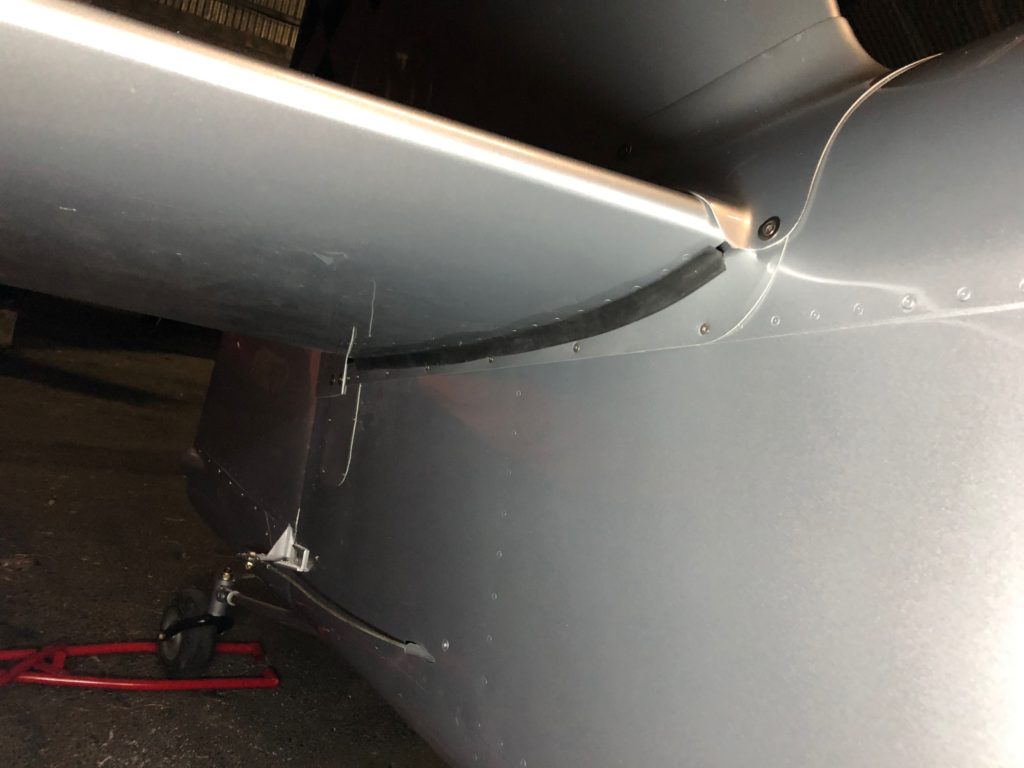
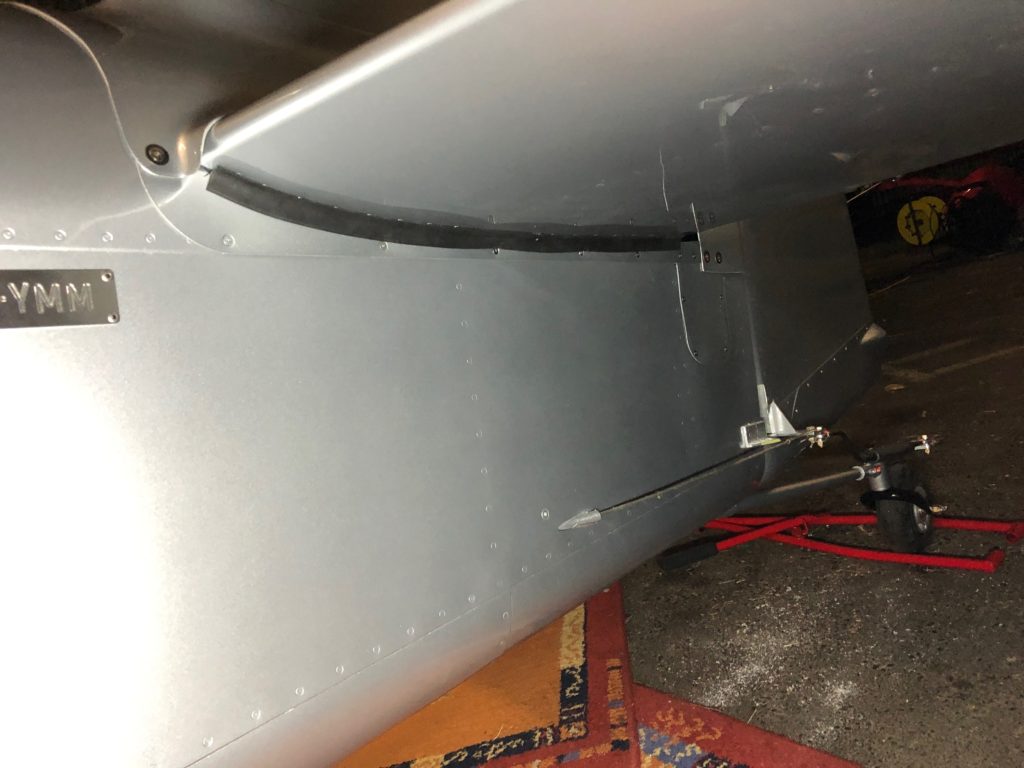
Forgot to mention – I put UHMW tape on it to avoid any scratching.
Sorry, the comment form is closed at this time.