03 Jul 2004 Fuel sender install
The fuel level sender gets installed differently on the tank that has the flop tube, so that it does not interfere with the flop tube. With the QB tanks, this installation is not too easy, but easier than building tanks, I’m sure.
Here is the 1.5″ hole that must be cut.
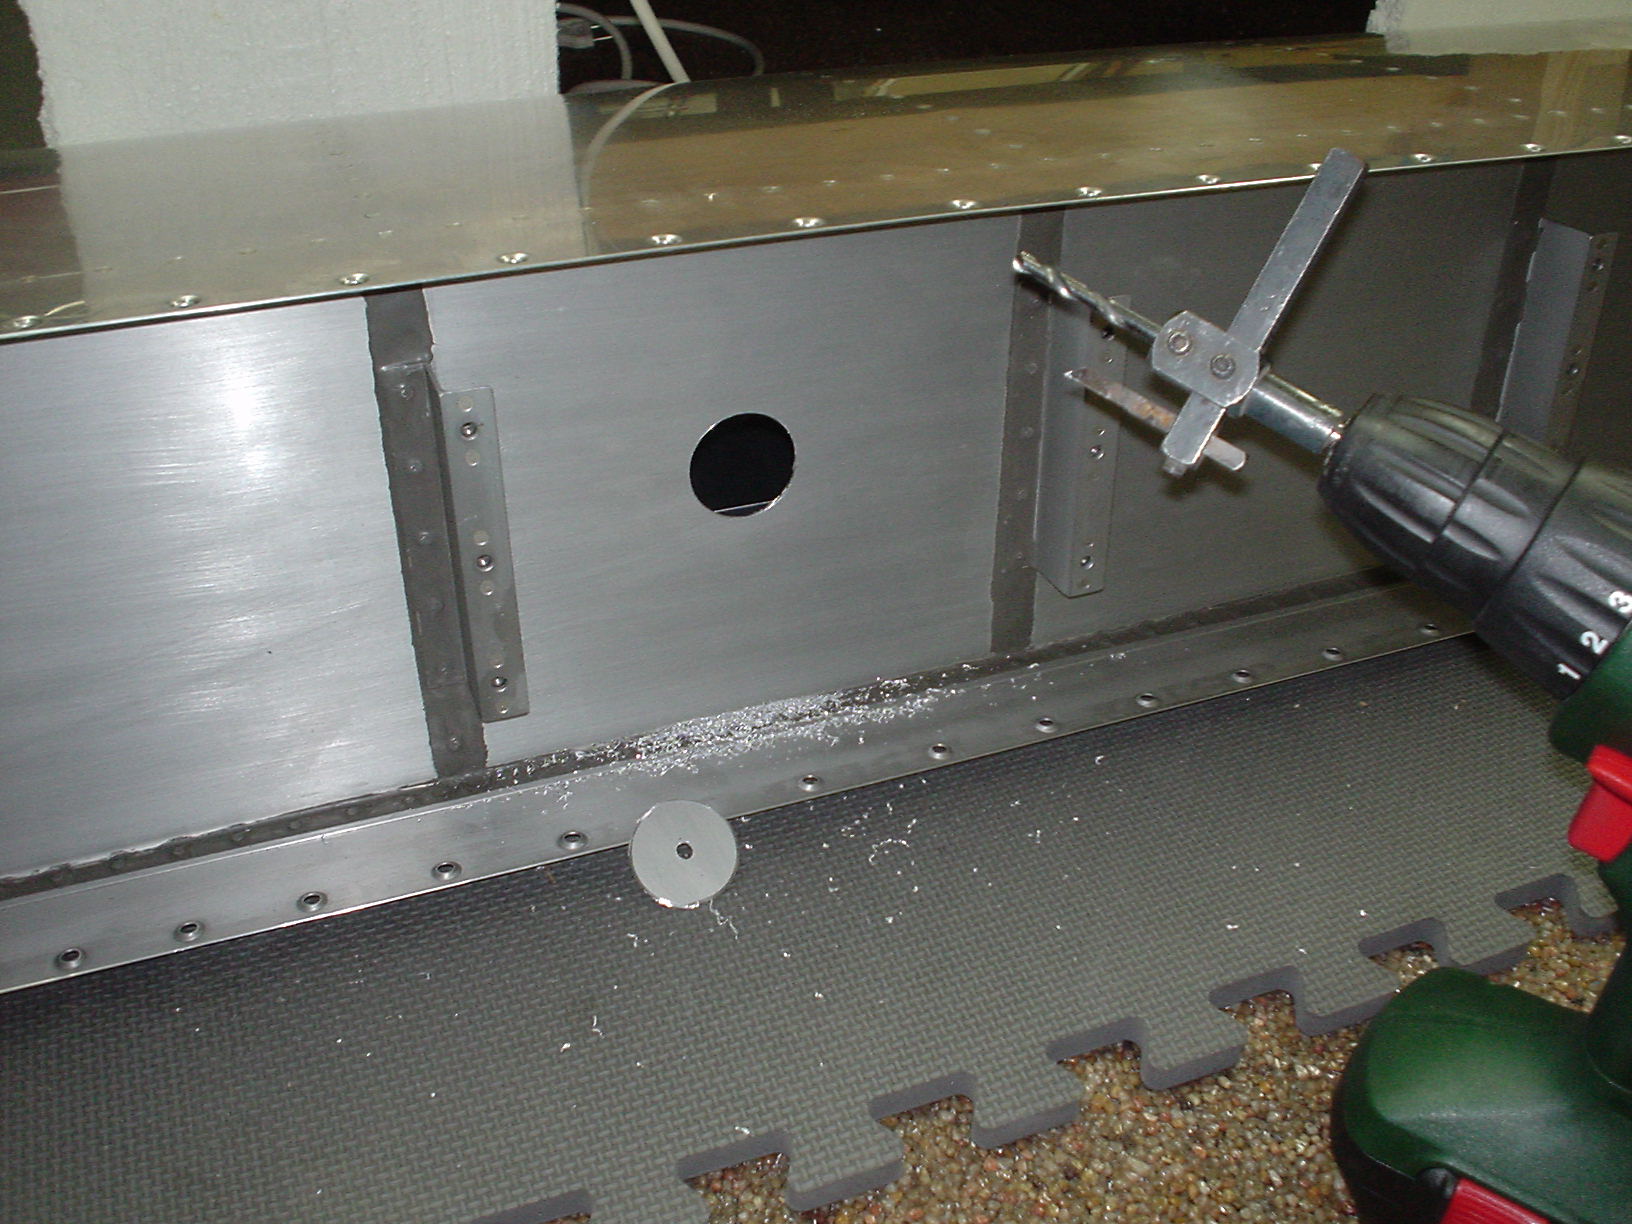
Here I’m cutting the strengthening plate for the fuel sender. Might not be needed, but just in case.
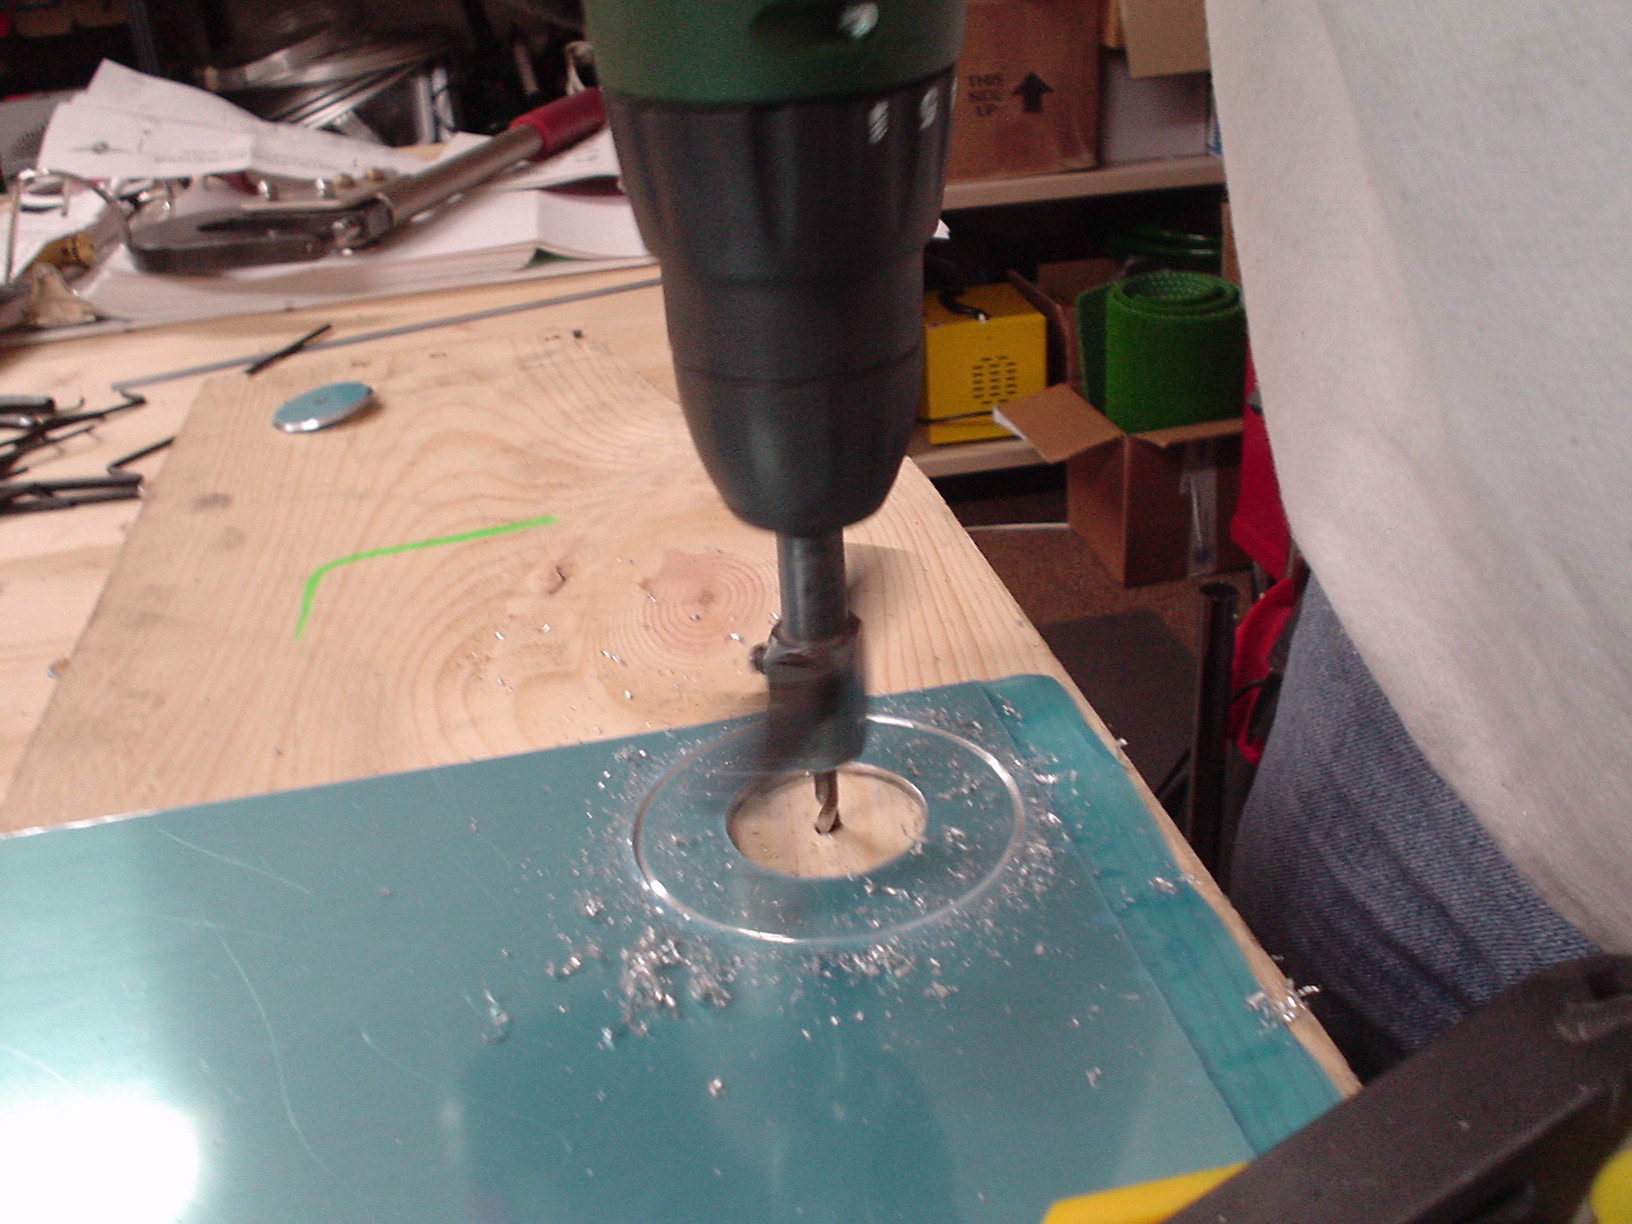
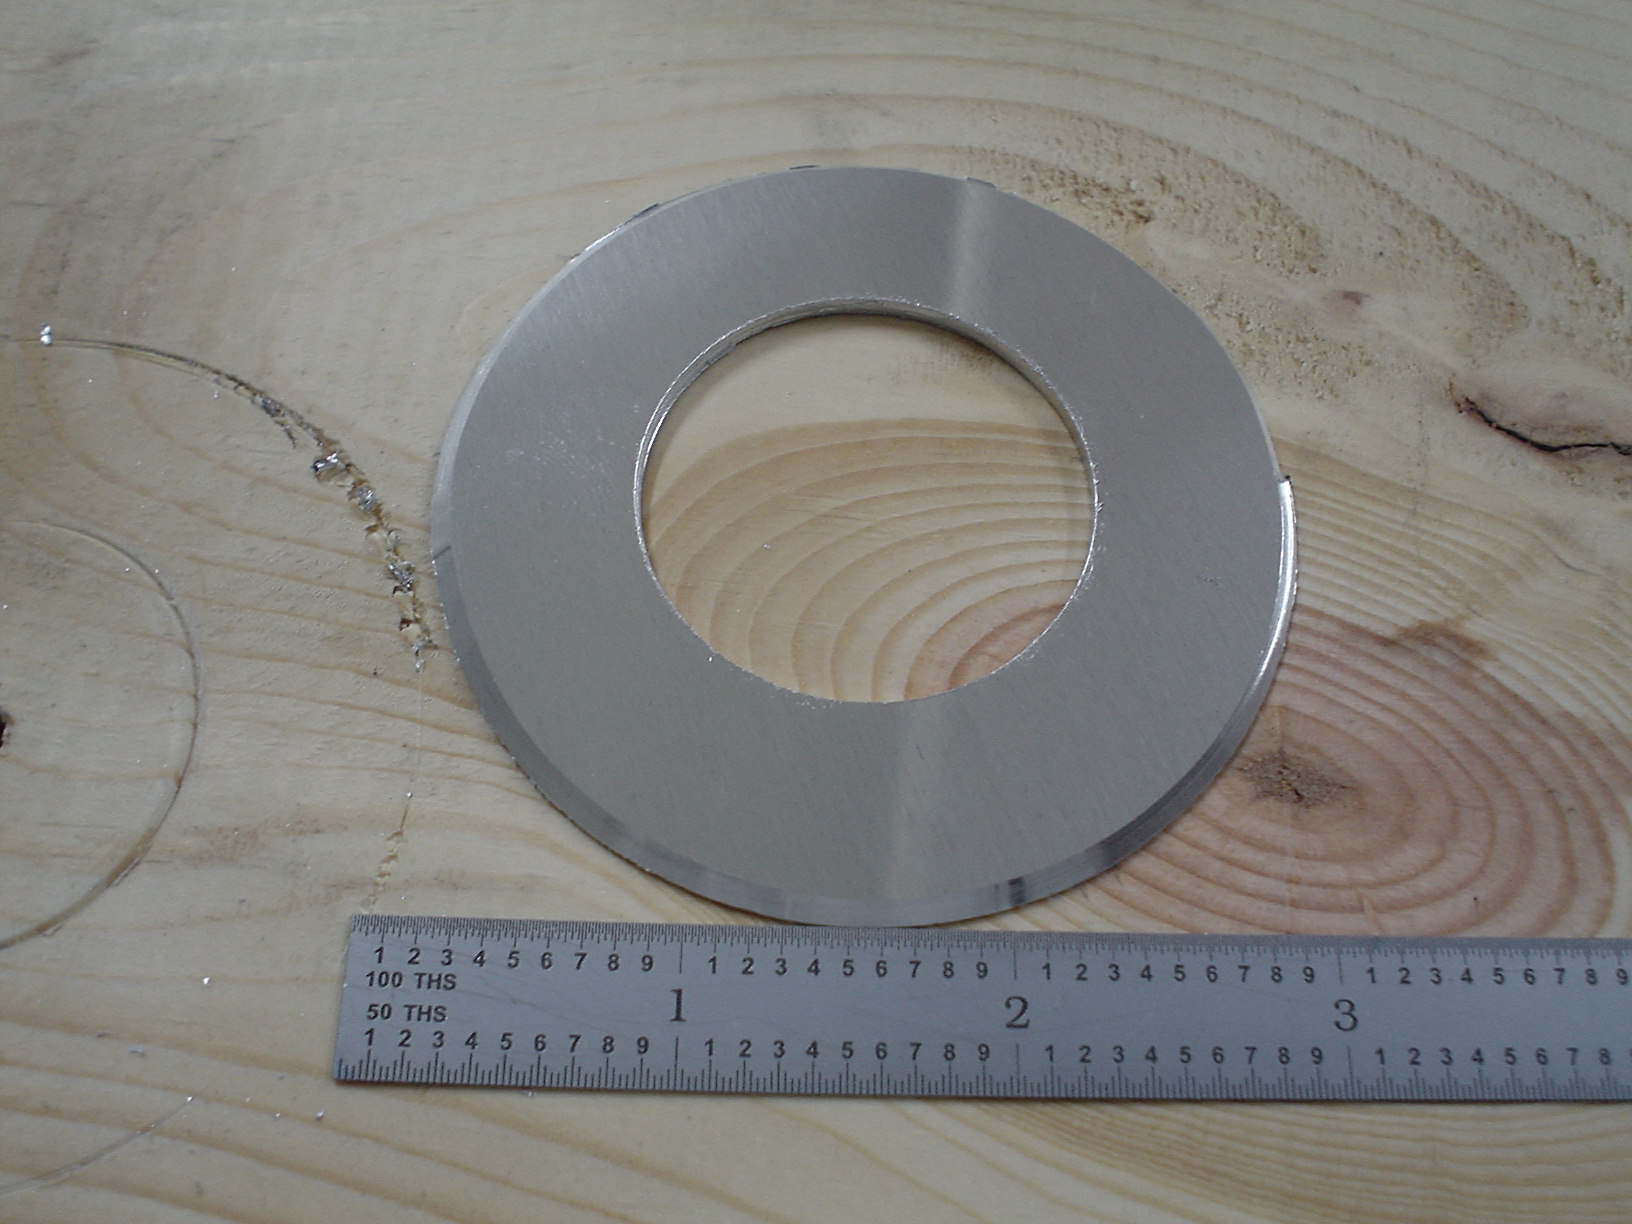
Here is the strengthener.
Here is the strengthener temporarily installed. I’ll need to proseal it on, since I don’t want to rivet it. Perhaps I’ll change my mind, not sure.
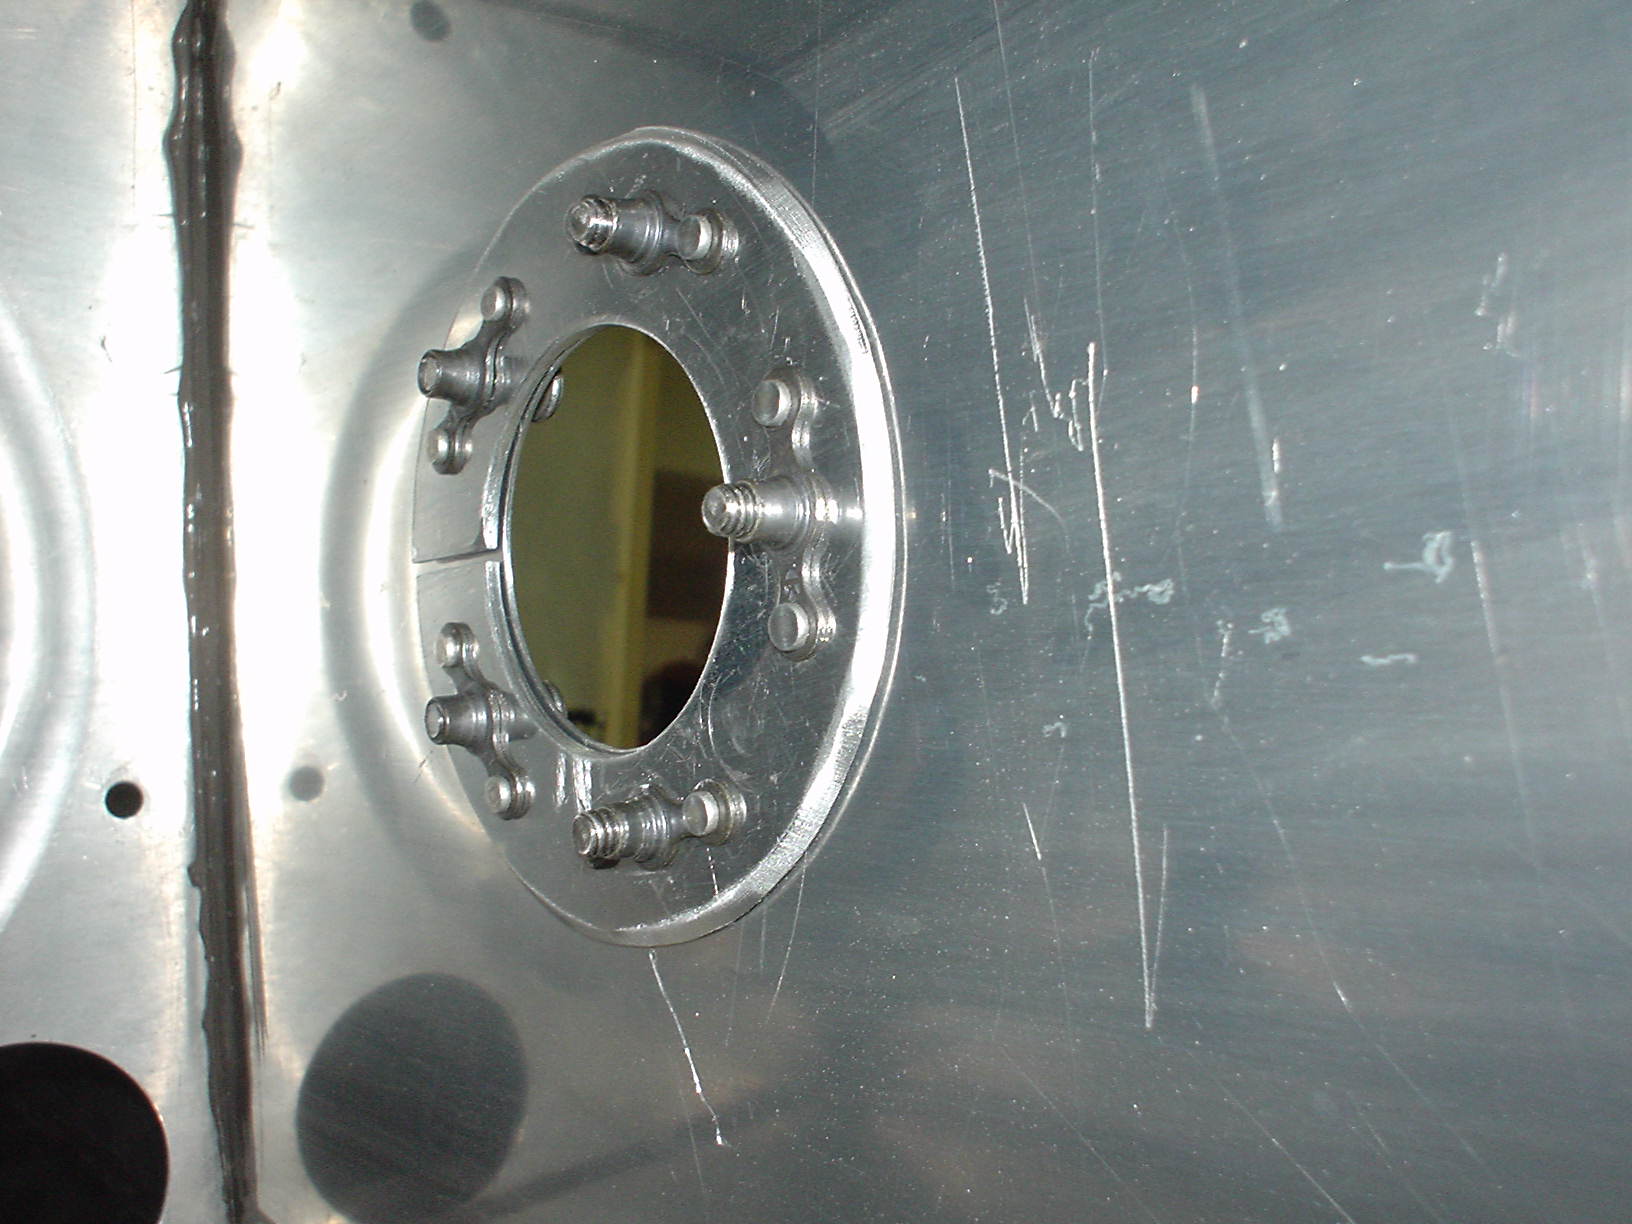
Here is the outside view of where the sender will be installed.
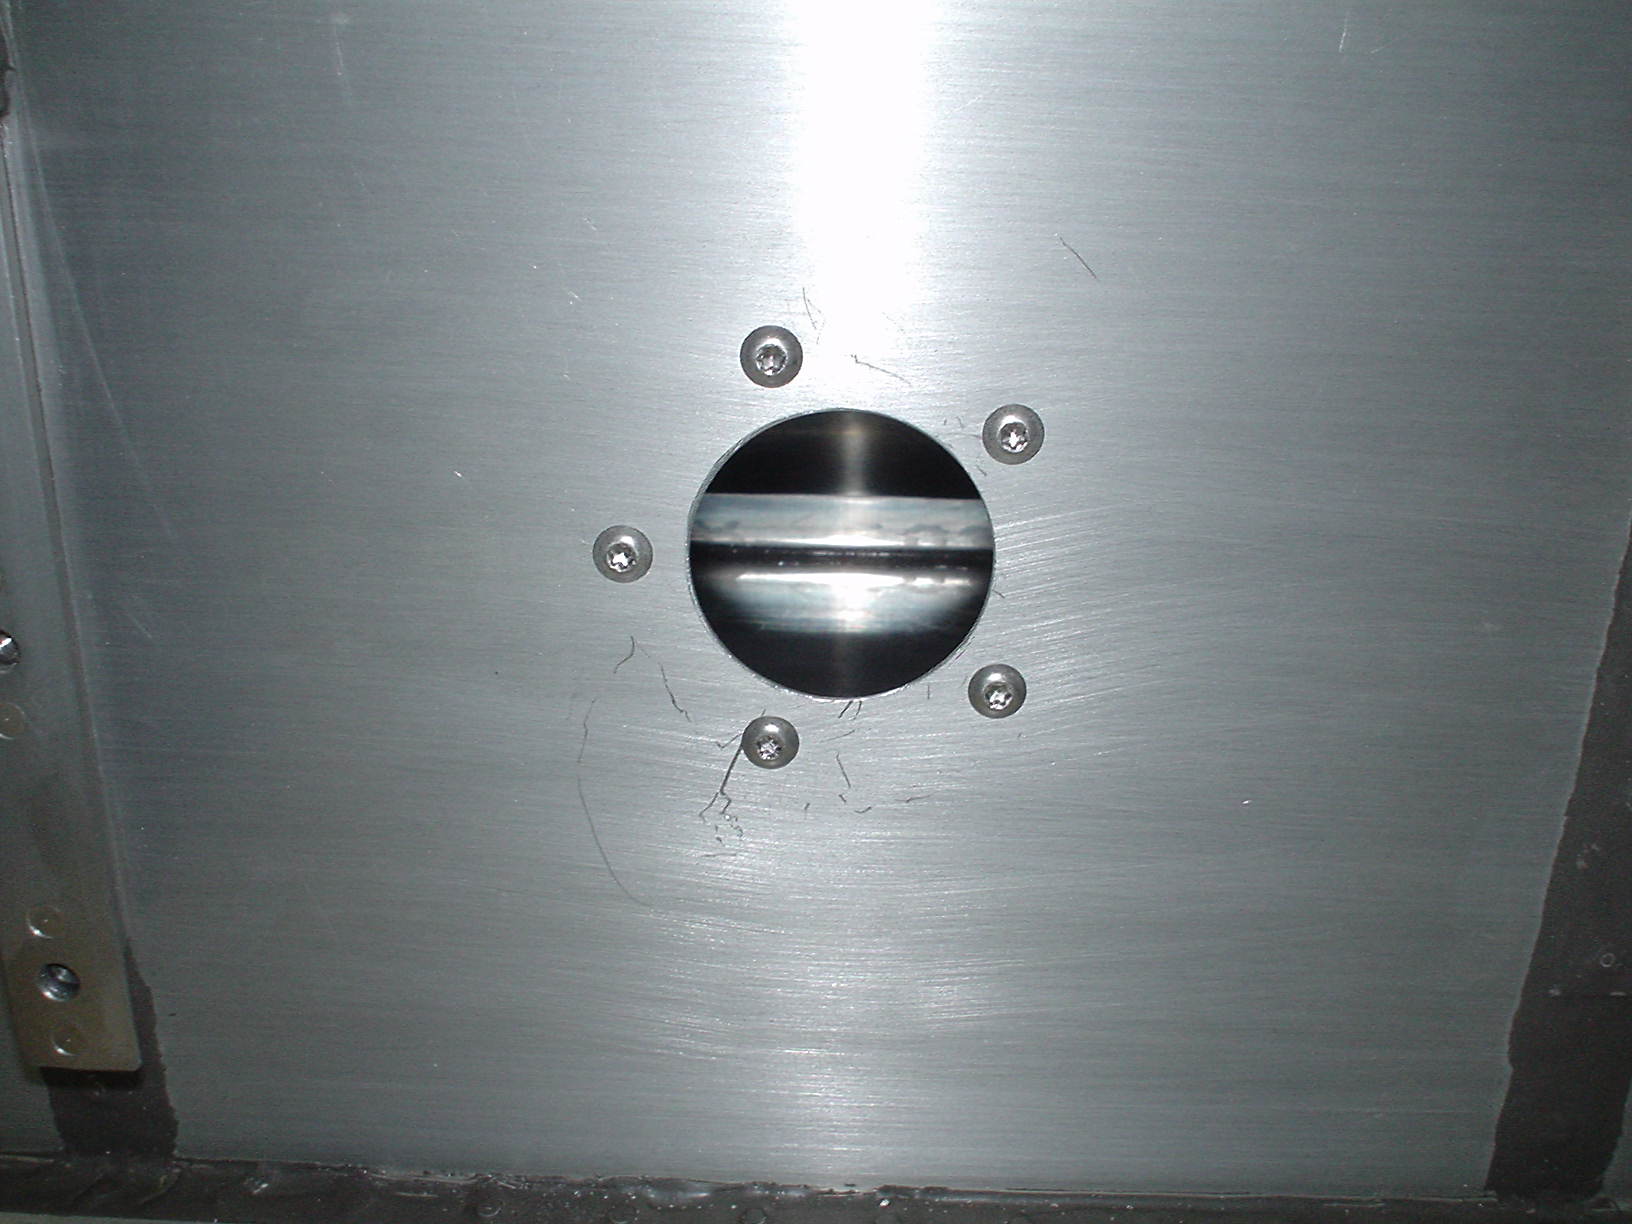
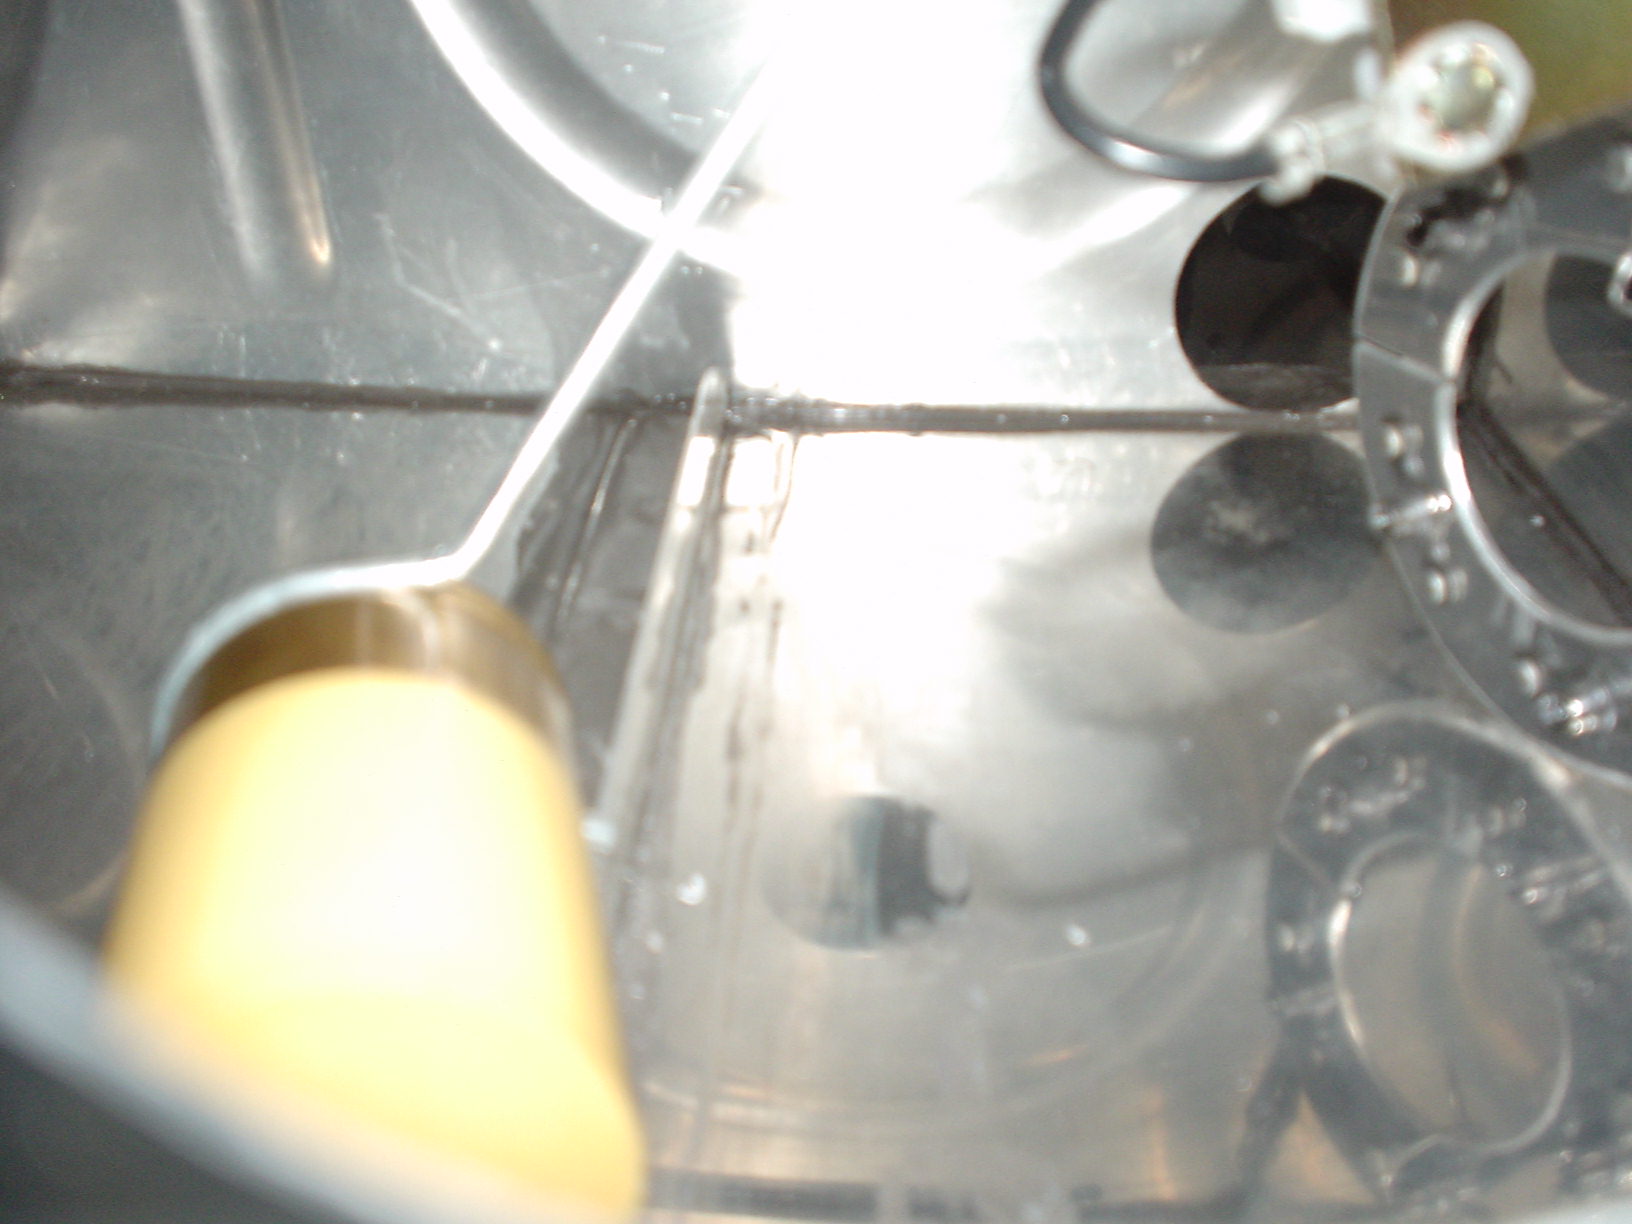
Here is how I determined if the float got right to the bottom – using a camera. You can’t see in there with the QB tanks, since they are already built.
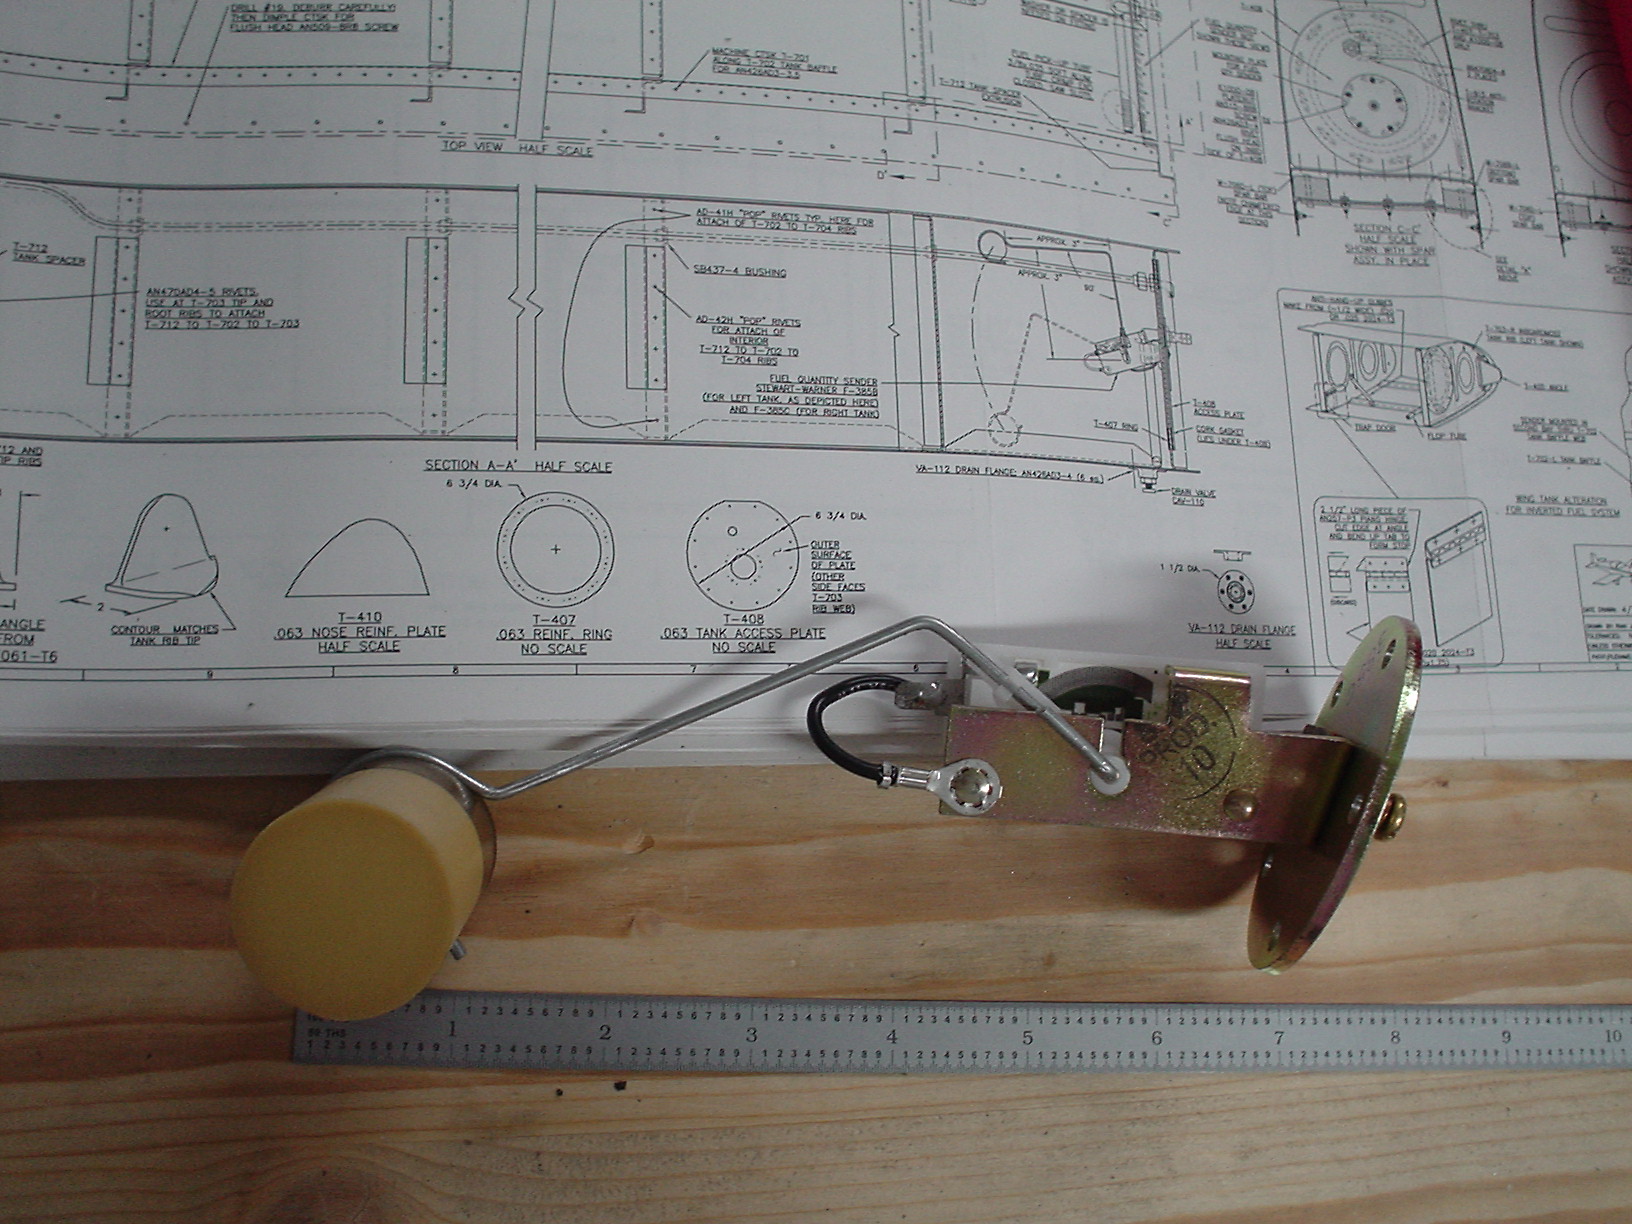
Here is the sender with the wire rod bent in “exactly” the right place. 🙂 It seems to have full travel, at what seems to be exactly the top and the bottom of the tank, so it should read fairly accurately.
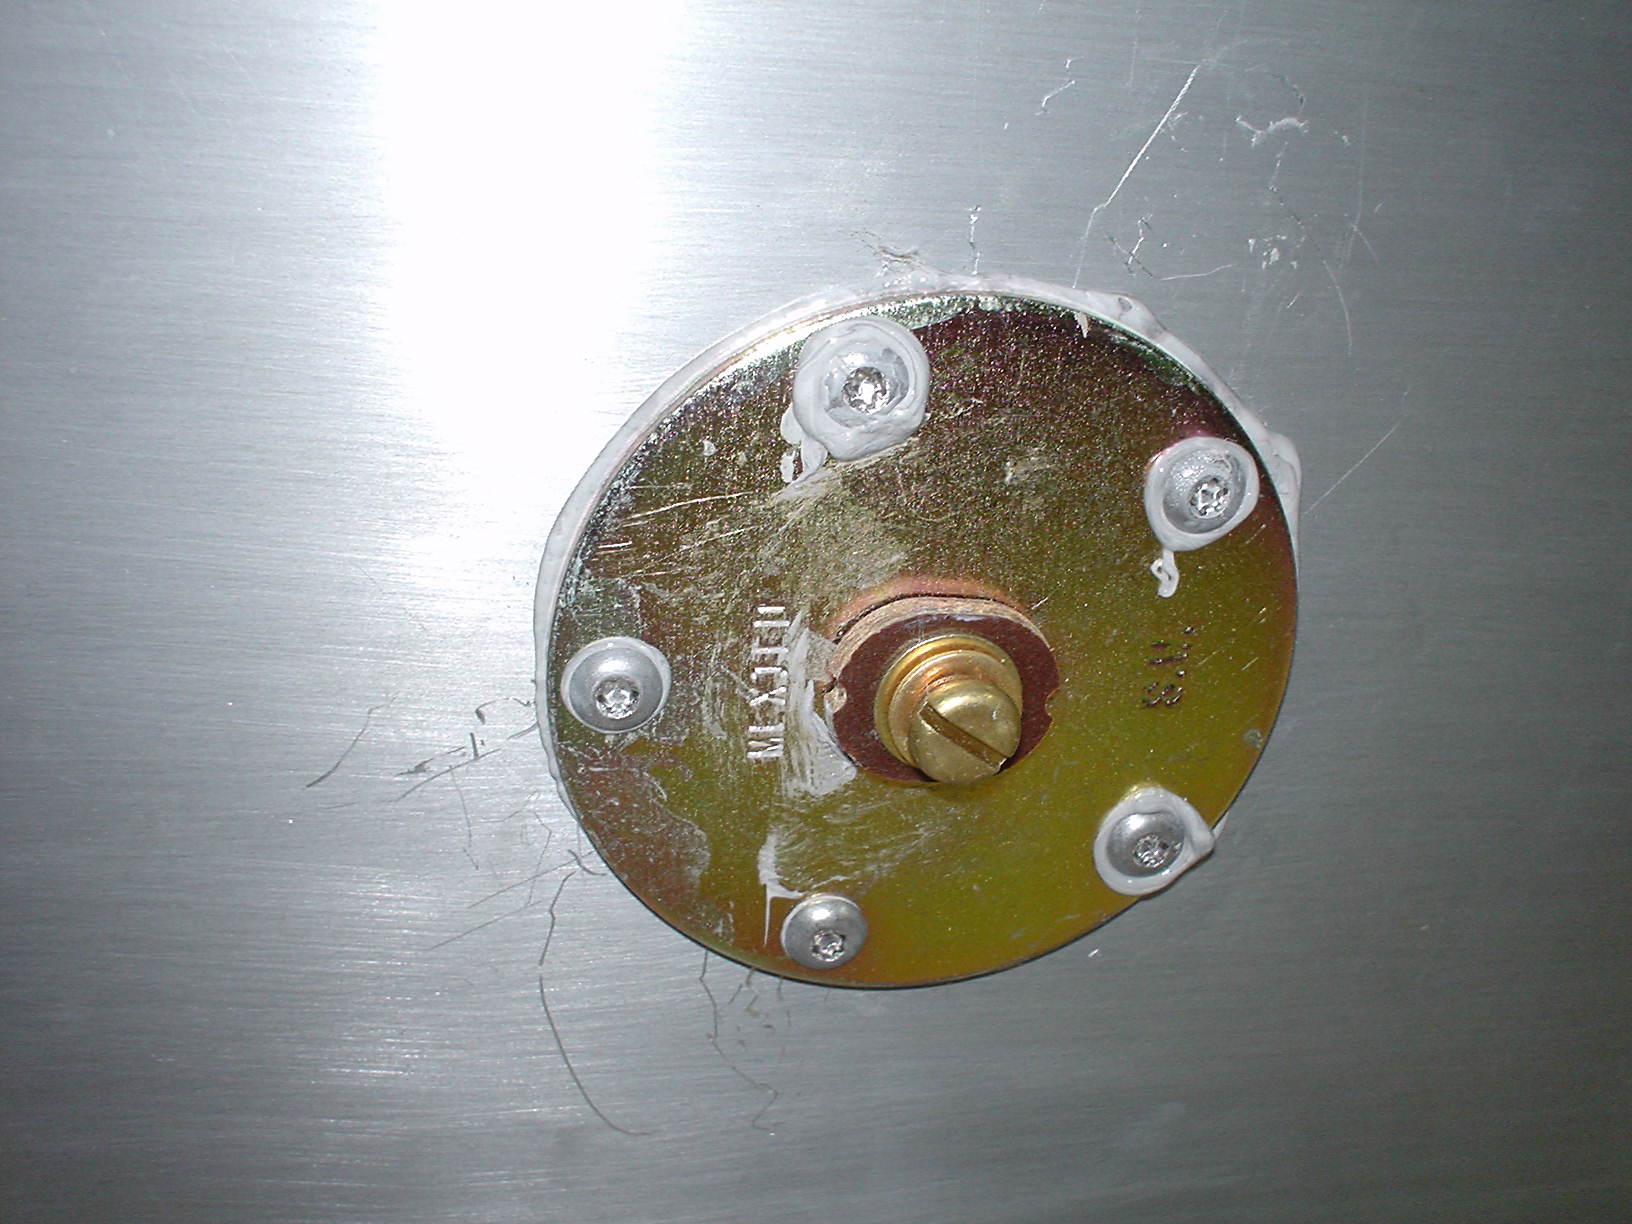
To finalize the install, I need to mix up some proseal and install it. I want to wait until I have several things that need proseal at the same time so that I don’t waste any.
Update: 26 July 2004
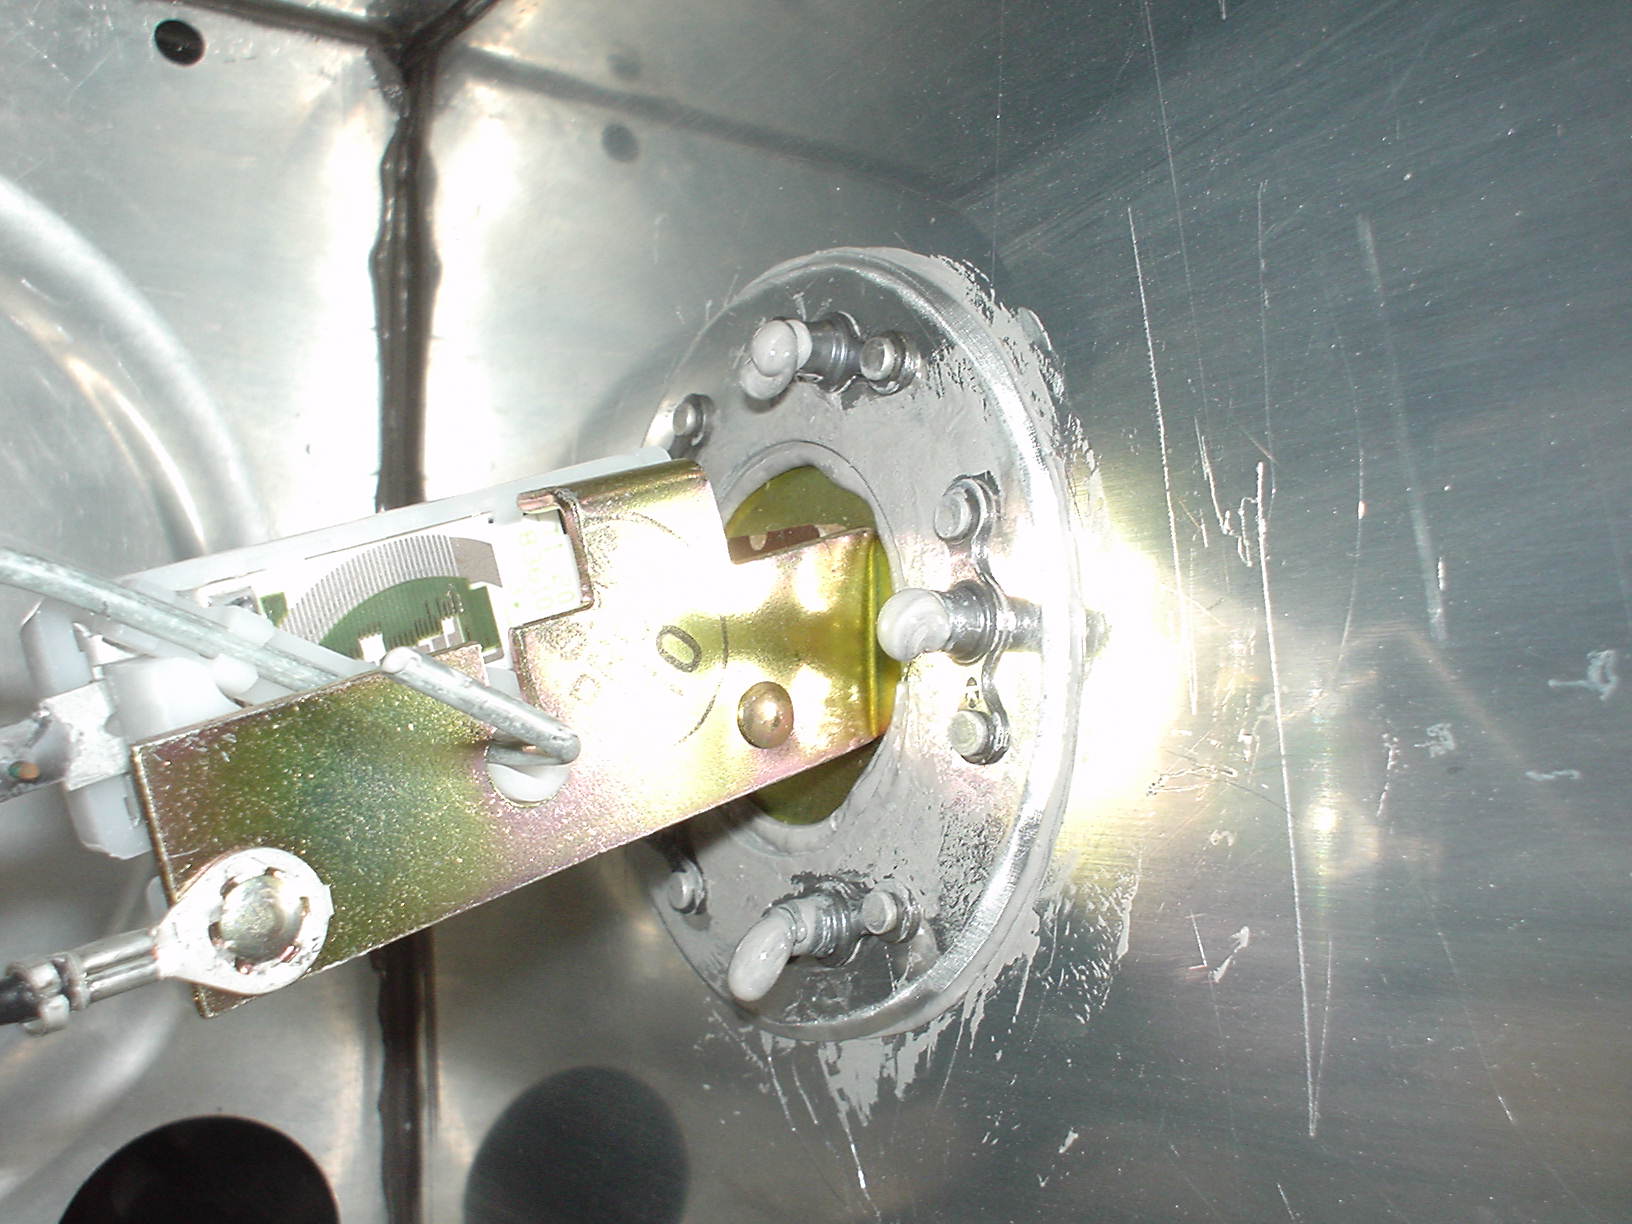
Today was proseal day, and here are some pictures of the sender installed.

Sorry, the comment form is closed at this time.