09 Jun 2005 Starting on the canopy
Most of the talk on the list about the canopy is how difficult, time-consuming, and frustrating it can be. There are a few hints, like make sure you work with the canopy when it is very warm (25C or 80F minimum). Many of the posting are about what to do after you crack the canopy. I really want to avoid any cracks!
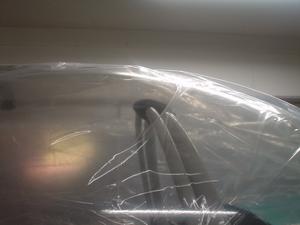
Here are some photos of the canopy before any cutting has been done. There is a thick ring of excess plastic around the edge of the canopy. This is good because it provides a lot of rigidity and gives you a level line you can use to make sure you have the canopy straight.
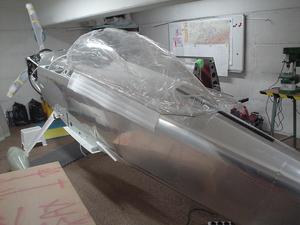
Van’s includes a red line around the canopy that they say in the instructions that is taken from one of their prototypes. I believe they have changed the way they do this, because there is no way this line would be enough to make the canopy fit.
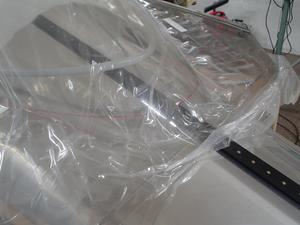
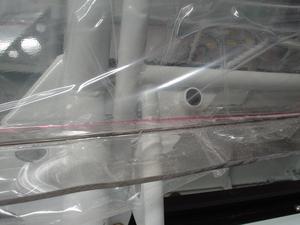
Here you can see I’ve started trimming off the excess plastic. I’ve used both a dremel cutoff wheel, and the wheel shipped by Van’s with the finish kit. They both work pretty well, but the dremel gives you quite a bit more precision. For the big cuts just using the Van’s cutoff wheel on an air tool works fine.
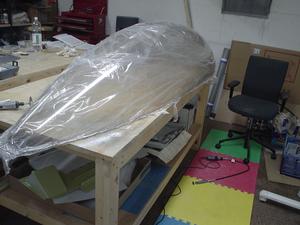
Cutting the canopy produces a lot of plastic dust. Be sure to wear eye, ear, and lung protection. It’s not too fun to wear all this stuff when it’s hot, but don’t take any chances with your health!
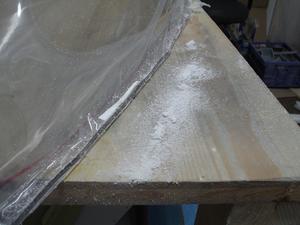
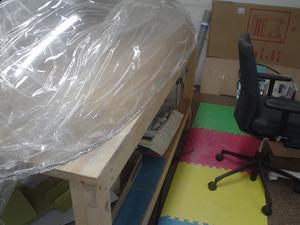
Now it’s basically trim the front a bit and see how it fits. On, off, trim, on, off, trim…
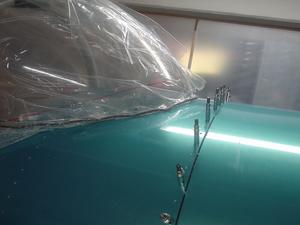
You can see here that there is a lot more cutting to do. The horizontal line will need to come down a lot.
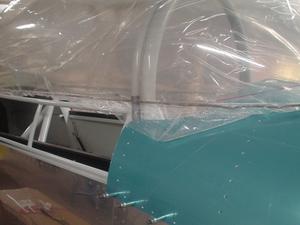
As you can see, I still have a lot of cutting to do on the front and back of the canopy. One tip I got on the net was to not cut the back very much until the front is almost there. This turned out to be a good hint!
More info on the next canopy article. Canopy, page 2

Sorry, the comment form is closed at this time.