27 Oct 2004 Wing wiring conduit
After a lot of deliberation, consternation, and flip-flopping, I’ve finally decided how to get the wires from one end of my wing to the other. Amazingly, I’m using the PVC conduit that I purchased from Hornbach (like Home Depot, but with German prices) about a year ago. It’s got a 16mm ID, which is enough for most of the wires and the tube for the AOA, but probably not enough for a remote magnometer. We’ll see.
The big issue was finding the best way to attach the tubing to the wing. I got a lot of suggestions from the net, and decided to roll with the bit of angle riveted to the ribs, and “cushion clamps” a.k.a. Adel clamps.
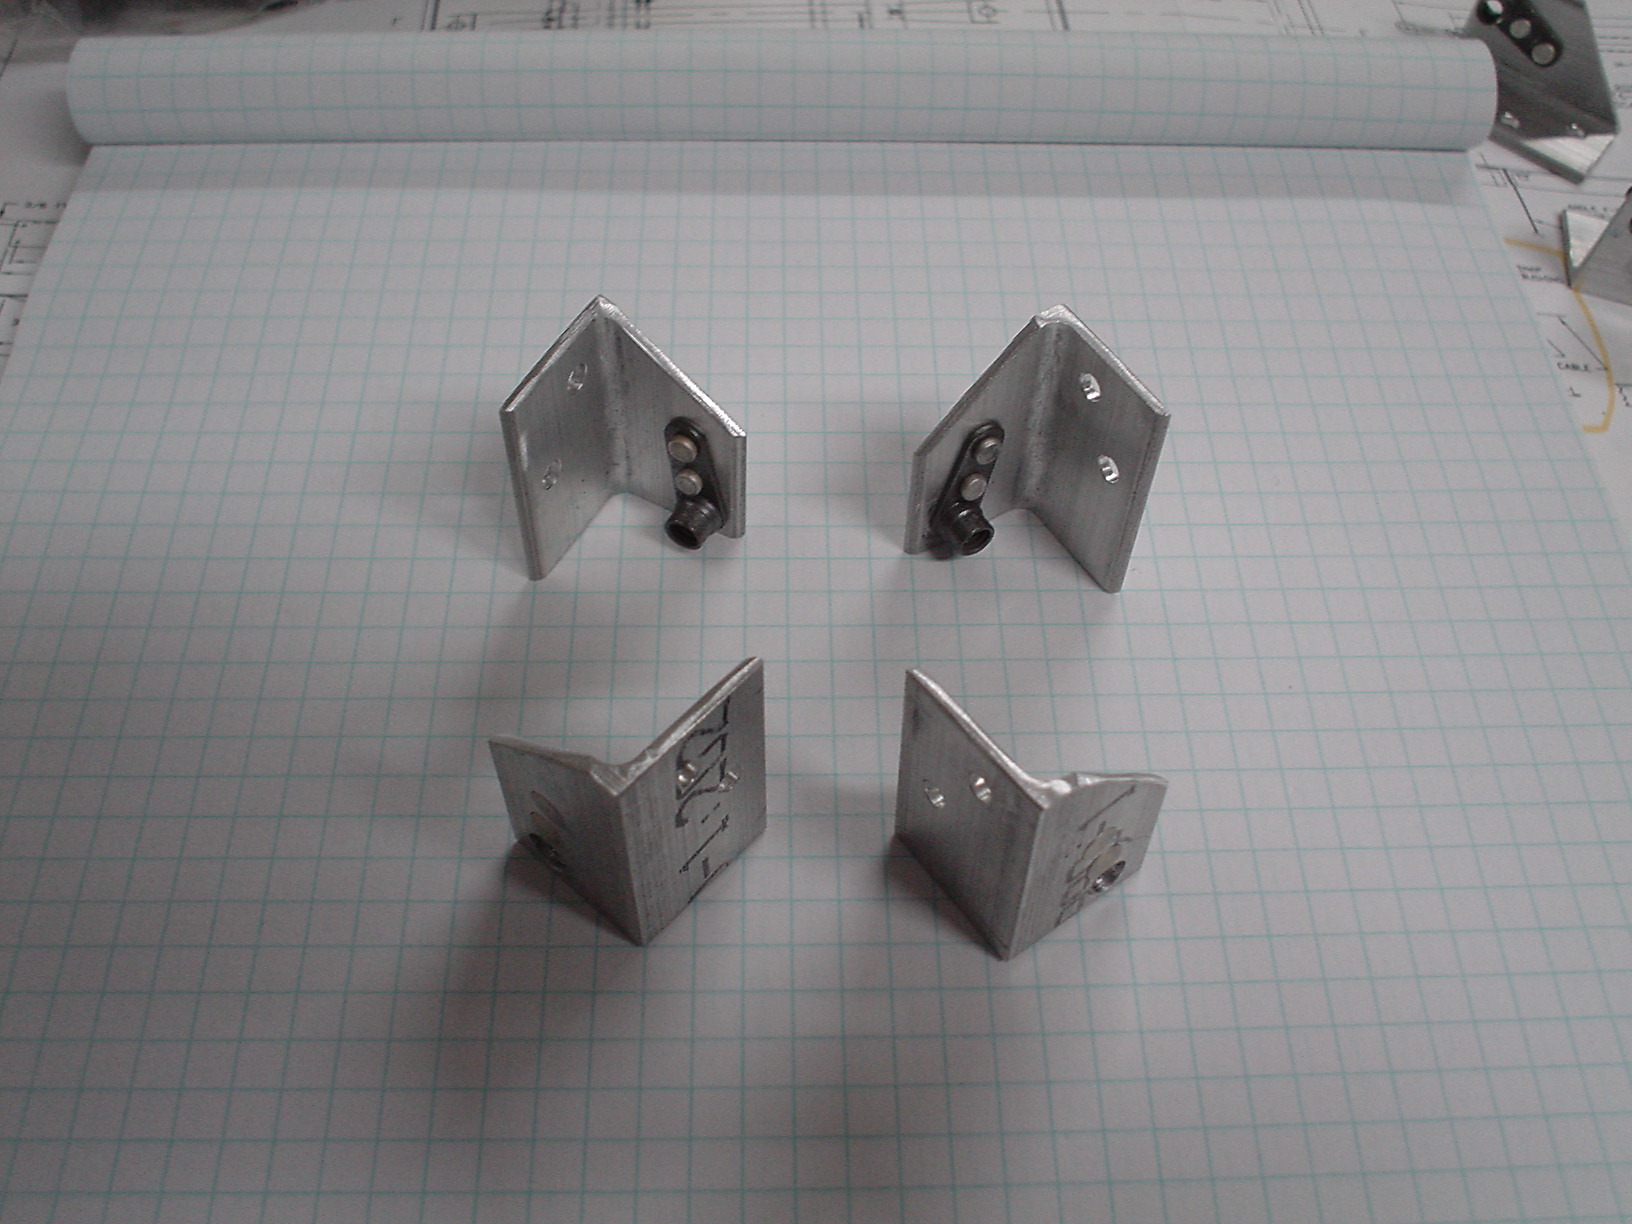
Here is a picture of the angle that I created. There is a left and a right, since some ribs have the lightening holes, with the raised flange, one way, and some have them the other. Notice that I tried to make them a bit lighter by cutting off a corner. They also each have a nutplate. Quite a bit of work.
Here is a bracket attached to a rib.
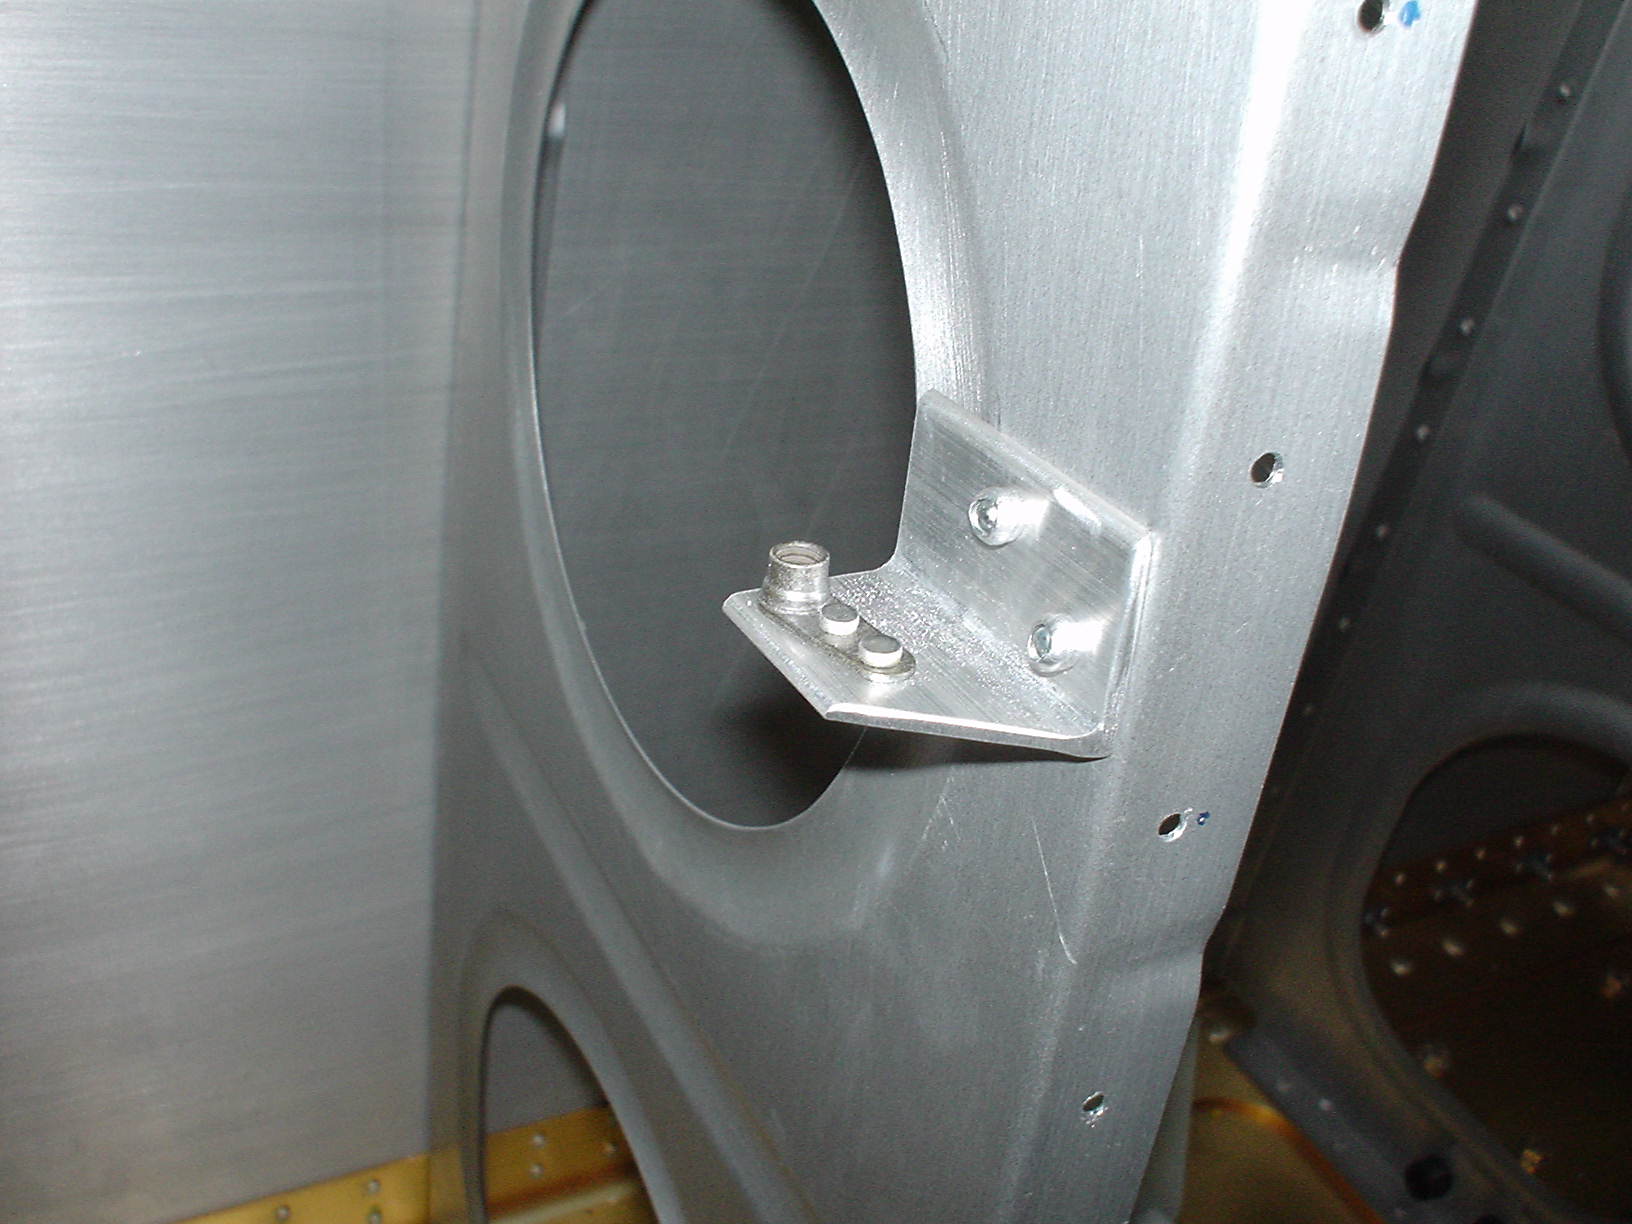
View from the other side.
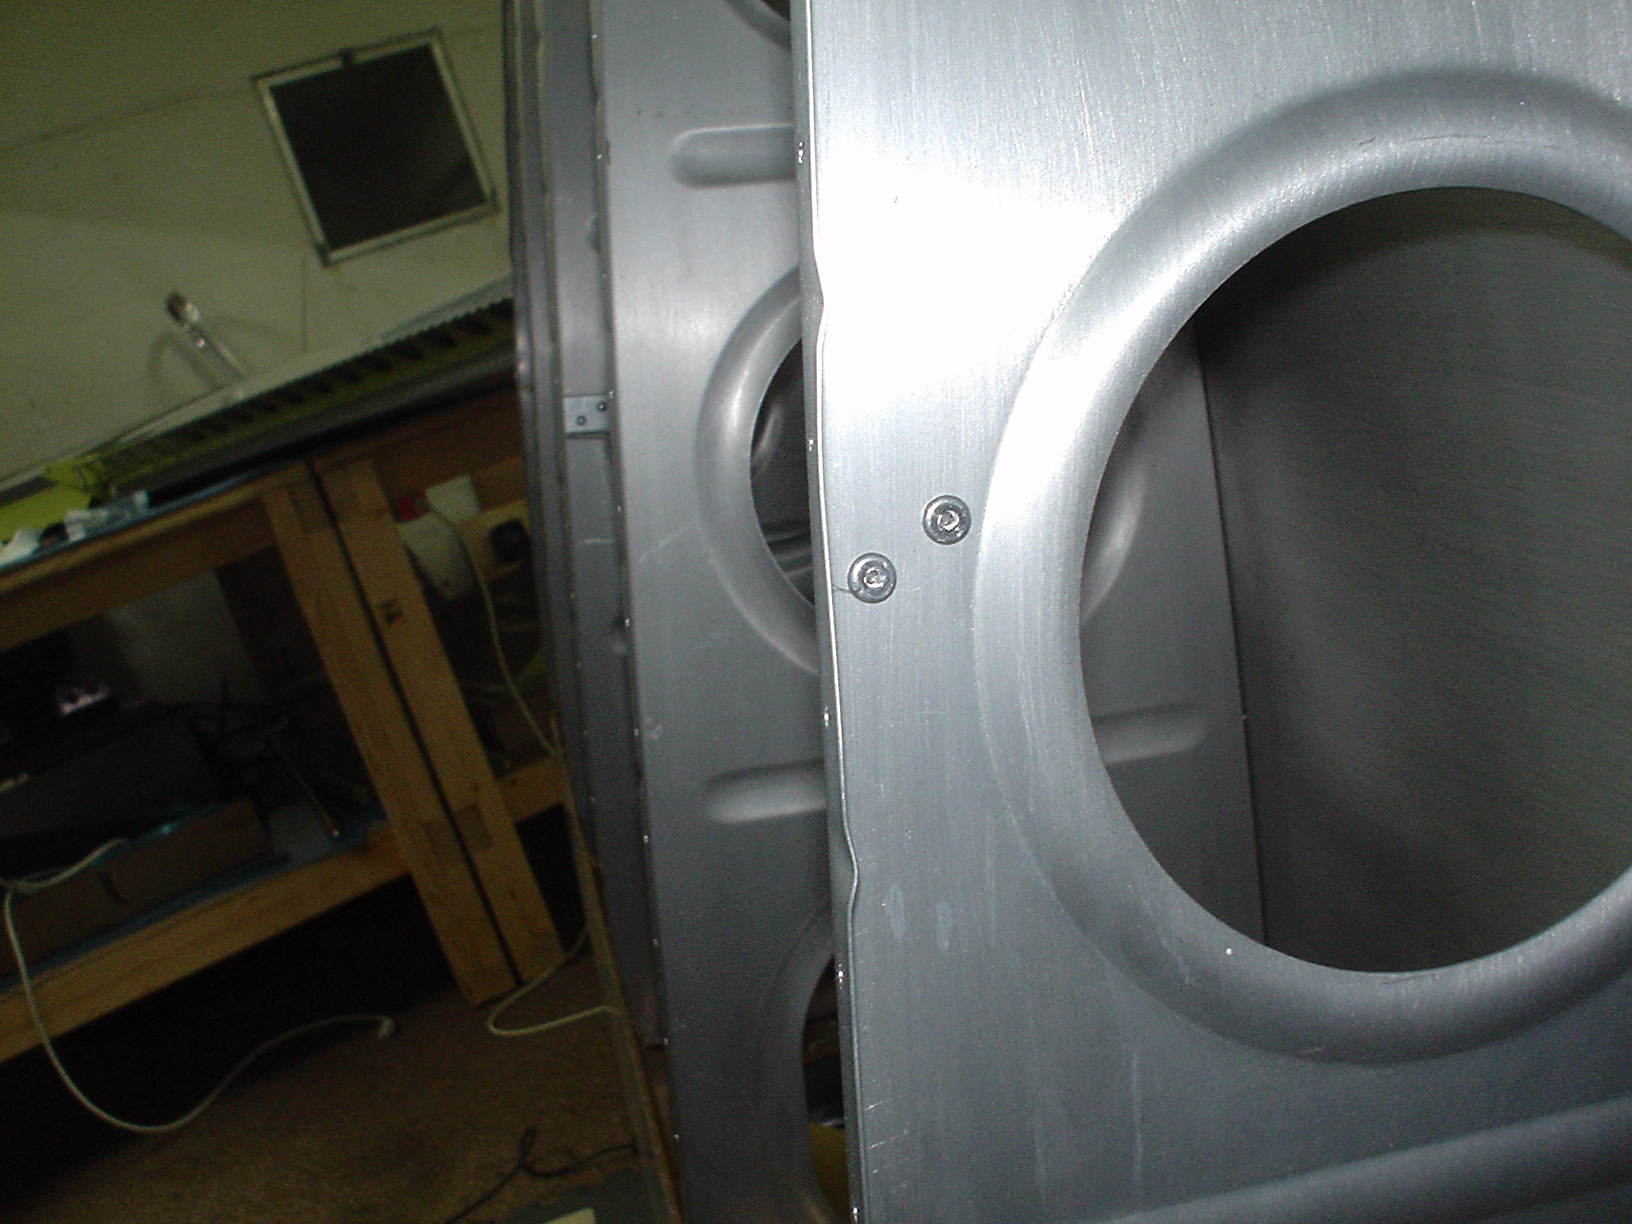
Outboard bracket on the left wing.
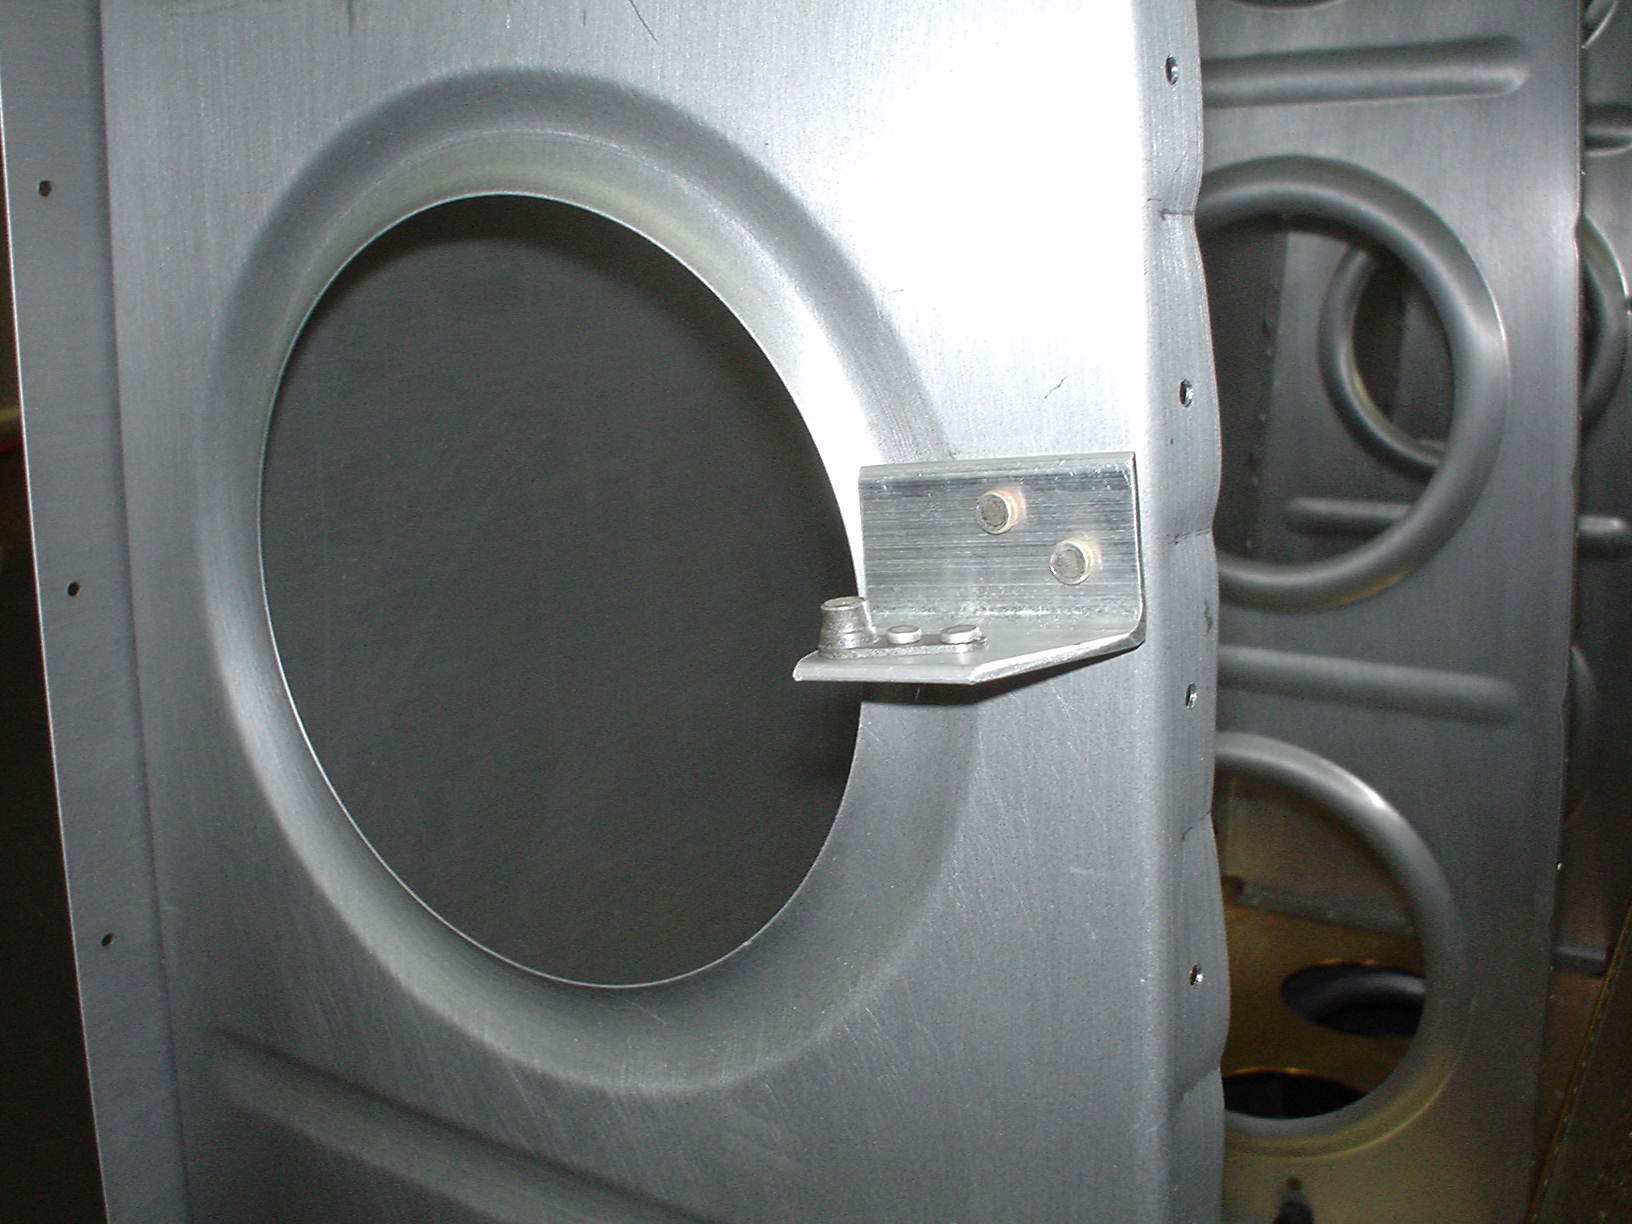
The tube installed. Notice that I don’t yet have the wing skin on. I really hope that this conduit nor the brackets interfere with riveting on the skin. That would be a hassle.
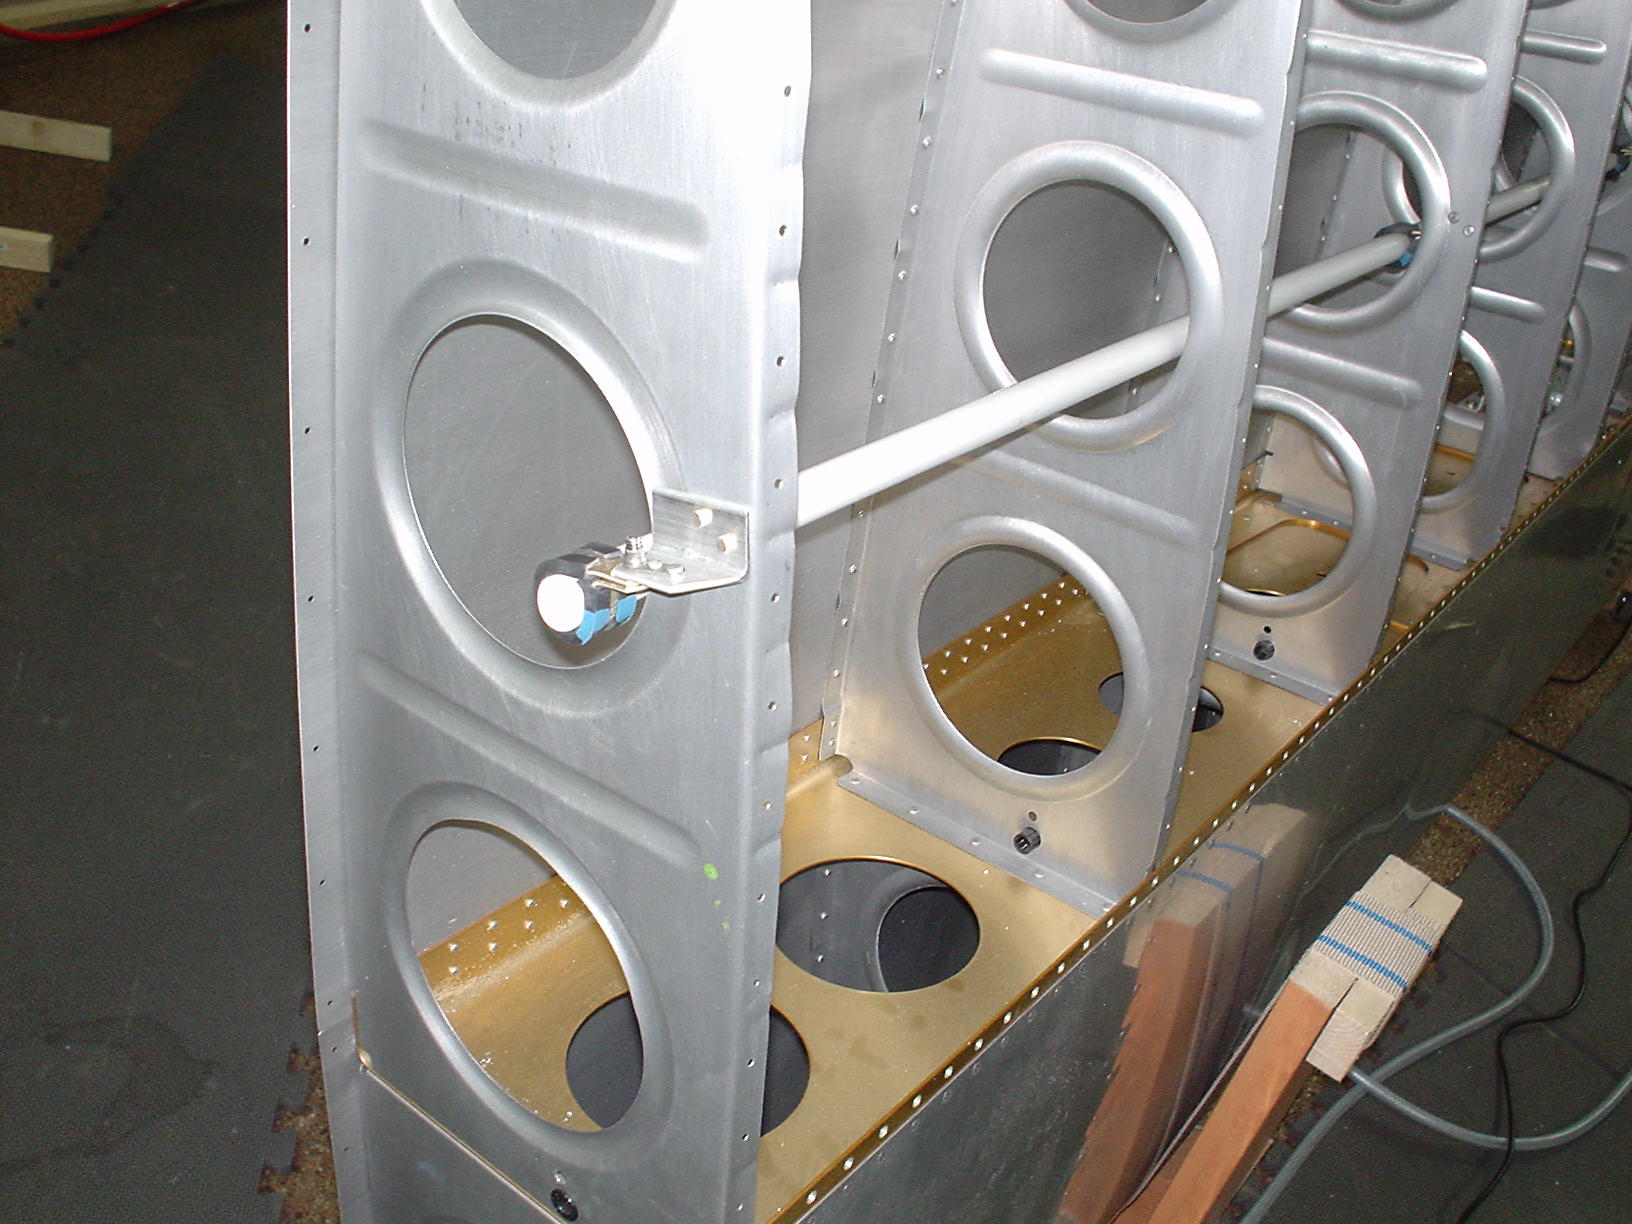
I only put cushion clamps on every other rib. This holds pretty firmly, and keeps weight and work to a minimum.
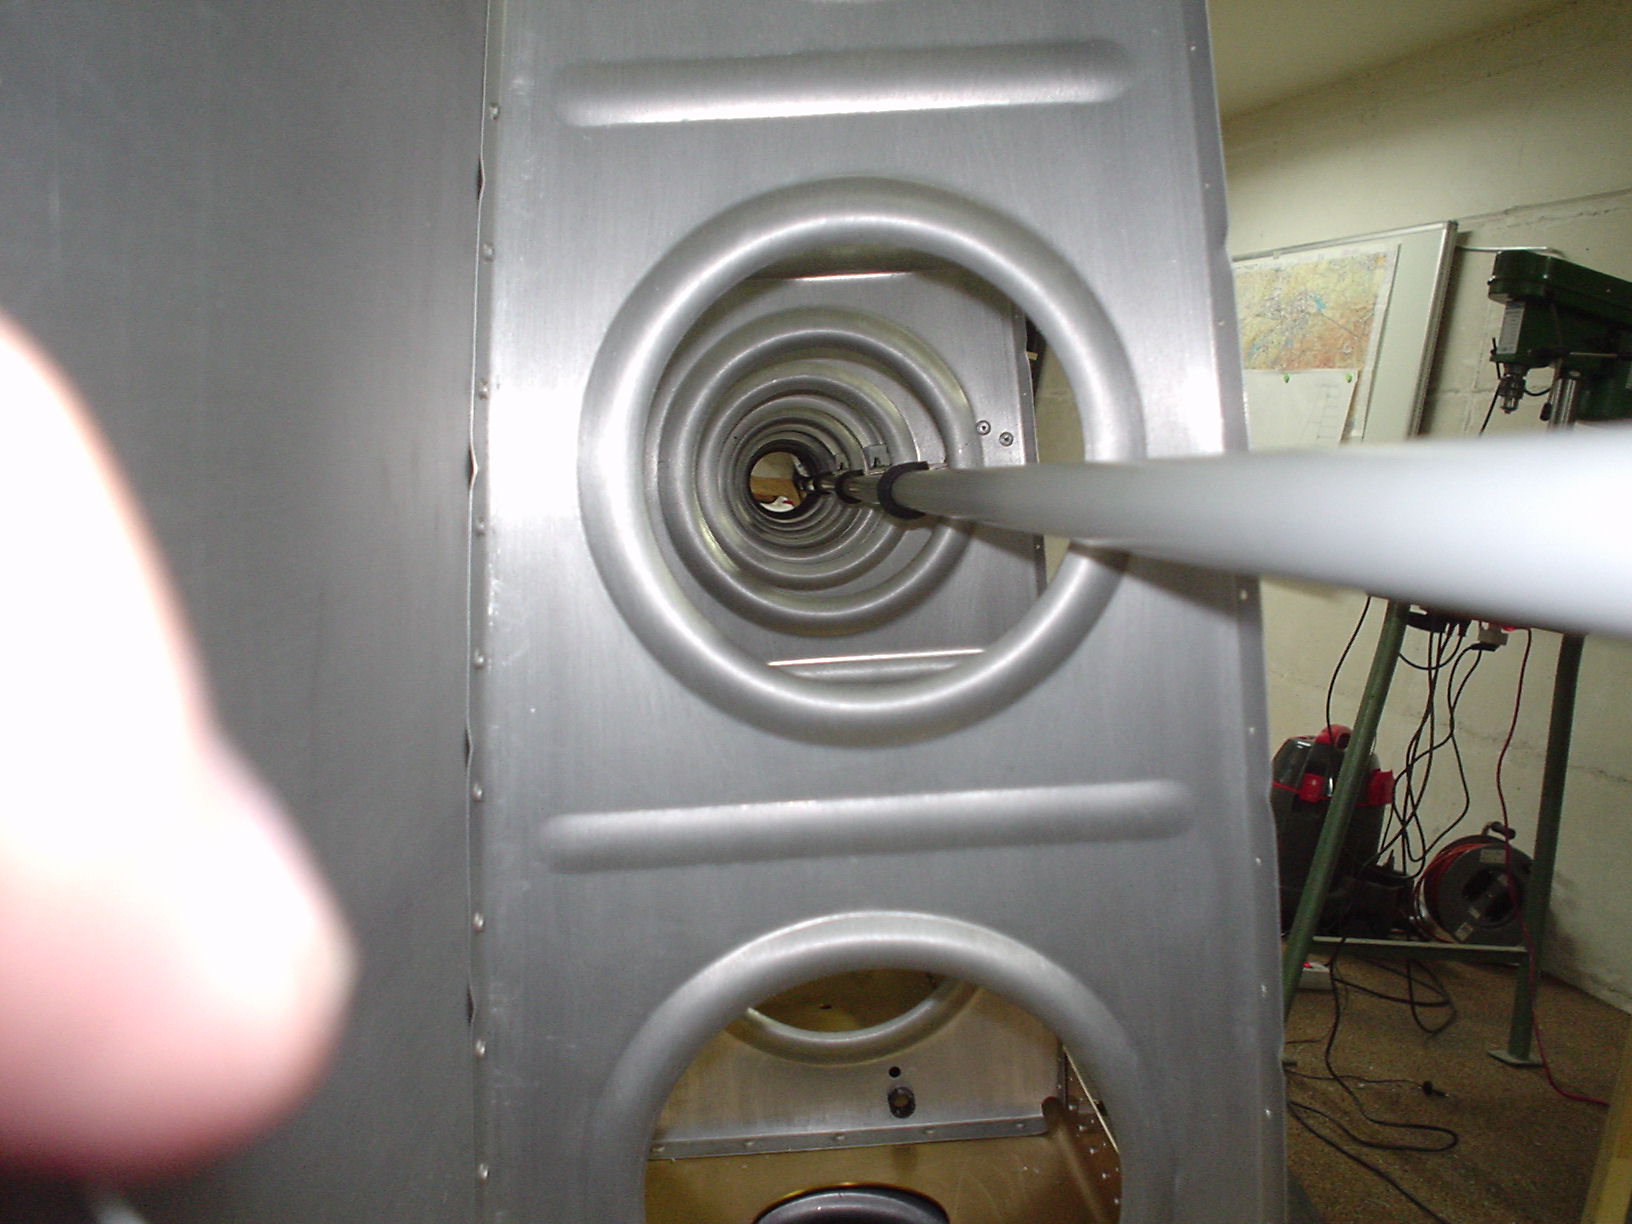
I also skipped several of the inboard ribs – just not needed to support the PVC, and it would be more work that I would have cared to do. The one rib that was not easily accessible was a bear. That took about 80% of the time.
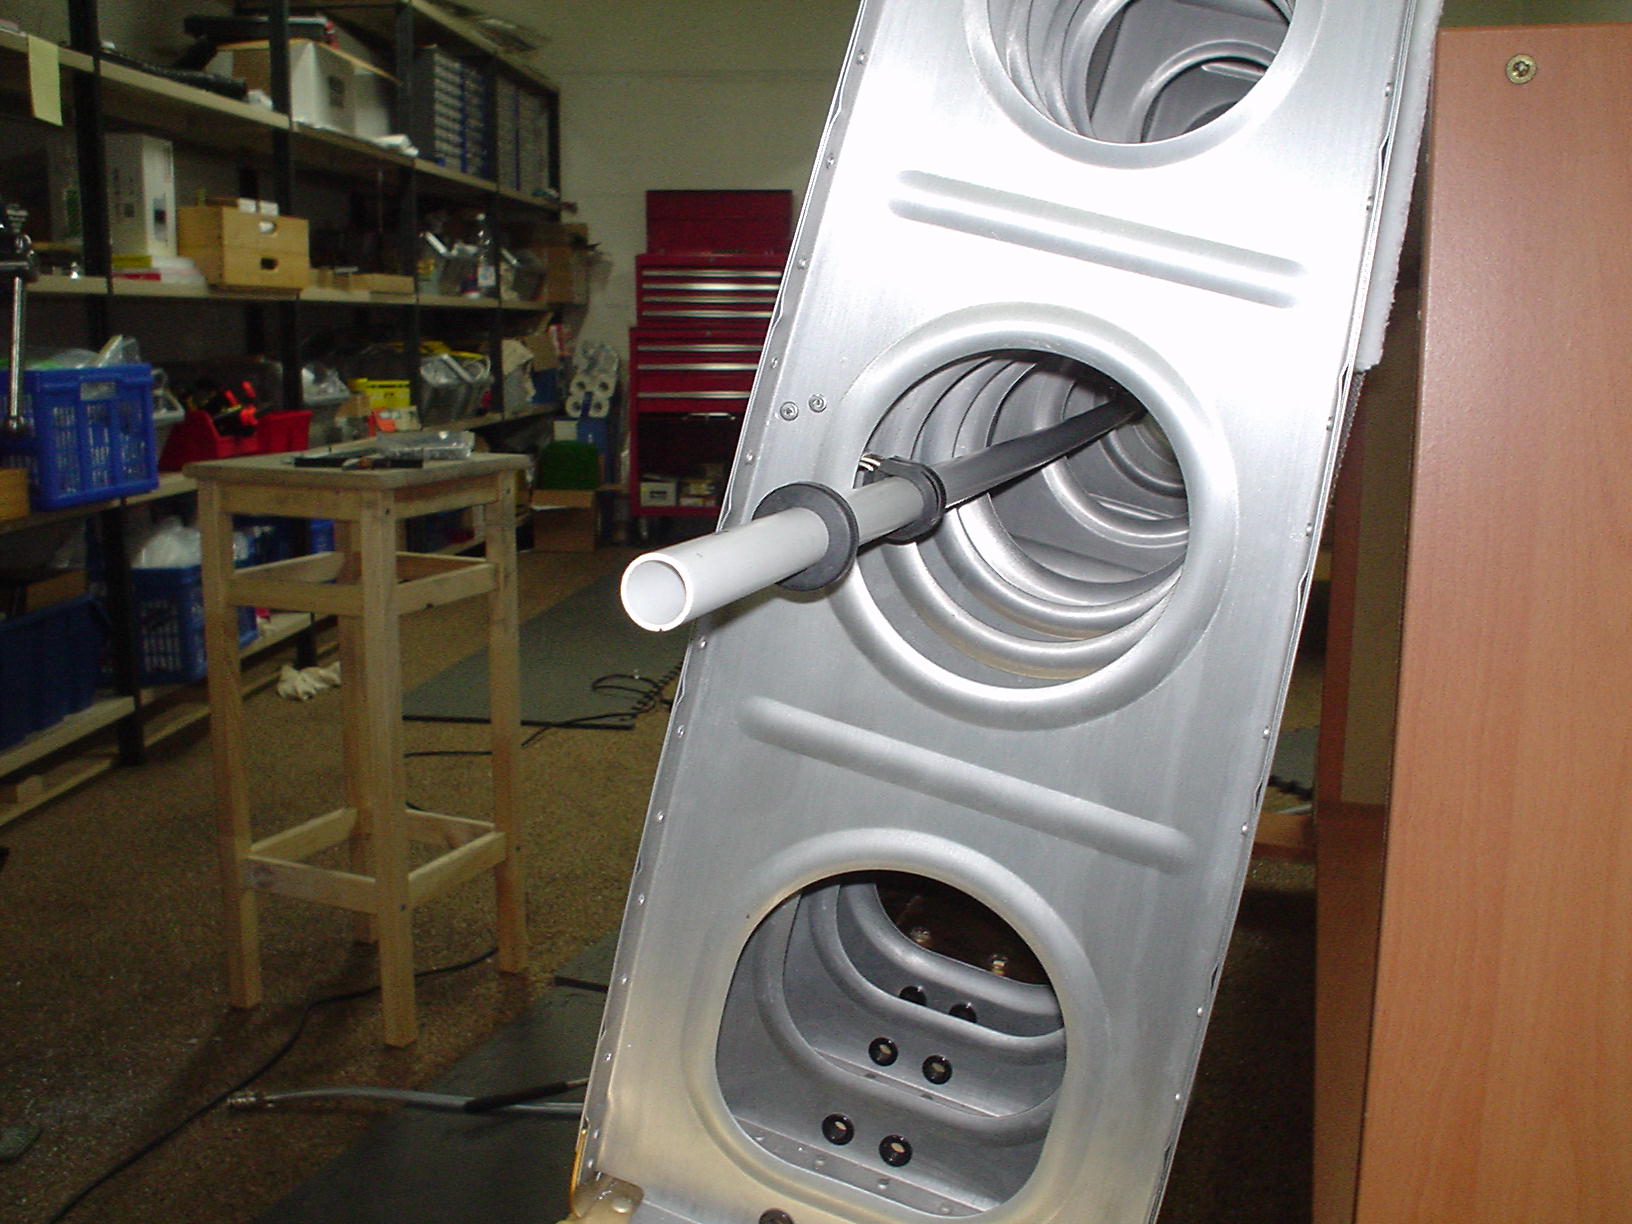
I’ve got a lot of tubing sticking out the inboard end of the wing, and I plan to run this right into the cockpit, using the rubber grommet to protect the PVC and seal the hole. It will need to be trimmed a bit.
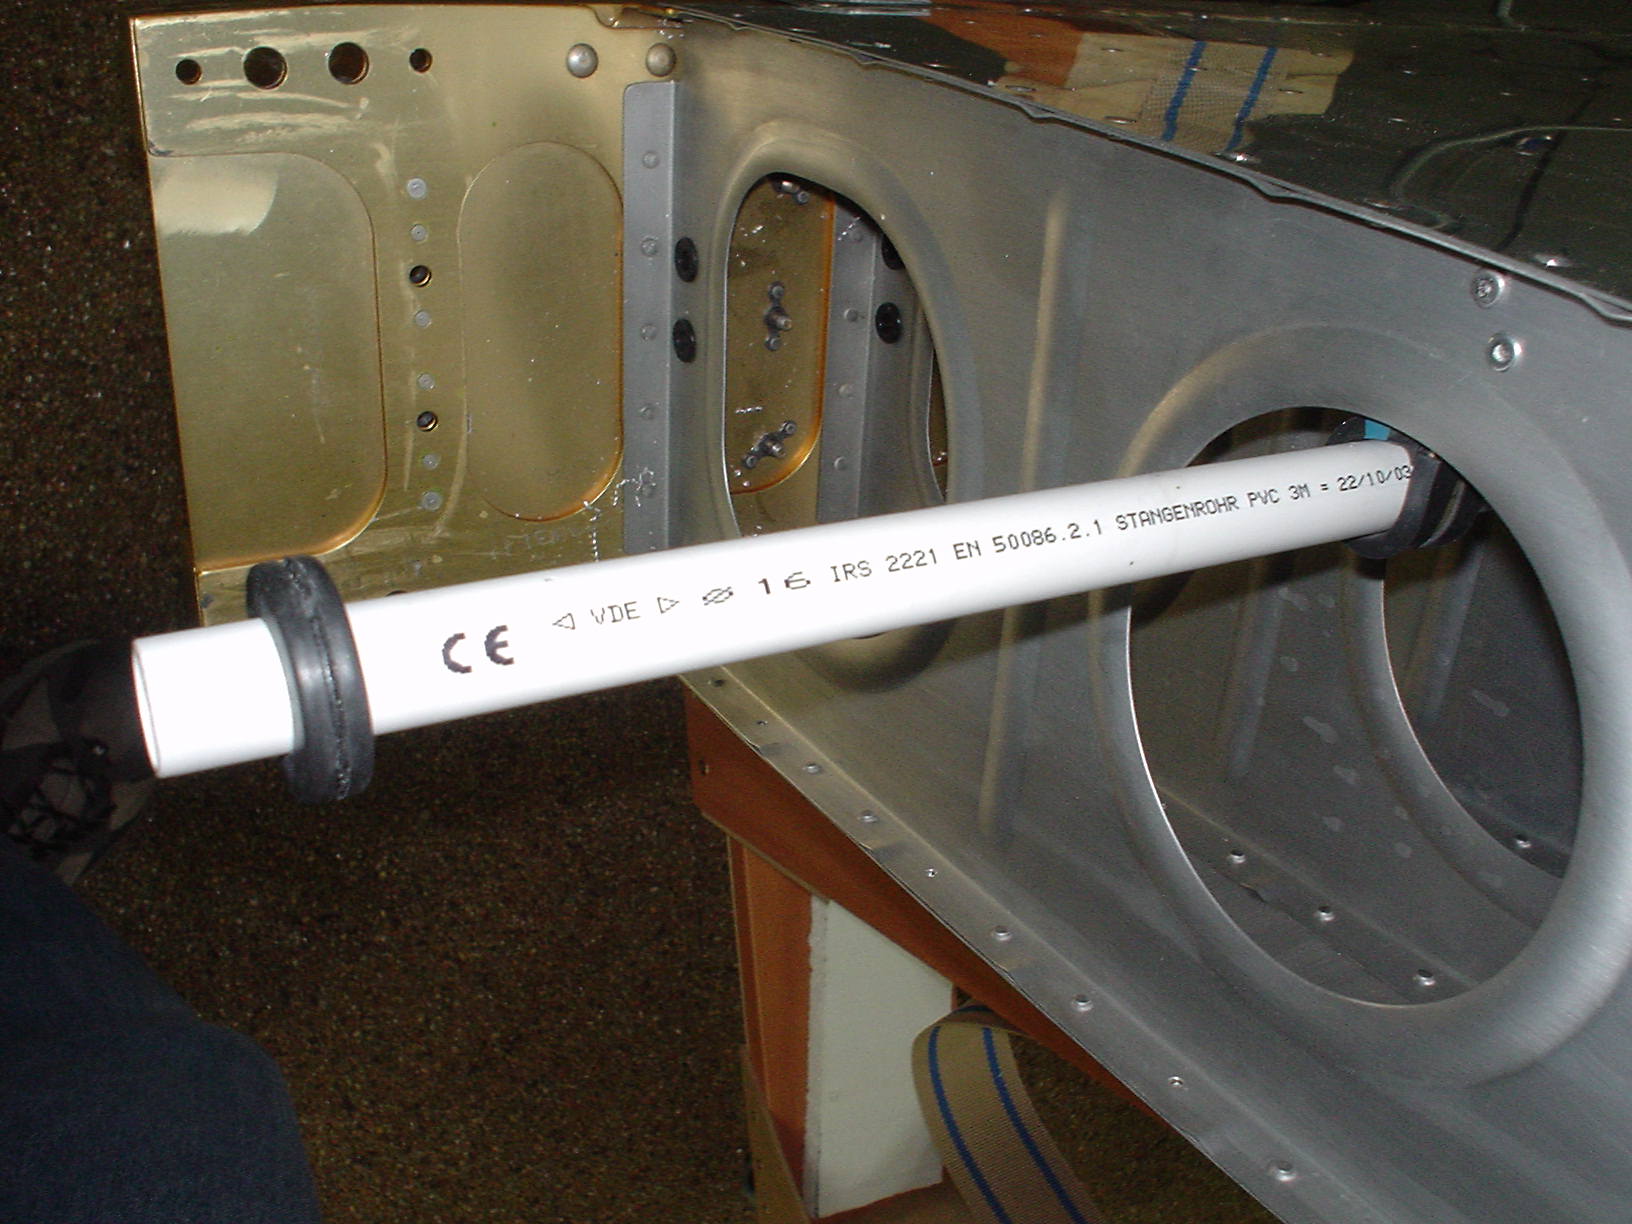
Overall, I’m quite happy with the way it turned out. I truly hope I don’t have trouble putting on the final skin.
Update: 2005.04.17 – No problem putting the wing skins on at all. None of the brackets nor the conduit conflicted with either the skin or the bucking bars.

Sorry, the comment form is closed at this time.